







Free written scope consultation - allowances, timeline, and change-order rules on paper before a single trade is scheduled
Styles & brands we work with
- Kitchen remodeling
- Bathroom remodeling
- Home additions & ADU
- Roofing
- Windows & doors
- Driveway & pavers
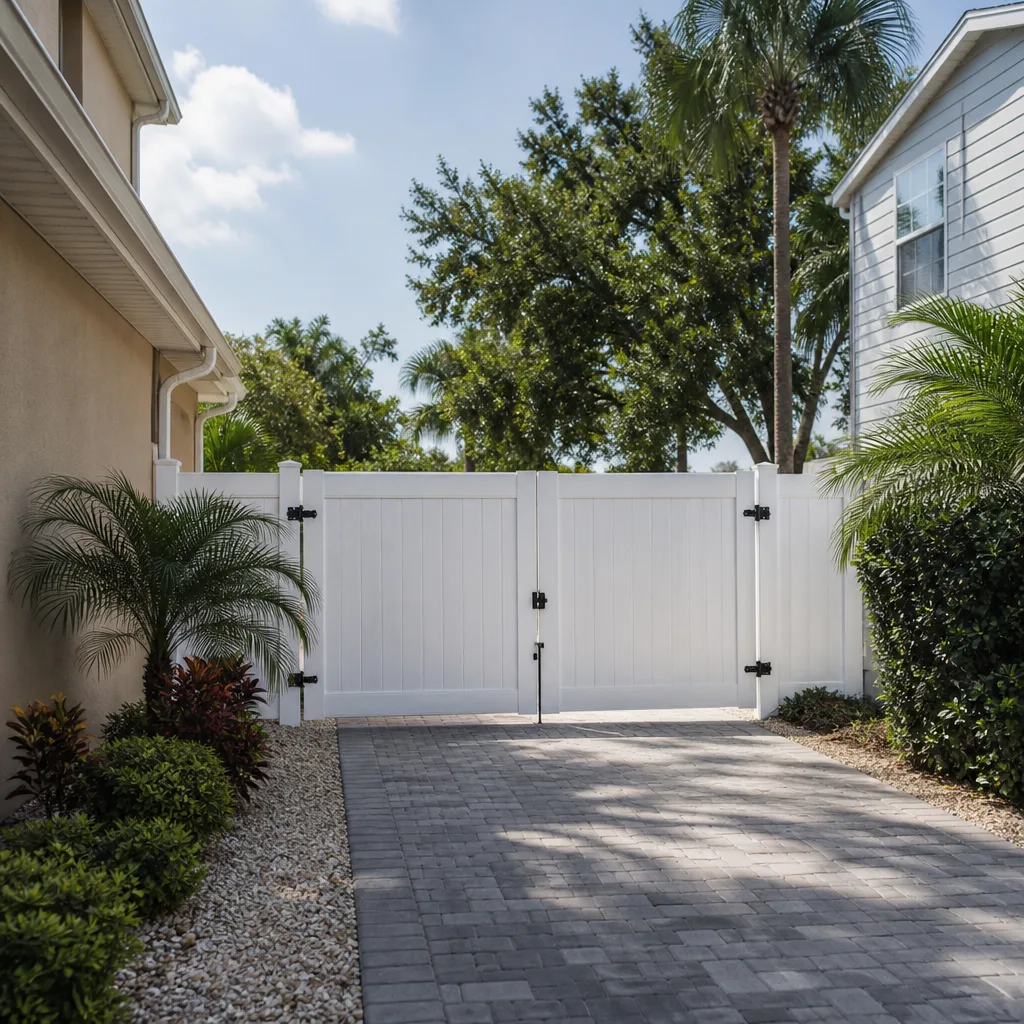
- Fence
See the difference
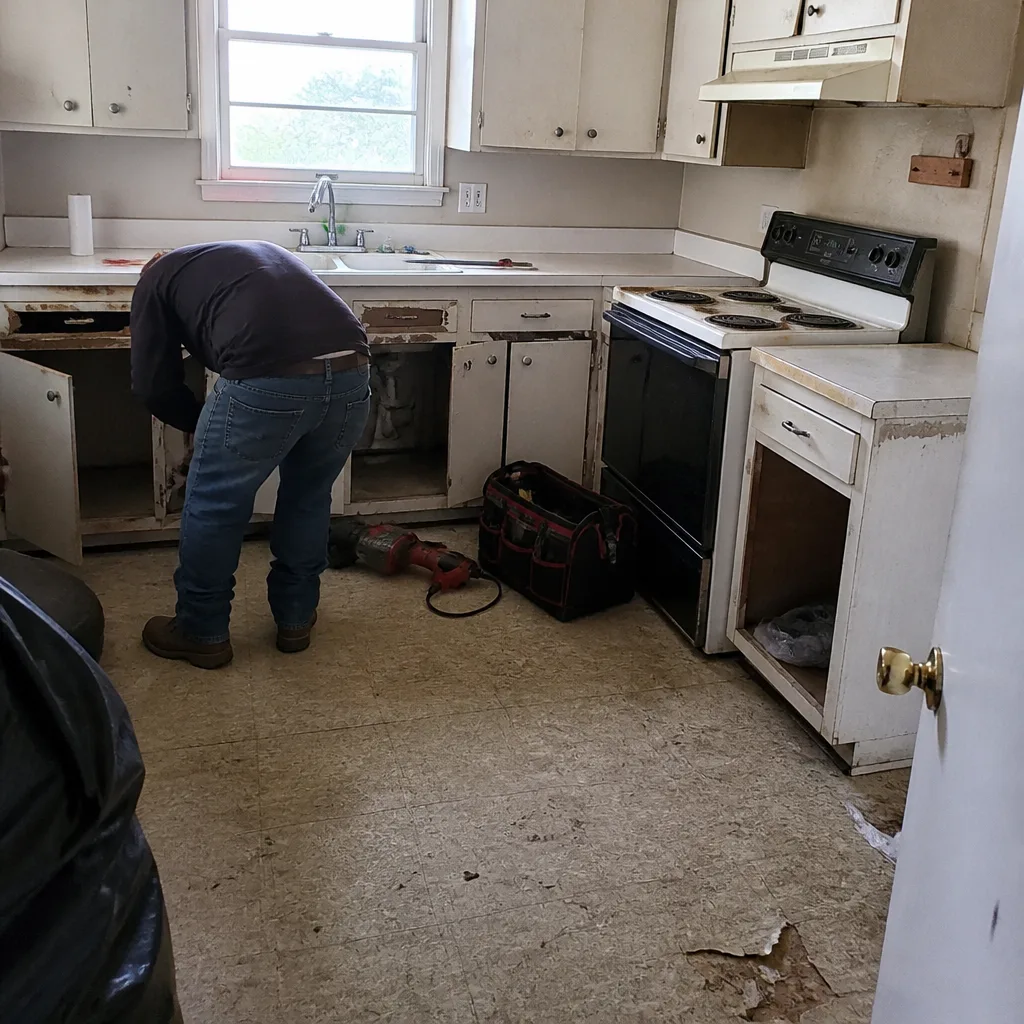 Before
 After
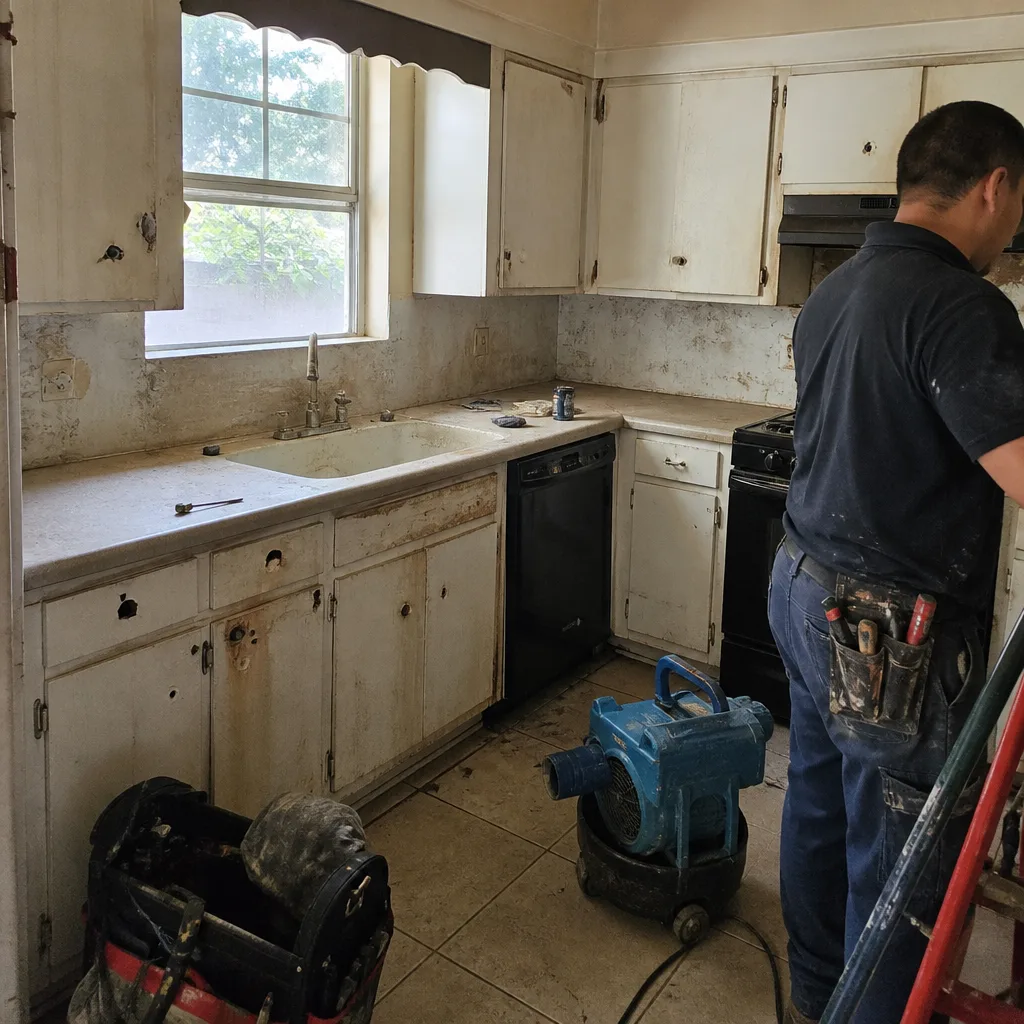 Before
 After
 Before
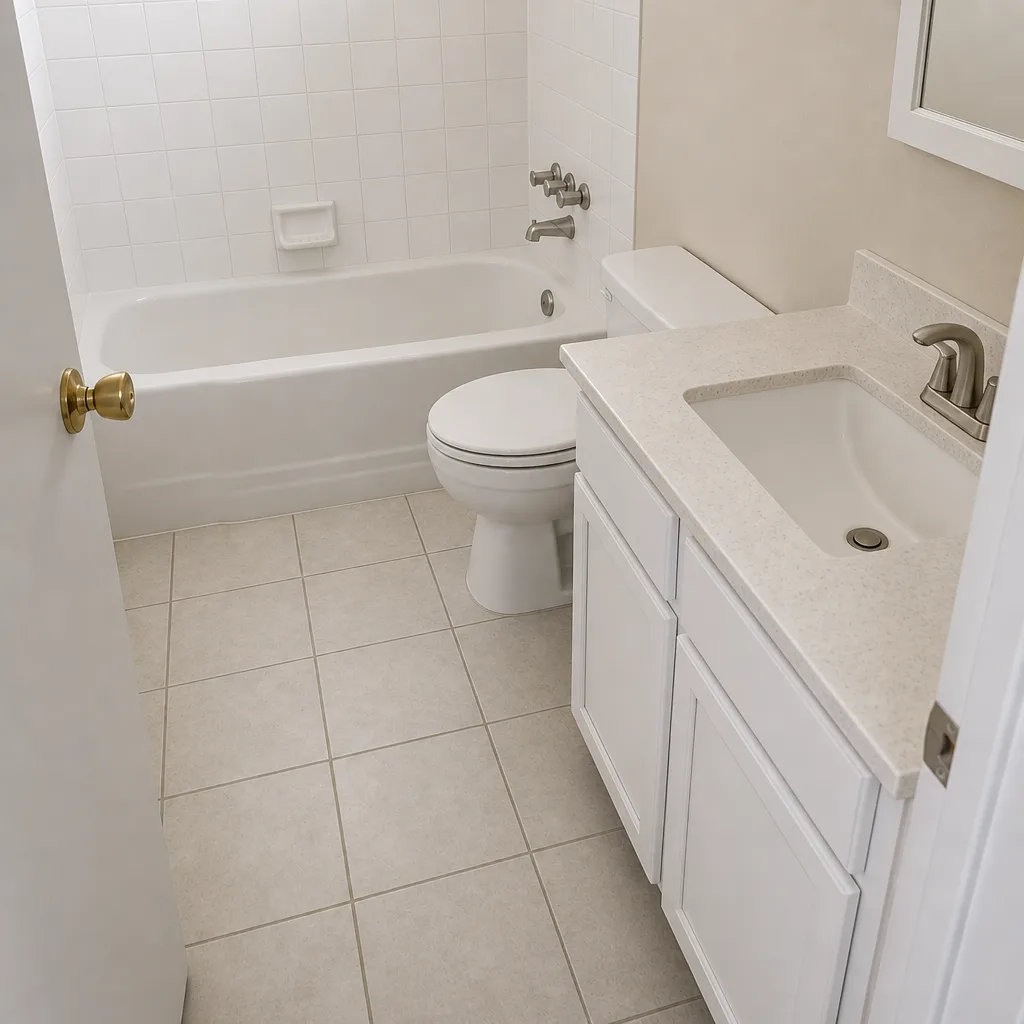 After
How to Find a Roof Leak on a Richardson Ranch Home (Without Tearing Out Drywall)
The short answer: your ceiling stain is almost never directly under the leak. On a low-pitch ranch roof, water enters at one point, runs 4 to 6 feet along the top of a rafter, and drops onto the ceiling somewhere else entirely. To find the real entry point, you work backwards from the stain – up the rafter, not straight up through the roof.
That method matters more in Richardson than in most cities. The core of this town is 1950s through 1970s single-story brick ranches built on 3:12 to 4:12 pitches, and those shallow planes let water travel horizontally in ways steep roofs don’t. If you’re in the attic at 10pm with a flashlight and water pouring in, call Groundwork Construction Co. of Richardson at (833) 954-4985 – a live person answers around the clock and can walk you through containment before anyone rolls a truck.
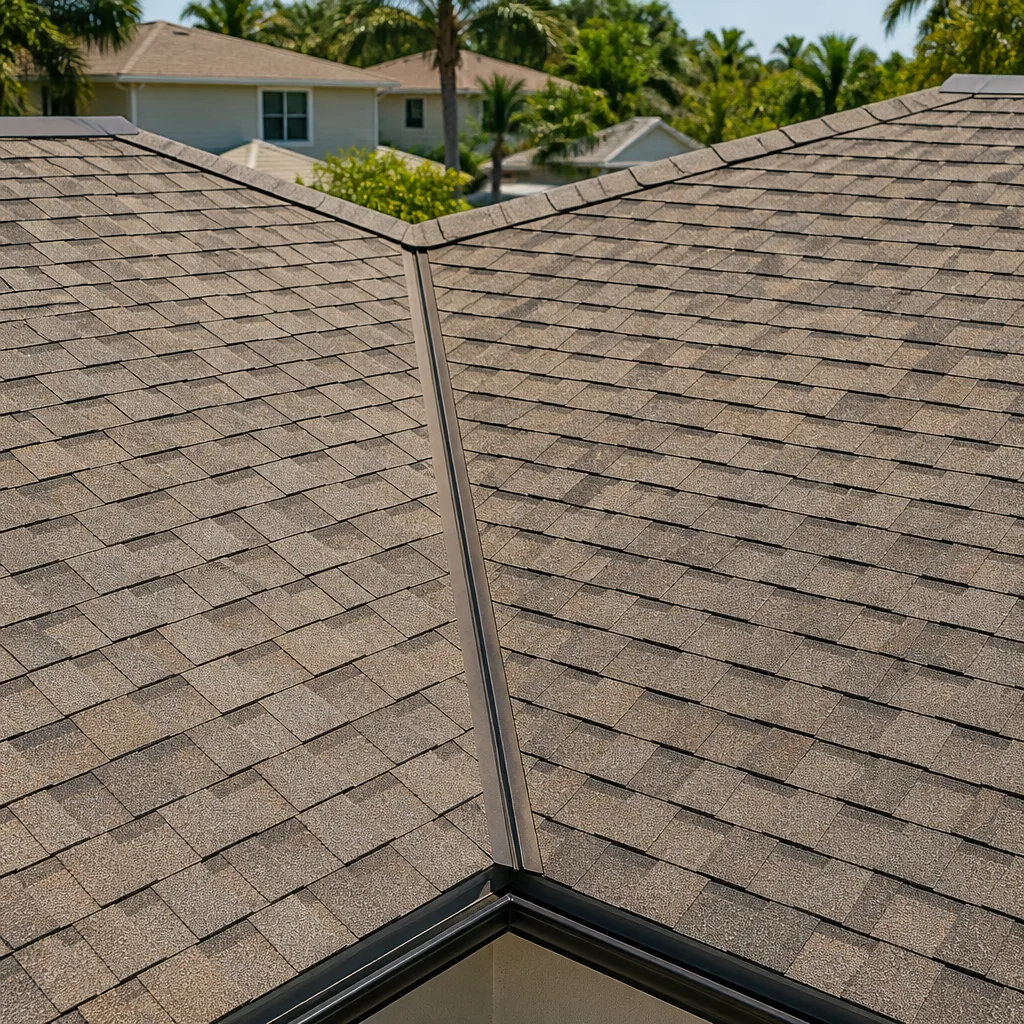
Why the Water Comes In Over There and Stains Over Here
A 3:12 pitch is shallow enough that gravity alone won’t push water straight down through the deck. It clings, creeps under shingle laps, and rides the rafter like a gutter. By the time it finds a gap in the decking or a nail hole, it’s several feet from where it started.
This is why the ceiling stain points you to the wrong spot. On Richardson’s older platted blocks – the original Richardson Heights plat especially – the framing is original and the rafters run long and uninterrupted, which gives water a nearly clear highway from ridge to eave. Generic guides tell you to look above the stain. On your roof, that advice costs you a day and a patch of drywall.
What to Look For: The Uphill Tracing Method
Here’s how to trace backwards. Start in the attic at the ceiling stain, then work uphill toward the ridge along the rafter nearest the damage.
- Start at the stain. Find the wet spot on the attic-side of the decking or the ceiling joist, then locate the rafter directly uphill of it.
- Follow the rafter up. Run your hand and your flashlight along the top edge of that rafter toward the ridge.
- Look for the first interruption. The actual entry point is usually 2 to 8 feet uphill of the ceiling damage. Look for the first wood staining, dark water line, or compressed insulation – that’s where water is entering, not where it’s exiting.
- Check the insulation. Compressed or matted insulation along a rafter is a tell. Water pushes it down before it ever reaches your ceiling.
If you find the first stained point and it’s within a couple of feet of the ridge, you’ve likely found the entry. If the staining runs the whole rafter, the leak is at the ridge or a valley above – which is where the next section comes in.
The Three Places These Roofs Actually Leak
On 1950s through 1970s Richardson brick ranches, the leaks cluster in the same three spots almost every time. Knowing where to look narrows the attic search fast.
1. Step flashing at the chimney or a dormer
Step flashing is the L-shaped metal that steps up alongside a chimney or dormer wall. It’s held to the wall and tucked under shingles in a specific sequence, and on a low-pitch roof the laps have to be precise. When the flashing lifts, corrodes, or was installed with the wrong lap direction, water enters at the wall and tracks down the side of the rafter. On a 3:12 roof, that leak can surface 4 to 6 feet away near the ceiling. Look at the flashing before you look at the shingles.
2. Pipe boot collars
The rubber or lead collar around a plumbing vent stack is often original on these homes. Original lead boots crack and split after 25+ years of North Texas UV – the same sun that bakes your driveway bakes that collar from spring through October. A split boot lets water straight onto the decking, and the stain shows up well downslope. If your boot is original lead and the house is from the 1960s, check it first.
3. Valley metal corrosion at inside corners
Valley metal at an inside corner takes the full volume of water from two roof planes at once. On these older roofs the valley metal can rust through, or the shingles can be woven or cut wrong so water gets under the edge. Rust perforation at a valley is common on roofs that have already been through two or three hail cycles. This is the spot where a GAF or CertainTeed underlayment upgrade during a replacement pays for itself.
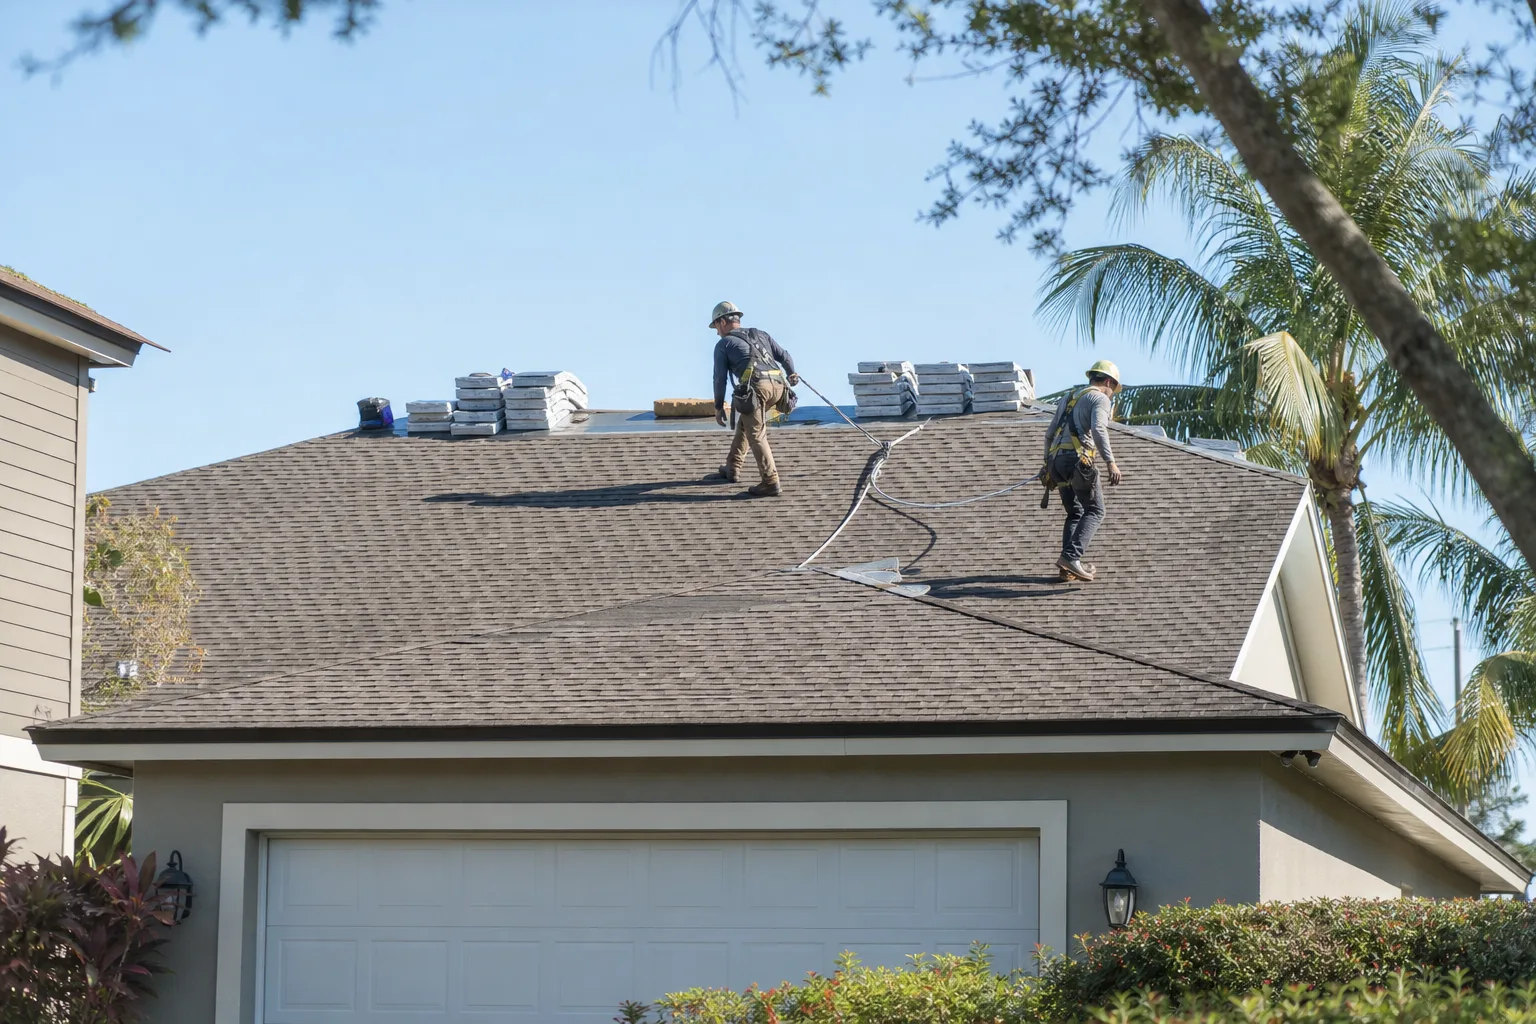
The Garden Hose Test: How to Locate a Leak on a Flat-Pitch Roof
You can find the leak without ripping off shingles. The garden hose test works, but the sequence and timing matter more on a low-pitch roof than any guide will tell you. Here’s the protocol.
- Two people, one at a time. One person on the roof with the hose, one person in the attic with a flashlight watching the deck.
- Start at the eave, not the top. Wet a two- to three-foot section at the bottom edge, and wait a full 3 to 5 minutes. On a 3:12 roof water needs time to travel – don’t move on in 30 seconds.
- Work uphill in sections. Wet the next section up, wait, watch. Each section builds on the last so the water column is continuous.
- Stop the moment you see water. The section you just wet is the entry point. Mark it before you do anything else.
- Don’t test from a ladder. Get on the roof or don’t. Hosing from the ground just gets the attic wet without locating anything.
Timing is why most DIY hose tests fail. People spray the whole roof at once, water finds the leak, and they can’t tell which section did it. Slow and sequenced tells you the answer.
When Does It Make Sense to Just Call a Pro?
If the ceiling is bulging, water is pooling in a light fixture, or you’re looking at a leak near a gas flue or electrical penetration, stop diagnosing and call. Those are the situations where a homeowner in the attic can make things worse. Groundwork Construction Co. of Richardson has background-checked, uniformed technicians on every job, and our technicians have up to 12 years of experience tracing leaks on exactly this housing stock. A professional Roofing inspection will find the entry point in minutes, not hours.
The Post-Hail Leak That Shows Up Months Later
North Texas hail doesn’t always leak immediately. Hail fractures the shingle mat, but the fracture can stay sealed for weeks or months – until UV breaks down the fractured area and a rainstorm finds it. That’s why a “new” leak after a dry spell is often a hail event from the prior spring. Your roof survived the storm fine and then started leaking in September.
On Richardson roofs, this pattern is common enough that a dry-spell leak should send you straight to the shingle mat for a hail fracture pattern. If you see bruising, granule loss in a scattered pattern, or shingle mat fractures, the timeline lines up with hail. That’s a repair – $400 to $1,800 in Richardson – not a replacement, unless the fractures are everywhere.
What Leak Diagnosis and Repair Costs in Richardson
| Service | Typical Range |
|---|---|
| Roof leak diagnosis / inspection | Often free with a repair |
| Roof repair (boot, flashing, small patch) | $400-$1,800 |
| Tile roof repair | $600-$2,500 |
| Full roof replacement (post-hail, widespread damage) | $8,000-$20,000 |
If repair vs. replace is the question: repair makes sense when the leak is isolated to a boot, a flashing, or one valley. Replacement makes sense when hail has fractured the mat across multiple planes, or the roof is past its service life. Our team provides upfront pricing – the number you see is the number you pay – and the 730-Day Done Right Promise backs every repair and replacement we perform. If it’s not done right, we make it right. We also have 0% financing for 18 months and $1,000 off projects over $10,000, so a hail replacement doesn’t have to wait for a better budget year.
FAQs
Start at the ceiling stain, then follow the rafter uphill toward the ridge until you find the first dark wood stain or compressed insulation. That first staining is the entry point – usually 2 to 8 feet uphill of the ceiling damage. On Richardson’s low-pitch ranch roofs, water travels horizontally along rafters before it drops, so the stain points you away from the leak, not at it.
Because the leak was probably set up by a hail event from a previous storm, and the fracture only opened after weeks of UV exposure. North Texas hail fractures shingle mats, then the sun breaks down the fractured area until the next rain finds it. Call (833) 954-4985 for an inspection – we can tell you whether it’s a delayed hail leak.
Yes, and it’s the most reliable DIY method on a low-pitch roof – if you do it in sequence. Wet sections from the eave up, wait 3 to 5 minutes between sections, and have a second person in the attic watching the deck. The moment water appears, that section is the entry point. Don’t spray the whole roof at once – timing is everything.
Repair is cheaper when the leak traces to one boot, a flashing, or a single valley – typical repair runs $400 to $1,800. Replacement is the better call when hail has fractured the mat across multiple planes, and runs $8,000 to $20,000. Call (833) 954-4985 for an exact quote – estimates are free, and we’ll show you the difference on the roof.
If You’d Rather Have It Looked At
If you’d rather have it looked at, Groundwork Construction Co. of Richardson offers a no-pressure assessment in Richardson – call (833) 954-4985. We answer live, 24/7, including that 10pm call from your attic. Upfront pricing, no surprises, and a 730-Day Done Right Promise on every repair and replacement. We work the same Richardson service area every day.
Written by the team at Groundwork Construction Co. of Richardson, serving Richardson, TX.