Last updated November 18, 2026





Free written scope consultation - allowances, timeline, and change-order rules on paper before a single trade is scheduled
Bathroom Remodeling Troubleshooting: Common Problems and How to Fix Them
Grout cracking within the first year of a bathroom remodel isn’t a grout problem. It’s almost always a substrate problem that was visible during installation and either ignored or not understood by whoever laid the tile. That’s the uncomfortable truth we’ve seen play out in Richardson bathrooms more times than we can count: the failure you’re staring at six months later started as a shortcut someone took behind a wall. This guide walks through the five failures that show up most often after a remodel, traces each one back to the specific installation step that caused it, and gives you the inspection checklist most contractors won’t hand you. Whether your project is in Canyon Creek or off Belt Line Road, you’ll leave knowing what to look at, what to ask, and when to call.
Quick Answer
Most post-remodel bathroom problems come down to three installation shortcuts: missing or thin waterproofing behind tile, a shower pan that wasn’t slope-tested before the tile went down, and fixtures set on a rough-in that was never checked. Cracking grout, failing caulk, a leaking shower, condensation, or a wobbling toilet are usually symptoms of those three root causes – not bad luck and not inferior materials. The fixing sequence depends on whether the defect is cosmetic (grout, caulk) or structural (pan leak, rough-in), and the faster you identify which one you’re dealing with, the less it costs to correct.
Styles & brands we work with
- Kitchen remodeling
- Bathroom remodeling
- Home additions & ADU
- Roofing
- Windows & doors
- Driveway & pavers
- Fence
Table of Contents
- Why Is My Grout Cracking in the First Year?
- Caulk Failure at Transitions: The Mov
ement You Didn’t Allow For
- Is It a Shower Pan Leak or Just Condensation?
- Hollow Tile and Lippage: When It Matters and When It Doesn’t
- Why Is My Shower Temperature Inconsistent?
- Wobbling Toilet and Vanity After a Remodel
- Exhaust Fan and Condensation Problems
- The Pre-Wall Inspection Checklist
Why Is My Grout Cracking in the First Year?
Grout cracking in the first 6 to 12 months is a deflection problem, not a grout problem. Cementitious grout is rigid. If the tile or the wood-framed floor beneath it flexes more than roughly 1/360 of the span, the grout has nowhere to go but crack. In our experience across Richardson bathrooms, the causes break down into a few predictable culprits, and each one points to a step that was skipped or rushed.
- Missing or undersized subfloor. Tile needs at least 1-1/4 inches of subfloor assembly, usually plywood plus a cement backer board or an uncoupling membrane. On many Richardson slab-on-grade and pier-and-beam homes, retrofit remodels fail to beef up the subfloor.
- No uncoupling membrane. Direct tile over backer board works only if the backer is properly screwed and bedded. A Schluter-type membrane absorbs lateral movement; skipping it is a common shortcut.
- Grout mixed too wet. Overwatered grout shrinks on cure and hairline-cracks along the joint.
- No expansion joints at perimeter. Grout needs a soft joint at the wall and at door transitions. Packing it solid with cement grout is a classic cause of cracking.
If your cracking is running in straight lines along a wall, suspect a missing expansion joint. If the cracking is radiating or crisscrossing, suspect deflection. Both are fixable, but the fix for deflection means pulling tile. That’s the conversation to have with your contractor before a cosmetic fix hides the real problem. If you’re still in the planning stage in Richardson, get a written scope that names the subfloor spec before anyone lifts a trowel.
Caulk Failure at Transitions: The Movement You Didn’t Allow For
Caulk pulling away at the tub-to-tile seam or the shower floor-to-wall joint is the most common complaint we hear in Richardson, and it’s almost never the caulk’s fault. Grout and caulk at a transition are two different materials bonded to each other. Those two joints move at different rates with temperature, with structural settling, and with the flex of a fiberglass tub or acrylic pan. When the carpenter caulked the joint with sanded grout straight across, or used a $3 tube of painter’s caulk instead of a siliconized or 100% silicone sealant with a backer rod, the joint fails on the first big temperature swing.
Here’s the troubleshooting sequence we use to separate a genuine caulk failure from a moisture problem behind the wall:
- Look at the shape of the gap. A clean, uniform separation with no discoloration is a movement issue. A swollen, darkened, or musty joint signals moisture behind the tile.
- Press on the tile face on either side of the seam. If it flexes or sounds hollow, the substrate is compromised and caulk won’t fix it.
- Check for a backer rod. Caulk should have something to press against. If the installer filled the whole joint with sealant, it’s too deep and will fail.
- Confirm the product. Siliconized acrylic is fine at dry transitions; 100% silicone is required in a wet zone.
Removing failed caulk, cleaning the joint completely, installing backer rod, and re-sealing with 100% silicone is a two-hour job for a trained tech and about four days of cure time. If the joint keeps failing at the same spot, the substrate or the tub is moving and that has to be addressed. A written line-item scope on the front end of any bathroom project is the safest way to prevent this.
Is It a Shower Pan Leak or Just Condensation?
Homeowners in Richardson frequently call us sure they have a shower leak, and about a third of the time they have condensation instead. A shower pan leak will stain the ceiling below, warp the baseboards on an adjacent wall, or smell musty for days after a shower. Condensation from a hot shower with poor ventilation produces wet walls and fogged mirrors but dries out within an hour or two of the shower ending. The distinction matters because one is free to fix (add ventilation) and the other requires demolition.
Before you open any wall, run this investigation sequence. Each step rules out a cheaper cause.
- Confirm it’s active. Plug the pan drain, fill the shower base with 1 to 2 inches of water, and mark the water level with tape. Wait 24 hours. If the water drops below the mark, the pan itself is leaking. If it holds, the pan is sound and the leak is elsewhere.
- Run the flood test with dye. Add a few drops of food coloring to the standing water and re-check. Dye makes the leak path visible on the floor below and helps pinpoint the point of failure in the pan or in the drain gasket.
- Check the shower wall transitions. Water running down the wall joint near the curb can seep into the subfloor without ever showing in the pan. Look for damp drywall at the base of the wall outside the shower.
- Isolate the supply lines. A shower mixing valve that leaks behind the wall will wet the same area. Cap the shower arm and test at the valve body with a pressure gauge.
- Inspect the ceiling below with a moisture meter. Non-invasive readings tell you if a stain is active moisture or an old mark.
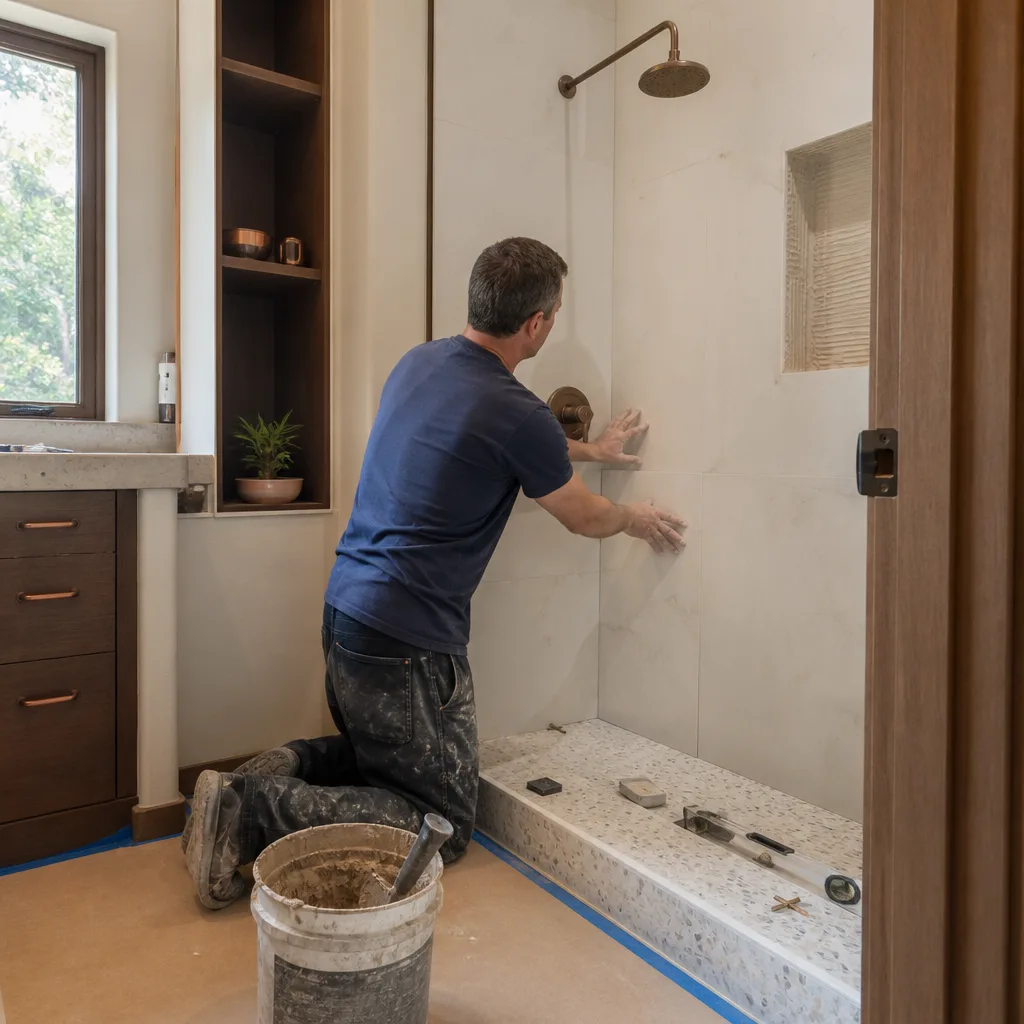
Proper pan construction uses a sloped preslope under a PVC or CPE liner, a curbed liner turned up at least 2 inches above the curb, and a flood test performed by the installer before tile goes down. Skipping the flood test is the single most common shortcut behind a leaking Richardson shower pan, and it’s the one you have every right to insist on.
Hollow Tile and Lippage: When It Matters and When It Doesn’t
Tapping a tile and hearing a hollow sound doesn’t automatically mean the install is failing. A small hollow spot in the middle of a large-format tile is often normal air space in thinset. The concern is location and coverage. ANSI standards require least 80% mortar coverage for dry areas and 95% for wet areas; a tile with a hollow spot larger than a few square inches in a shower wall or floor is a performance risk because water can get behind the tile and sit there.
Lippage is the tile-to-tile height difference. Anything up to 1/32 inch is within tolerance for most tiles. Larger tiles need a lippage control system (a leveling clip system) or a very skilled installer with a fresh trowel of thinset to keep them flush. In Richardson, we see lippage most often on 24×24 or larger porcelain floors where the subfloor was marginal and the installer used a 1/4-inch notch trowel instead of a 1/2-inch.
Your repair options, from least to most disruptive:
- Cosmetic only, dry area: Leave it. Monitor once a year.
- Small hollow spot, wet area: Inject epoxy through the grout line at the hollow spot. This is a legitimate repair when the tile is intact.
- Large hollow or cracked tile: Remove the affected tile only, re-bed with full mortar coverage, and re-grout the joints. Match the lot number if you can; otherwise, keep a spare box from the original install.
- Widespread failure: Full demo of the field and reinstall with proper coverage.
Ask the installer for the notched trowel size and a photo of coverage at a partially set tile before grout goes down. Builders who do this working with us on Richardson projects will show you. It’s the cheapest insurance you’ll ever buy.
Why Is My Shower Temperature Inconsistent?
Temperature swinging from scalding to cold in the same shower is one of the most common post-remodel complaints and one of the least connected by homeowners to the remodel itself. The culprit is almost always the pressure balance valve, the mixing valve, or the rough-in depth. Richardson homes have a wide range of plumbing vintage – a 1970s Canyon Creek house and a 2015 new build have entirely different piping and valve standards – and every valve has a specific rough-in spec that the installer has to hit.
The troubleshooting sequence runs like this:
- Test at a different faucet. If the kitchen faucet also drops when a toilet flushes, you have a whole-house pressure problem, not a shower valve problem.
- Check the valve’s rough-in depth. The shower valve escutcheon is a cover, not a seal. If the valve body was set too deep or too shallow, the trim can restrict water movement and cause temperature spiking.
- Confirm the rotational limit stop. Every pressure balance and thermostatic valve has a rotational limit stop that caps the max temperature. If it wasn’t calibrated after installation, the shower either runs cold or scalds.
- Flush the cartridge. Sediment from construction debris can score the cartridge and cause pressure imbalance. Remove, clean, and reinstall before replacing anything.
- Test the mixing valve. A failing cartridge or a mixing valve set for a different pressure zone can cause “shower shock” as the balance valve fights the temperature.
An experienced plumber can usually reset a rough-in depth or a rotational stop in under an hour. A full valve replacement is a wall-opening job. If your remodel included a shower valve replacement and you’re still fighting temperature swings, the fix is on your contractor, not your wallet. The 730-Day Done Right Promise Groundwork Construction Co. of Richardson backs every project with exists for exactly this kind of scenario: if it’s not done right, we make it right.
Wobbling Toilet and Vanity After a Remodel
A toilet that wobbles after installation is not a homeowner problem and not a “settling” problem. It’s a rough-in problem, and 90% of the time it’s a wax ring and flange issue that was set-up work the installer skipped. When a toilet rocks, the wax seal at the base breaks its airtight bond. That allows sewer gas to escape and water to leak onto the subfloor after every flush. A toilet that rocks for a week can rot the subfloor in two.
The proper troubleshooting and correction sequence:
- Pull the toilet and inspect the flange. The closet flange should sit flush with or 1/4 inch above the finished floor. If it’s set below the tile, the wax ring can’t seal and the toilet will always wobble. A flange extension ring is the fix.
- Check the flange’s condition. PVC flanges crack and cast-iron flanges rust away. In Richardson homes built before 1985 we see plenty of both.
- Replace the wax ring. The old one is compressed and won’t re-seal. Use a wax ring with a horn and set the toilet once, straight down, without rocking it into place.
- Shim and tighten evenly. Never crank one side tighter than the other. Snug the bolts and shim the bowl so it’s flat, then caulk the base and leave the back open for inspection.
Vanity wobble is almost always the block behind the drywall being missing or too small. A vanity needs a 2×6 horizontal blocking between studs before drywall, or it needs a leg kit. If a remodel resulted in a vanity that pulls from the wall after a year, that’s a missing blocking shortcut, not a vanity defect.
Exhaust Fan and Condensation Problems
A foggy mirror and dripping walls after a ten-minute shower means the exhaust fan is under-sized, incorrectly ducted, or not connected. Every older Richardson home we’ve opened has had at least one of these. Every new install should be vented to the exterior, not into the attic. A fan vented into the attic dumps that moisture into the same space and creates a mold problem that costs thousands to remediate.
The right way to diagnose a weak exhaust fan:
- Check the CFM rating. Bathroom fans should pull roughly 1 CFM per square foot of bathroom, minimum 50 CFM. A large Richardson primary bath with a separate tub and shower usually needs 80 to 110 CFM.
- Confirm the duct route. The duct must be insulated, rigid where possible, and terminate outdoors through a wall or roof cap with a backdraft damper. Every elbow in the run loses efficiency; a fan rated 80 CFM with four elbows and 20 feet of flex duct can deliver half its rated flow.
- Look for a timer switch. A fan that runs for 20 minutes after the shower ends is doing its job; a fan that gets switched off the second you step out isn’t.
- Pull the grille and clean the impeller. Dust on the fan blades cuts output dramatically and is the cheapest fix of all.
If your remodel included a new exhaust fan and the bathroom still fogs up, ask to see the installation photos and the fan’s CFM rating. A contractor working with brand partners like CertainTeed on the envelope side will have those records on file.
The Pre-Wall Inspection Checklist
The most important troubleshooting guide is the one you run before the drywall goes up. Once tile is set, every failure is more expensive. Hand this checklist to your contractor before the wall-close walkthrough, and don’t let anyone tell you it’s unnecessary.
- Waterproofing. Confirm the shower has a continuous waterproof membrane (sheet or liquid-applied) with no seams in the field, and that it turns up at least 2 inches above the curb and 6 inches above the shower floor.
- Preslope and flood test. The pan must slope 1/4 inch per foot to the drain. Ask for a flood test photo dated before tile. If the installer skipped it, schedule it now.
- Backer board screw pattern. Cement backer board should be screwed every 6 to 8 inches on the perimeter and every 8 inches in the field, with joints staggered and taped.
- Rough-in depth. Measure the valve body to the stud face. Confirm the spec for your specific valve body matches.
- Flange and blocking. Toilet flange set flush with or above finish floor, vanity blocking installed between studs, tub apron level.
- Duct and CFM. Photo of the exhaust duct run to the exterior and the fan’s CFM label.
- Subfloor deflection. Confirm the L/360 rating for ceramic and L/720 for natural stone. Ask for the joist span and subfloor spec in writing.
- Tile coverage. Photos of 80% dry coverage and 95% wet coverage at the time of install.
Any contractor who resists this checklist is telling you something. In Richardson, the bathrooms that hold up ten years without a callback are the ones where someone documented these eight items before the first tile was set. If you’re planning a remodel now and reading this before demo day, this list is the most valuable page in the folder.
Common Mistakes to Avoid
- Grouting right up to the wall. In Richardson’s clay soil, foundations move a little seasonally. A perimeter expansion joint of siliconized caulk instead of grout handles that movement; grout doesn’t.
- Using mastic in a wet area. Mastic is fine for a dry backsplash. In a shower it re-emulsifies under moisture and eventually lets tile release. Thinset is the only correct choice in a wet zone.
- Skipping the flood test. A shower pan that wasn’t tested before tile is a gamble. The test takes 24 hours, costs nothing to run, and catches the failure while the wall is still open.
- Venting the exhaust fan into the attic. Common in older Richardson homes and a mold problem waiting to happen. Confirm the duct terminates outside.
- Reusing a wax ring. The wax compresses and molds to the flange on the first set. Any second set has to start with a fresh ring, or the seal fails.
- Ignoring hollow spots in the shower. A hollow tile in a dry area is cosmetic. In a wet area, water finds the void. Address it while the grout is still fresh.
- Cutting the subfloor short. A 3/4-inch plywood with 1/4-inch backer is not enough for large-format tile on a joist span over 12 feet. Confirm the deflection rating before tile is purchased, not after it cracks.
Roofing and window partners we work with – CertainTeed, Owens Corning, IKO, Atlas – all have moisture-management specs that apply to bathrooms too. The same principle that keeps a Richardson roof dry is the principle behind a correctly built shower pan: keep the water on the outside, and give it a path to drain.
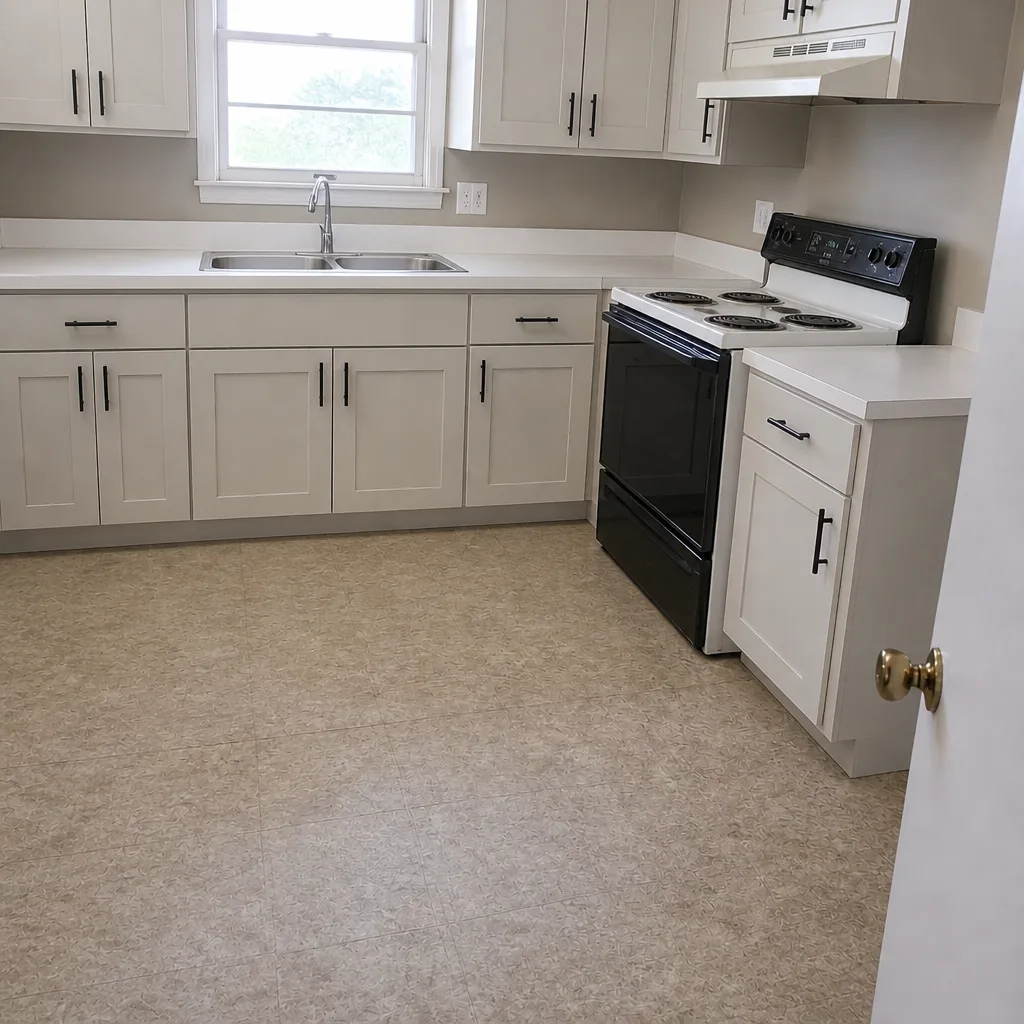
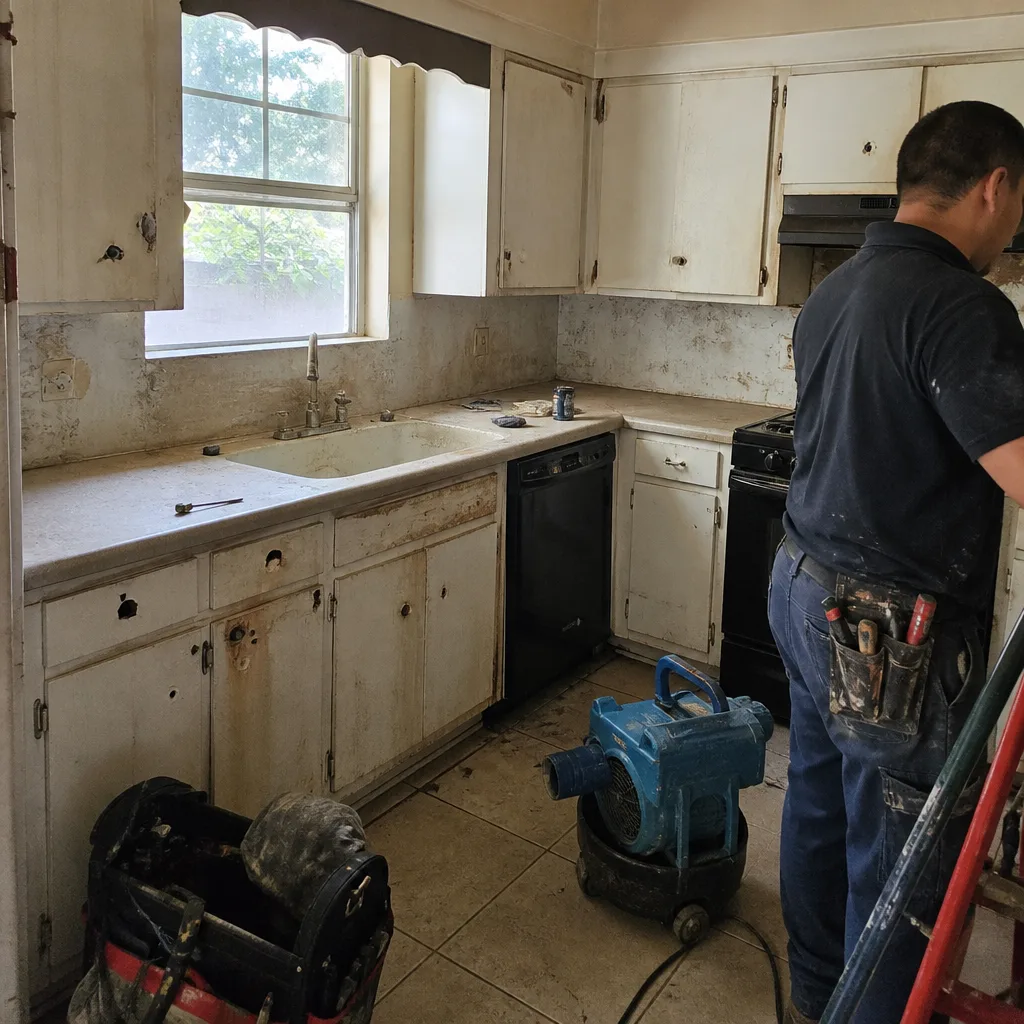
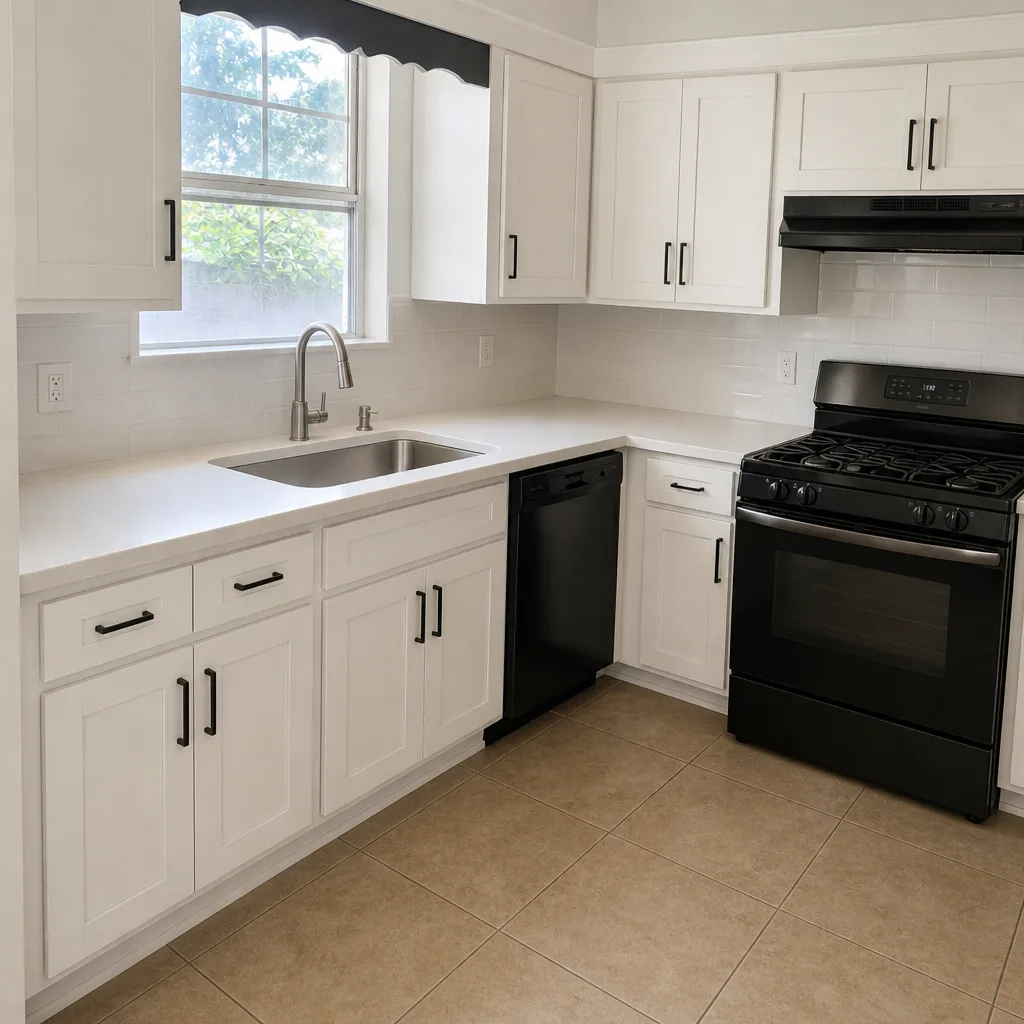
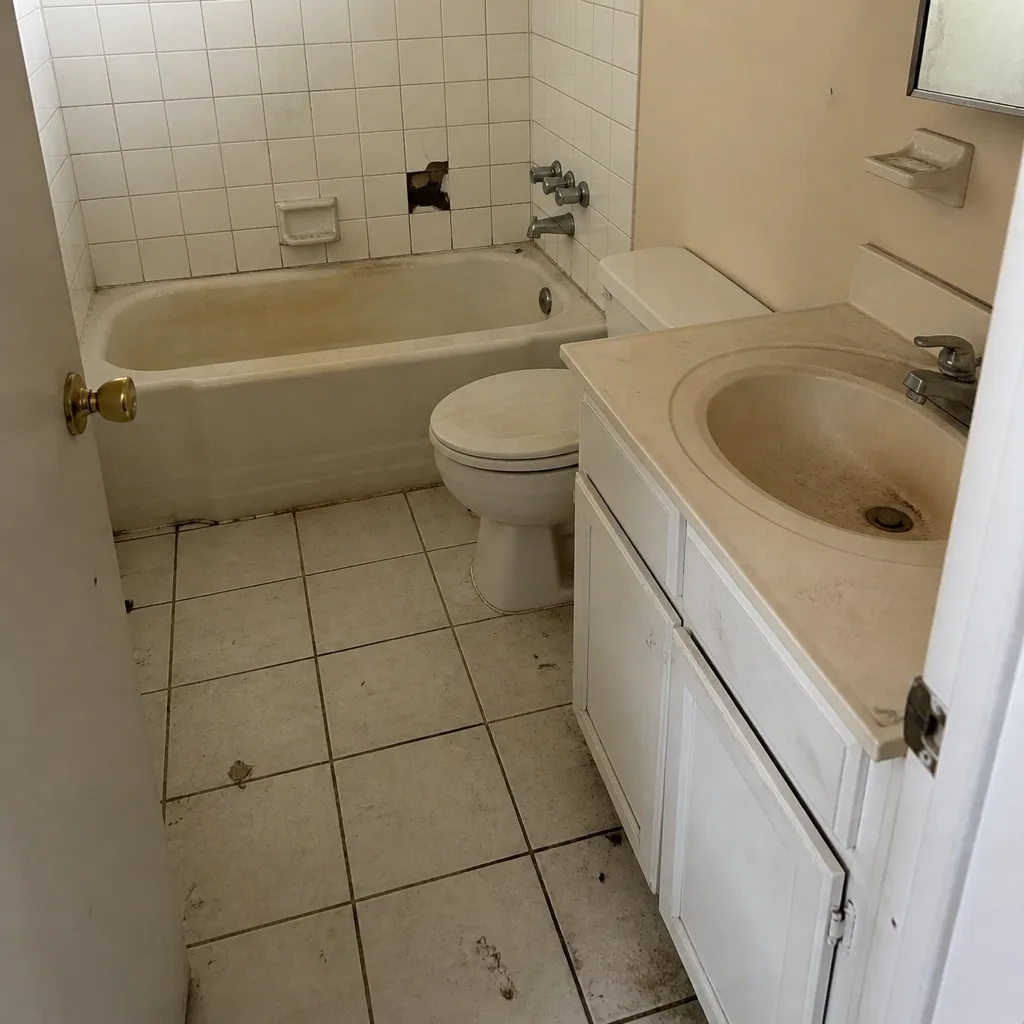
See the difference
 Before
 After
 Before
 After
 Before
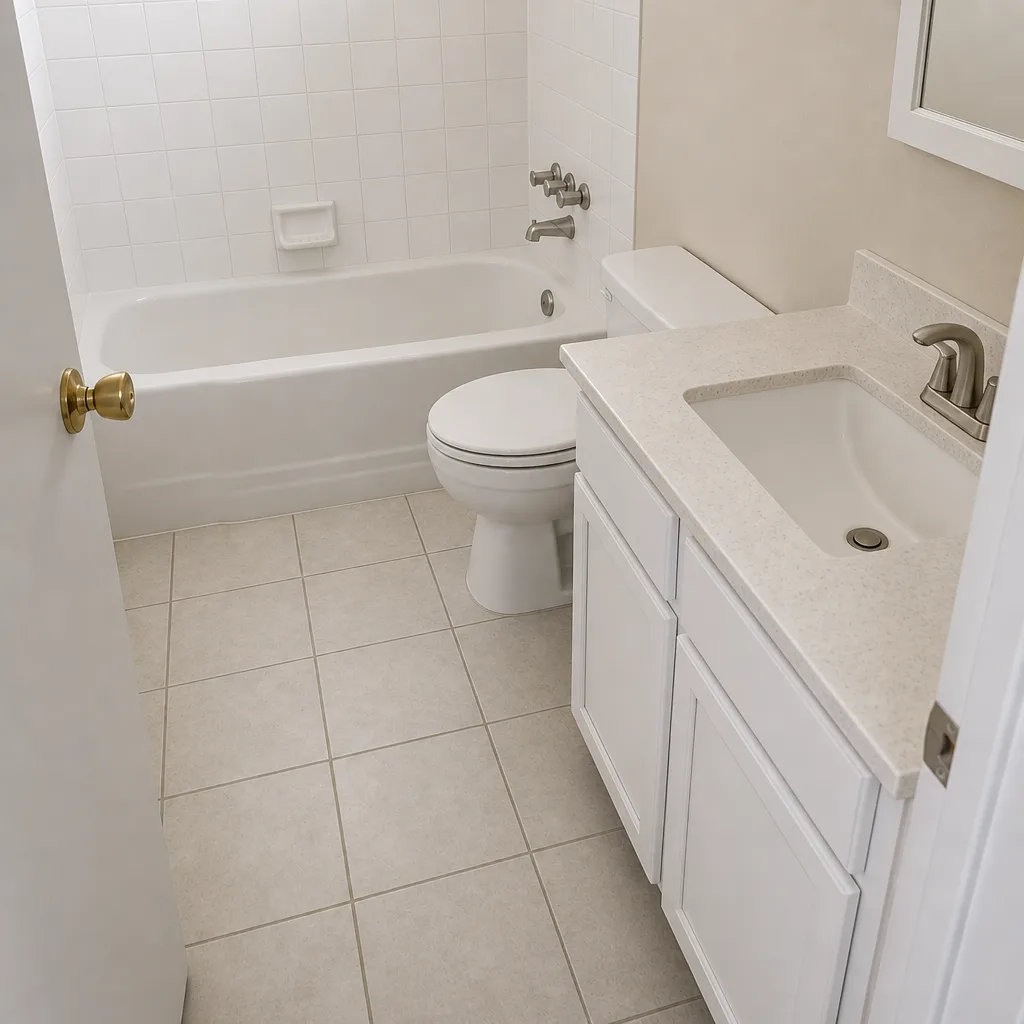 After
When to Call a Professional
Call a professional contractor when the failure is structural or hidden: an active shower pan leak, hollow tile in a wet area larger than a few square inches, a wobbling toilet with a suspect flange, temperature swings that resetting a stop didn’t fix, or a cracked grout line that reappears within 30 days of repair. Cosmetic caulk and grout touch-ups are homeowner work – grab a tube of 100% silicone, a proper backer rod, and a little patience. Anything that requires opening drywall, pulling tile, or moving a fixture is going to touch waterproofing, and waterproofing done twice costs more than doing it right the first time. Groundwork Construction Co. of Richardson offers free estimates in Richardson – call (833) 954-4985 and we’ll walk you through the investigation sequence, tell you what’s a contractor-warranty item versus a wear item, and give you a written line-item scope if repair or replacement is the answer. If your project is bigger than a repair – a full primary bath renovation, a new ensuite, or an addition that adds a bathroom – you can start with our Groundwork Construction Co. of Richardson home page or explore Home Additions & ADU in Richardson for the full-scope path.
Frequently Asked Questions
Grout should last 10 to 15 years in a properly built shower and indefinitely in a dry area. Cracking within the first year is a deflection or expansion-joint problem, not a grout lifespan issue. If your grout cracked in the first 12 months, have a contractor inspect the subfloor spec and the perimeter joints before you spend money on re-grouting – the crack will come back if the cause isn’t found. Call (833) 954-4985 for a free estimate on the diagnosis.
Yes, always. A shower pan leak under tile reads as a stain on the ceiling below, but by the time you see the stain the subfloor and joist may already be wet. Left alone, a pan leak becomes a mold and rot problem that costs thousands. Fix the leak, not the stain. Call (833) 954-4985 to schedule a free leak investigation in Richardson.
Often, yes. A small hollow spot in a wet area can be injected with epoxy through the grout line and re-grouted – a legitimate repair that restores the tile’s waterproof bond. A cracked or widely hollow tile needs full replacement of that tile. If more than a third of the shower field is hollow, full demo is the honest answer. Call (833) 954-4985 and we’ll give you a straight assessment and a free estimate.
Inconsistent shower temperature after a remodel is almost always a pressure balance valve or mixing valve issue – either the valve body’s rough-in depth is off, the rotational limit stop wasn’t calibrated, or the cartridge has sediment in it. None of those are plumbing mysteries; each one has a specific test. An experienced plumber can usually correct the valve in one visit. Call (833) 954-4985 for a free estimate if you’d like us to diagnose it.
More common than it should be. A wobbling toilet after reinstallation is a wax ring and closet flange issue – the flange is set below the finished floor, or the wax seal was reused, or the toilet was set on an unlevel floor without shims. In older Richardson homes, corroded flanges are also a factor. All of these are correctable, and a properly set toilet sits solid for decades. Call (833) 954-4985 to schedule a free estimate on the repair.
Yes, and this is the single cheapest fix for bathroom condensation. Run the fan during the shower and at least 20 minutes after. If the mirror still fogs during a 10-minute shower, the fan is likely undersized (under 50 CFM), ducted into the attic instead of outdoors, or its impeller is clogged with dust. All three are fixable. Call (833) 954-4985 for a free estimate if a fan or duct upgrade is the answer.
The Bottom Line
Bathroom remodel failures are almost never bad luck. They’re the visible symptom of a specific installation shortcut – a shower pan that wasn’t flood-tested, a subfloor that wasn’t beefed up, a rough-in that wasn’t verified, or an exhaust fan that never reached the exterior. The inspection checklist in this guide is the one to run before the drywall goes up; every item catches a failure while it’s still cheap to fix. When a repair or a full remodel is on your list, the right contractor pulls permits, installs to spec, documents the steps that will one day be hidden, and backs the work in writing. That’s the standard across Richardson, and it’s the standard we hold ourselves to with the 730-Day Done Right Promise on every project. Explore our Fence Installation in Richardson and Driveway & Pavers in Richardson services for other exterior projects on your list – our full-scope team handles all of it from foundation to finish line.
Ready to plan a bathroom that holds up? Call (833) 954-4985 for a free estimate and design consult. Calls are answered by a live person 24/7, technicians are background-checked and arrive in uniform, and every project is covered by our 730-Day Done Right Promise: if it’s not done right, we make it right. Ask about our standing offers – $1,000 off projects over $10,000, and 0% financing for 18 months – and we’ll put the whole scope in writing so the number you see is the number you pay.
Written by the team at Groundwork Construction Co. of Richardson.