Last updated November 18, 2026







Free written scope consultation - allowances, timeline, and change-order rules on paper before a single trade is scheduled
Bathroom Remodeling Warning Signs Every Homeowner Should Know
A soft spot near your toilet base isn’t a floor problem. It’s a subfloor problem, possibly a joist problem, and potentially a mold problem – and it started as a caulk line that needed ten minutes of attention. That’s the pattern we see across Richardson again and again. The expensive failures we’re called in to fix almost never announced themselves loudly. They whispered first: a hairline crack in the grout, a bubble in the paint above the shower, a tile edge that sits a millimeter high. By the time a homeowner calls us, those whispers have usually been talking for weeks. This guide teaches you to read what your bathroom is telling you, so you catch the problem while it’s still a repair and not a restoration bill.
Quick Answer
The biggest warning signs of a failing bathroom are soft or spongy flooring near the toilet and tub, bubbling or peeling paint on the ceiling below the bathroom, recurring grout cracks in the same spot, tiles that sound hollow or rock underfoot, and a persistent musty smell that doesn’t clear with cleaning. Any one of these signals water where it doesn’t belong, and water in a bathroom rarely stays a cosmetic issue for long.
Styles & brands we work with
- Kitchen remodeling
- Bathroom remodeling
- Home additions & ADU
- Roofing
- Windows & doors
- Driveway & pavers
- Fence
Table of Contents
- The Water Comes First: Reading Intrusion Before It Shows Up
- Workmanship Failures vs. Normal Wear: Telling Them Apart
- What a Bad Shower Installation Looks Like From the Outside
- During-Remodel Red Flags: When to Stop Work and Ask
- Warning Signs Specific to Older Richardson Homes
- Signs From Below: The Ceiling, the Crawlspace, the Attic
- The Five-Minute Monthly Walkthrough
The Water Comes First: Reading Intrusion Before It Shows Up
Water is the reason bathrooms fail. Not tile. Not paint. Water. And water almost always shows up somewhere other than where it’s actually coming from. A leak at a shower valve in Richardson can travel along a stud and surface three feet away as a stain on the laundry room ceiling. That’s why we tell homeowners to stop hunting for the leak itself and start reading the evidence it leaves behind.
North Texas makes this harder than it should be. The DFW swing between humid spring weather and bone-dry summer months works on building materials in a specific way: caulk and grout expand and contract across dozens of cycles a year, opening micro-gaps that let water drip behind a surface without any visible crack on the front. By the time the gap looks obvious, it’s been leaking for a month or more.
Here’s what early intrusion actually looks like when you stop to notice:
- Staining on the ceiling below the bathroom. Rings, brownish blotches, or a fresh paint bubble that keeps coming back after you touch it up. The ceiling is the first place water announces itself in a two-story home.
- Toilet base behavior. The toilet should not rock when you sit on it. Not even slightly. A wobble means the wax ring seal is compromised or the flange is failing, both of which send water into the subfloor.
- Caulk lines that peel cleanly from the tub or tile. Caulk that lifts away in strips has lost its grip – meaning water is already behind it. Peel it, dry it, and look for dark discoloration. That’s the beginning of the problem, not the end.
- Soft flooring at the toilet or tub surround. The most reliable early signal. If a screwdriver handle pressed gently into the floor near the toilet leaves a mark, you’ve got a subfloor issue.
- Grout that darkens when dry. Grout should look the same wet or dry on the surface. If a shower floor grout line stays dark after weeks without use, moisture is trapped underneath the tile.
The key insight most homeowners miss: a bathroom doesn’t leak in one season and stop. It leaks for a year or more, and the visible damage you eventually notice is the late stage. Catching a dripping shower valve or a failing toilet seal in week one is a plumber’s visit. Catching it in month eighteen is a tile tear-out and a joist repair. In our experience across Richardson, the difference between those two outcomes is almost never luck – it’s a homeowner who knew where to look.
Workmanship Failures vs. Normal Wear: Telling Them Apart
Not every crack means someone did bad work. A bathroom sees steam, water, temperature swings, and foot traffic every day. Some grout cracking and some paint wear is expected. But specific patterns tell you the difference between age and failure, and once you can read them, you’ll know when to push back on a contractor.
Grout cracking: Normal wear shows up as fine, evenly distributed hairlines in high-traffic floor areas after many years. Workmanship failure cracks in a pattern: they follow the seams of the backer board, they run in straight lines along the grout joints between tile sheets, and they reappear within weeks of being patched. If you’ve had the same shower wall joint re-grouted twice in two years, the problem isn’t the grout. It’s movement in the substrate behind it, which usually means the backer board wasn’t installed to standard.
Paint bubbling: This is a moisture alarm, and its location is a diagnostic clue. Bubbling directly above the shower or tub – ceiling or upper wall – means steam is getting behind the paint film, often because the bathroom lacks adequate exhaust or the drywall used isn’t moisture-rated. Bubbling on the wall next to the shower, well away from direct spray, usually means water is traveling from a failed shower pan liner or a compromised valve. Same symptom, two completely different jobs, which is why the location matters before anyone quotes a fix.
Tile lippage: Run your palm across a shower wall or floor field slowly. Tiles should be co-planar within a couple of millimeters. One tile sitting noticeably above its neighbors – “lipping” – is almost always a substrate problem. It could be a joist that deflected, a backer board that wasn’t secured correctly, or a thin-set application that skipped coverage. A single lipped tile in a small area might be cosmetic. A tile that rocks when you step on it is a hollow-set failure waiting to crack, and it’s a redo, not a patch.
Hollow tiles: Tap a tile or two gently with a plastic screwdriver handle. A crisp, dense sound is normal. A dull, hollow thud means the thin-set didn’t bond to the tile or the substrate. Hollow tiles don’t always fail immediately, but they’re the ones that crack or pop loose first when the floor deflects.
The pattern to remember: anything that repeats, spreads, or follows a straight line is workmanship, not wear. Wear is gradual and uniform. Failure is patterned and local. If a contractor tells you “grout does that” about a crack that’s come back three times in the same spot, get a second opinion. In our experience, that line is a stall tactic.
What a Bad Shower Installation Looks Like From the Outside
You can evaluate a shower without tearing anything out or running a water test. The installation tells you what’s going on underneath if you know what to read from the outside. Here’s the sequence we recommend to homeowners in Richardson who aren’t sure whether their new shower passed muster:
- Look at the shower valve trim and escutcheon plate. The plate should sit flat against the tile with a seamless bead of silicone at the top and sides (the bottom stays open to let any water escape). Caulk all the way around – including the bottom – traps water behind the plate. That’s a workmanship shortcut, and it’s a leak waiting to happen.
- Check the corners where tile walls meet the shower base. The joint between wall tile and shower pan should be flexible sealant (silicone or a flexible urethane), not rigid grout. Rigid grout in that corner will crack the first time the house moves, and once it cracks water drains straight into the framing.
- Examine the shower curb. The curb should slope slightly inward – toward the drain – so a drip inside the shower stays inside. If the top of the curb is level or slopes outward, water runs down the outside of the shower and into the floor.
- Look for the tell-tale ghost shadows on the tile. Faint, translucent shadows behind the tile that haven’t always been there usually signal moisture behind the tile and grout lines.
- Ask about the waterproofing system used. A proper shower install has a specific waterproofing layer – a bonded sheet membrane, a liquid-applied membrane, or a traditional liner properly sloped and detailed at the drain. If the installer can’t name the system in one sentence, it wasn’t installed to a standard.
- Check the shower valve hole in the wall. A gap larger than the trim plate covers, sealed with nothing, is where water gets behind the wall. Sealing that gap with silicone from the outside is one of the most common quick fixes we perform on shower packages that were “high-end.”
- Check the drain weep holes. Pull the drain strainer on the shower floor – the small holes around the base of the drain should be open. If they’re plugged with thin-set or grout, water can’t escape the mortar bed and will back up into the walls.
A shower installation that looks great from the outside isn’t guaranteed to be waterproof, but a bad one almost always shows a visible tell. The trim plate caulked all the way around, the rigid grout in the corner, the level curb – each of these is a shortcut that a trained eye spots in seconds. Those shortcuts are why we do a water test on every shower we use before we close the wall, and why we’d walk away from a bid that skips one.
If you’re wondering whether a recent install in your home has one of these tells, a free walkthrough from our team will tell you. We’ve seen every version of these mistakes in Richardson, and we’ll tell you straight when the shower is fine.
During-Remodel Red Flags: When to Stop Work and Ask
The middle of a remodel is the hardest time to push back. The demo is done, the walls are open, the money is out the door, and you want to believe things are going well. That’s exactly when the warning signs matter most. If you see any of the following, stop work and ask questions before the next draw of money goes out.
- The scope changes without a written change order. No legitimate remodel should ever grow or shrink without a signed piece of paper with a price on it. If a crew member tells you “we’ll need to knock that out” without a change order, ask for one – today, in writing. This is the single biggest source of the surprise bills we get called in to untangle.
- The crew asks for cash for additional work. This is a hard stop. Every payment should go through your contract, and every extra dollar should be a change order. If a crew wants cash for materials, that’s a sign the project management has broken down.
- The shower waterproofing goes up before anyone documents it. If you never see the waterproofing layer installed, ask for photos of every step. A reputable contractor documents the closed-wall inspections because they want you to see them. If the backer board is already tiled over and no one took a photo of the waterproofing, ask why.
- No permits posted on the job site. Bathroom remodels that move plumbing, add a shower, or change framing require a permit in every DFW municipality we work in, including Richardson. If your job is past demo and there’s no permit card visible, ask where it is. If the answer involves “we don’t need one for this,” get a second opinion.
- The schedule moves without explanation and your contact goes quiet. Crews that stop showing up for a week with no communication are the most common warning sign of a job about to fall apart. A good contractor calls you back the same day, even if it’s to tell you a sub is behind. If you’re getting voicemail for days, take the signal.
- Original plumbing gets removed without a plan for the rough-in inspection. Bathroom remodels in 1960s and 1970s Richardson homes often reveal copper lines, cast-iron drains, or a missing vent that wasn’t in the original scope. Stopping the work to get an inspection is a good sign, not a bad one. A crew that covers over an unverified rough-in is the problem.
- Tile is being set on drywall in the shower. Drywall in a wet shower area – even “green board” – is not an acceptable substrate in a modern install. If you see it going up in the shower, ask what was used instead.
Every one of these red flags has a clean answer if the contractor is doing the work properly. If the answers don’t come quickly and in writing, that’s your signal to pause. Getting a second opinion mid-remodel is awkward, but it’s far cheaper than finishing a job that has to be redone. We’ve stepped in on partially finished Richardson bathrooms more times than we’d like, and the honest ones are always the easiest to fix.
Warning Signs Specific to Older Richardson Homes
If your home was built before 1990, the risk profile of a bathroom remodel is different. Original plumbing, original substrate, and original framing in Richardson homes from the 1950s through the 1980s have specific failure patterns we look for every time we open a wall. The pre-1990 warning signs you should know:
Galvanized steel supply lines. Homes built before the mid-1960s in Richardson often used galvanized steel for water supply. These lines corrode from the inside out. If your water pressure is weaker in the bathroom than the rest of the house, or if rusty water appears after a prolonged period without use, the pipes are near the end. Opening a wall for a remodel and finding galvanized pipe means the project scope needs a plumbing repipe before any tile goes back on.
Cast-iron drain lines under the slab. Many 1960s and 1970s homes have cast-iron drains under the slab. Cast iron doesn’t fail suddenly – it cracks and scales over decades. The warning sign is slow draining that a snake doesn’t fix, or a recurring smell from the tub drain. Left alone, those lines fail under the tile floor, and a bathroom remodel becomes a slab repair.
Gypsum-based substrate with original tile. Older Richardson bathrooms were often built with mortar beds on top of metal lath. These can last a long time, but they also trap water when a seal fails, and a remodel that re-tiles over the old bed carries the old moisture problem into the new bathroom. Every one of these we open has some level of compromised framing underneath.
Aluminum or two-wire electrical. Bathroom ventilation and lighting often weren’t updated when an older bathroom was renovated. Two-prong outlets and no ground means the exhaust fan and light fixtures are under-supported, which is a moisture and safety issue. Richardson code requires GFCI protection in bathrooms, and any remodel scope should confirm the electrical is current before drywall goes back up.
No exhaust ventilation. Pre-1980s Richardson bathrooms often didn’t include mechanical exhaust. A bathroom without an exhaust fan – or with one that vents into the attic instead of outside – is a mold incubator in North Texas summers. Every remodel in an older home should include a proper bath fan ducted outside. This is one of the most common things we add, and it’s the difference between a bathroom that stays dry and one that keeps growing mold behind the paint.
None of these are deal-breakers for a remodel – they’re just facts you need to know before you price one. We always open a wall and inspect before we quote tile work on a pre-1990 Richardson home, because the price of a remodel without that inspection is a guess, and a guess on a job this size is how homeowners get burned.
Signs From Below: The Ceiling, the Crawlspace, the Attic
The most useful part of any bathroom inspection happens outside the bathroom. When we walk a house in Richardson, we look at the room from below and from above before we quote anything. That’s where the story gets told.
The ceiling below. A ceiling stain under an upstairs bathroom is a direct leak report, but pay attention to its shape and location. A flat, uniformly brown ring is an old leak that may have stopped. A fresh, dark, irregular stain with a slightly concave shape is active. Chewed-open drywall tape and sagging between joists are signs water has been running for a while. A recent paint job that’s already showing bubbles is the loudest alarm – someone covered up a leak before listing or selling. That’s worth a second look before you buy the house or sign the remodel.
The crawlspace or basement. Below the bathroom, look for dark staining on the joists, efflorescence (white powder) on the block or slab, and any standing water. If the wood feels soft where the toilet or tub drains pass through, that’s structural damage from a slow ongoing leak. Any joist with visible rot needs to be scoped for repair before new tile goes on, because the deflection from a compromised joist will crack new tile within a year.
The attic above. The bath fan exhaust – the one that should vent outside – is visible from the attic in most homes. If you see a duct that terminates into the insulation or ends near a soffit vent, that’s a moisture problem going on in the attic, not the bathroom. In Richardson summers, attic temperatures run hot enough to bake moisture into framing, and the resulting attic mold often shows up as a bathroom smell the homeowner can’t find. The fan should be ducted through the roof or a gable wall to the outside, in a smooth duct, as short a run as possible. That’s a small fix that prevents a very large problem.
Each of these looks from below is a five-minute check that a homeowner can do, and each of them tells you something the surface of the bathroom can’t. In our experience, the bathroom tells the truth, but the rest of the house tells the more useful story.
The Five-Minute Monthly Walkthrough
The single most useful habit we recommend to Richardson homeowners is a short monthly walkthrough of each bathroom. Five minutes, twelve times a year, before the problem gets expensive. Here’s what it looks like:
- Press on the floor around the toilet. A fingernail or a screwdriver handle, gentle pressure. Any give is a subfloor check before it becomes a repair.
- Look at the caulk line around the tub and shower base. Any lift, peeling, or dark spots behind the caulk – fix the seal.
- Run the exhaust fan for a minute. A weak fan or a delayed start is a sign it’s failing or under-sized. A working fan clears a shower mirror in 5 – 10 minutes. If yours can’t, that’s an upgrade.
- Scan the ceiling of the room below. Any new stain, ring, or bubble. Note where it is and check again next month – that’s how you distinguish an old stain from an active leak.
- Walk the shower floor with your hand. Feel for a tile lip, a step, or a rocker. A well-built shower floor feels uniform.
- Sniff the room. A persistent musty smell after cleaning means moisture is somewhere it isn’t supposed to be. Trust your nose. It’s a better moisture detector than the average wall.
- Check under the sink. A flashlight on the cabinet floor and the P-trap. Any darkness, dampness, or musty smell is a small leak before it’s a bigger one.
The trick is not to wait for a sign. The trick is to check for signs regularly enough that you catch them in week one. Most of the bathrooms we tear down in Richardson had a series of small warnings over a year or two before the call, and every one of them would have been cheaper to catch early.
Common Mistakes to Avoid
- Painting over the ceiling stain instead of chasing the leak. It looks fine for about six weeks, then the bubble returns. The paint is a symptom, and every coat added hides the real problem a little longer, until the drywall has to be replaced.
- Re-caulking over old caulk instead of removing it. Silicone won’t adhere to silicone. Caulk on top of caulk looks finished for a few weeks and then peels off the old layer. Take the 15 minutes to pull the old bead, clean the joint, and apply a fresh one.
- Treating a wobbling toilet as a cosmetic problem. A rocking toilet is a leak indicator, not a seating problem. Snug the bolts down and the wax ring is still failing underneath. In Richardson homes on a slab, that failure routes water into the subfloor and beyond.
- Approving a remodel without a written scope that includes waterproofing. If the bid says “tile per owner selection” and nothing about backer board or a waterproof layer, the price is incomplete. Every reputable bid should name the substrate and the waterproofing system.
- Skipping the permit because the contractor says you don’t need one. Bathroom remodels that move plumbing, add a shower, or change framing need a permit in Richardson. The permit protects you if you ever sell the house, and it’s a sign of a contractor who builds to code, not to convenience.
- Using a handyman for a shower rebuild. Shower installation is the single most technical part of a bathroom remodel. A handyman who sets tile without documented waterproofing is a project that fails in year three, not year one, which puts it squarely inside a good warranty and outside a bad one.
- Choosing the lowest bid. A bid that comes in thousands below the others on a Richardson bathroom usually skips something – the waterproofing, the permit, the plumbing updates, or the ventilation. The cheapest bid is usually the most expensive when you finish it.
See the difference
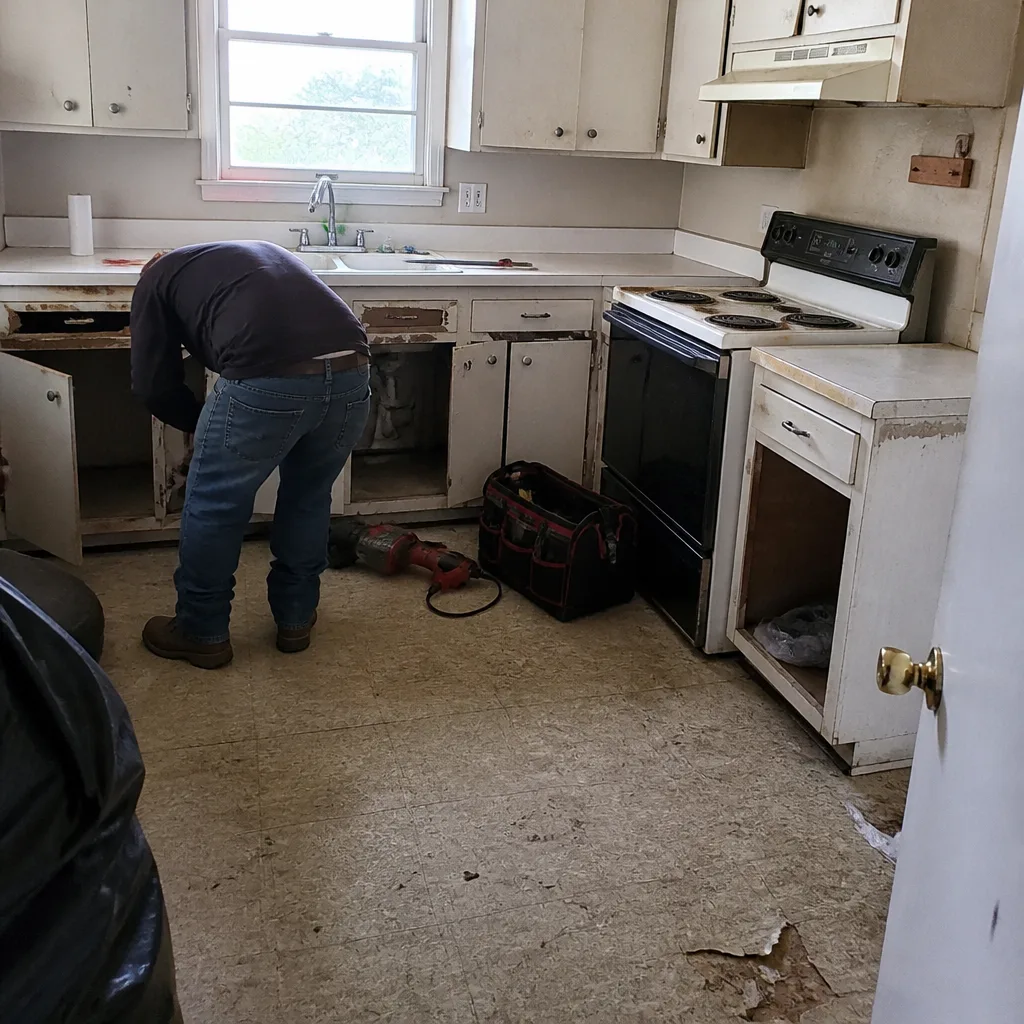 Before
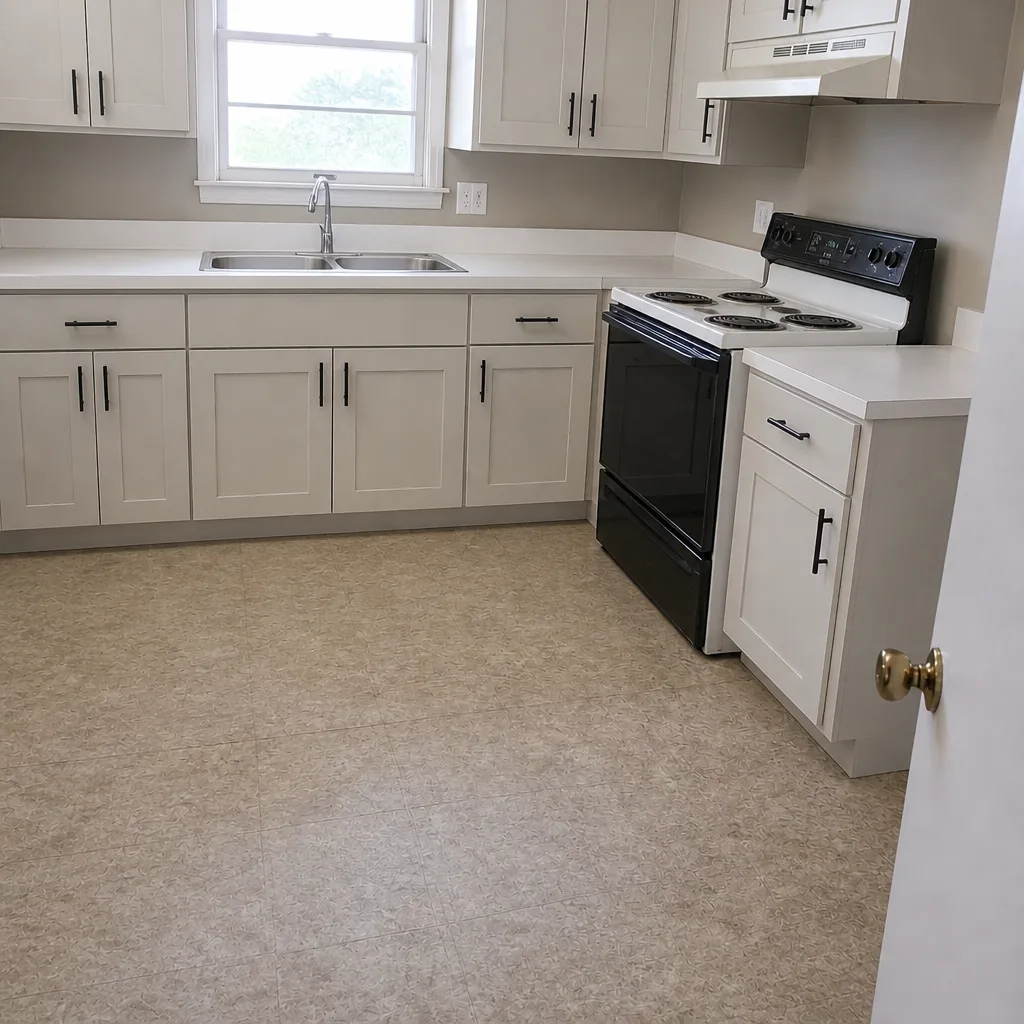 After
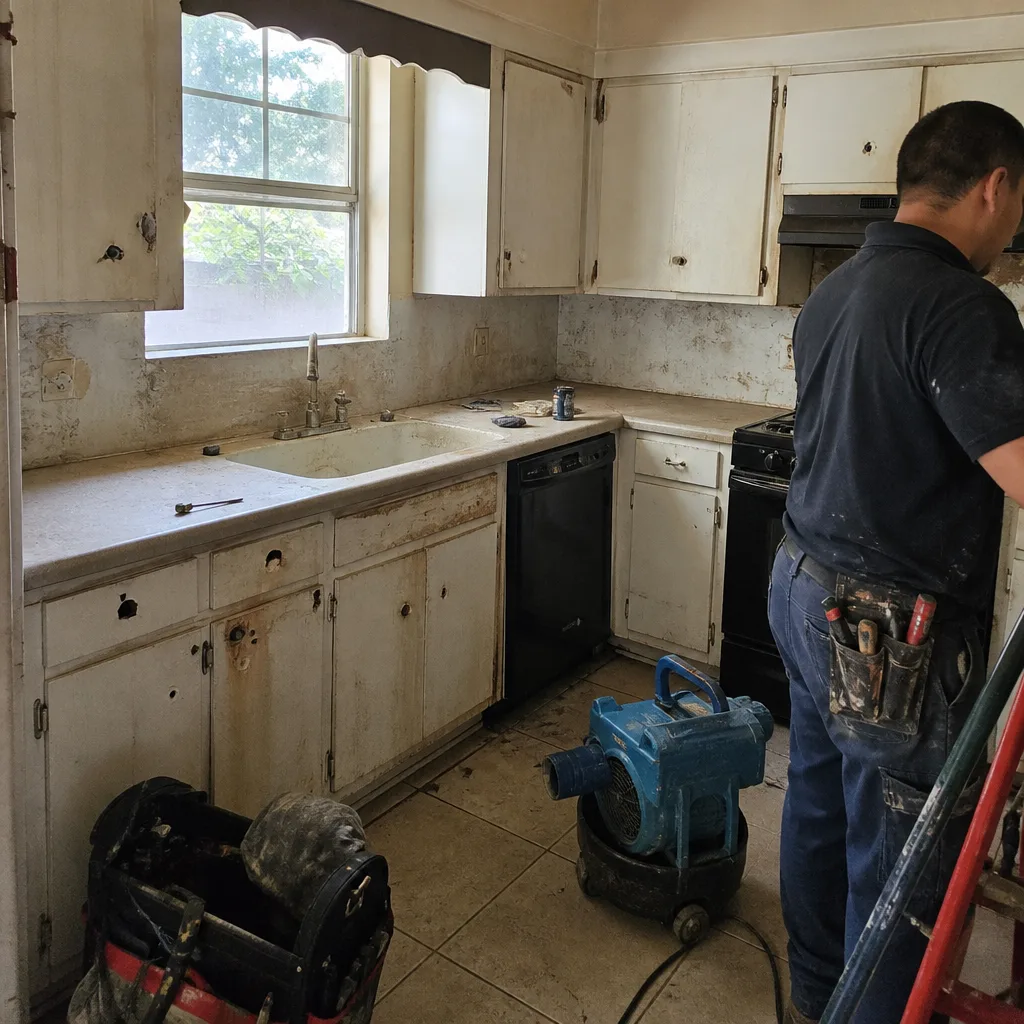 Before
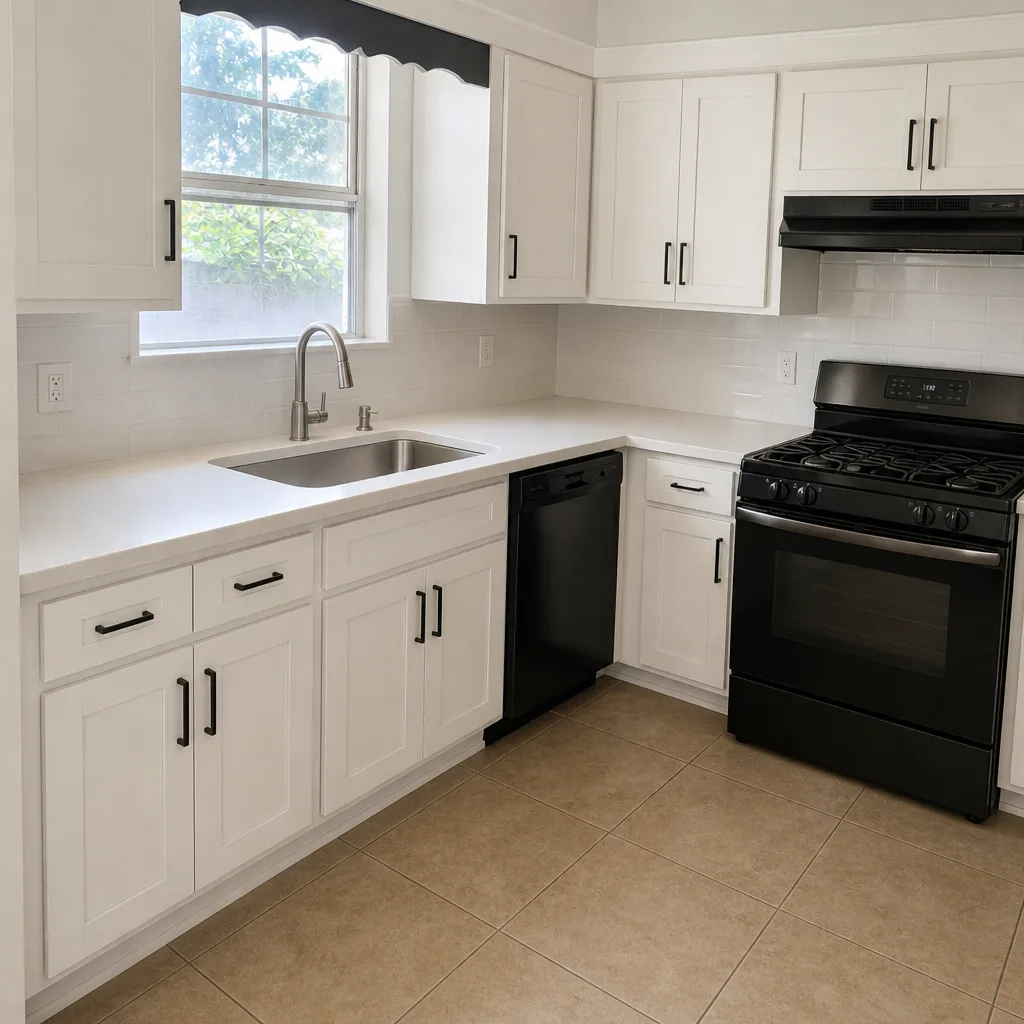 After
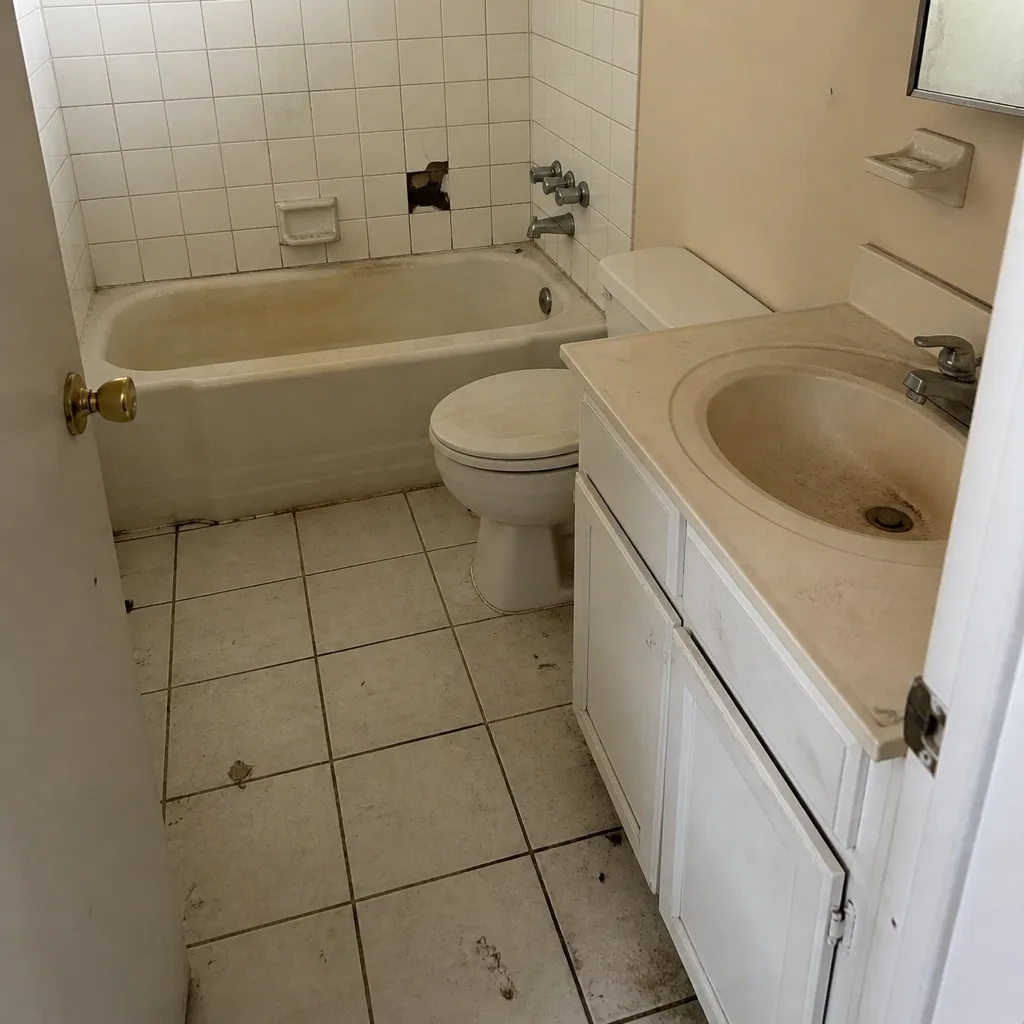 Before
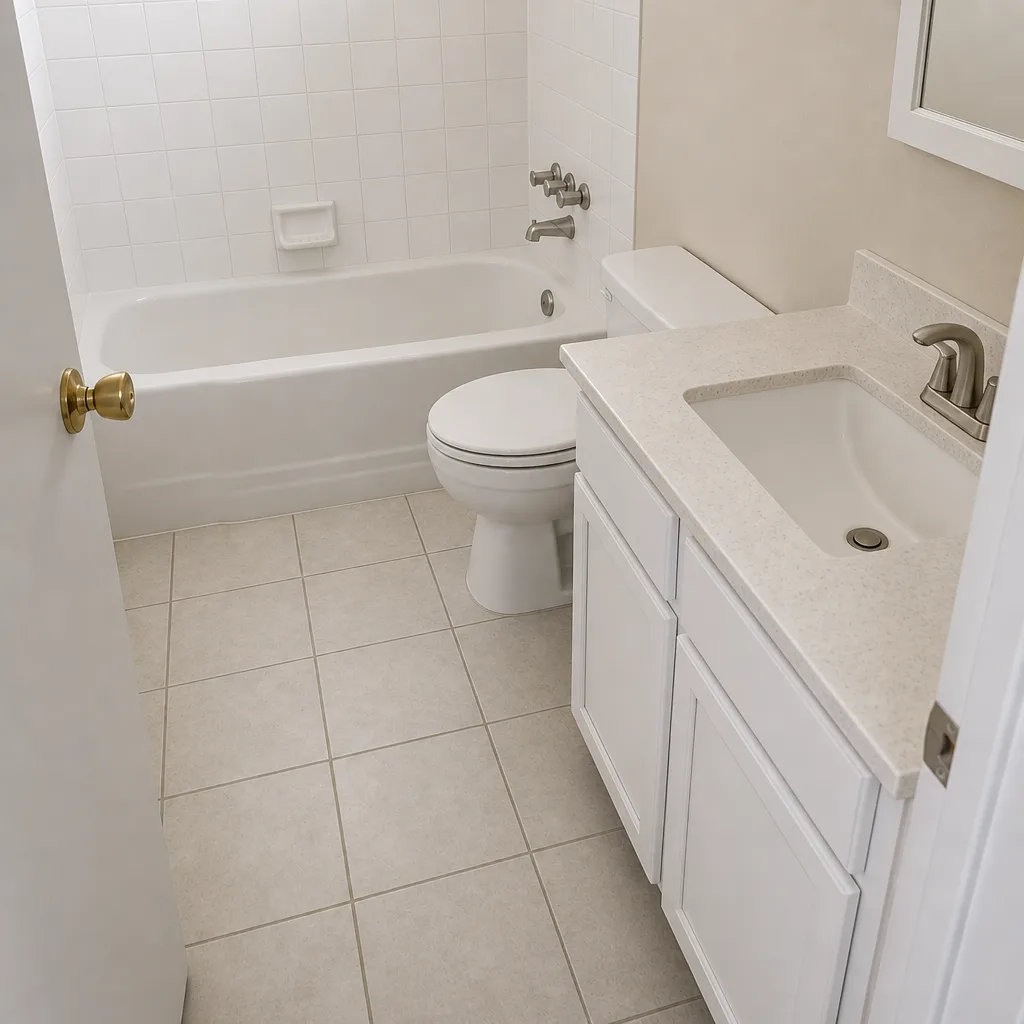 After
When to Call a Professional
Call a professional when any of the following is true: the floor near your toilet or tub feels soft, a ceiling stain keeps returning after repainting, the same grout crack has been patched twice, tiles sound hollow or rock underfoot, a shower curb or corner joint won’t hold a seal, you smell mustiness that doesn’t clear, or you find water behind any caulk line. Pre-1990 Richardson homes add two more: any question about galvanized supply lines or cast-iron drains, and any remodel that opens a wall, because that’s the moment the plumbing and framing have to be inspected – not after the tile goes back. A professional eye on a bathroom is cheap. A bathroom torn out twice is not.
Groundwork Construction Co. of Richardson offers free estimates in Richardson – call (833) 954-4985. We’ll walk the bathroom, look at the ceiling below it, and tell you honestly which of these signs you actually have and what it takes to fix them.
Frequently Asked Questions
The earliest reliable sign is soft flooring at the base of the toilet or tub, or a fresh paint bubble on the ceiling below the bathroom. Both indicate water where it shouldn’t be, usually from a failing caulk line, wax ring, or shower pan. If you see either, get a professional to look before the repair grows. Call (833) 954-4985 for a free estimate – we can usually tell you what’s going on in a single visit.
You can’t be 100% certain without opening a wall, but you can read the outside of the install. Trim the escutcheon plate sits flat, the shower corner joints use flexible sealant (not grout), the curb slopes inward, and the drain weep holes are open. If any of those are wrong, the waterproofing behind the tile deserves a check. Our team inspects shower packages as part of a free estimate in Richardson.
Yes, for most bathroom remodels in Richardson that move plumbing, add a shower, or change framing. A straight cosmetic refresh (new paint and fixtures on existing rough-in) usually doesn’t need one. If a contractor tells you a plumbing-change remodel doesn’t require a permit, that’s a red flag worth a second opinion. Call (833) 954-4985 – we pull and pass permits as part of the project scope.
A typical bathroom remodel in Richardson runs from around $15,000 for a hall bath refresh to $60,000 or more for a full primary bathroom with relocated plumbing and custom tile. The price swings with the plumbing condition, whether walls open into existing leaks, and the tile package. We give written line-item quotes so you can see exactly where the money goes before the job starts. Call (833) 954-4985 – estimates are free.
Not always, but it’s the right assumption to start with. A soft spot can be a failing wax ring, a compromised flange, or a slow leak from the supply line. Each of those routes water into the same subfloor. The fix depends on what’s underneath, which is why a professional should probe it before quoting anything.
You can, but if the crack keeps coming back, re-grouting won’t fix it. A crack that reappears in the same spot after two patches is a substrate problem, not a grout problem – usually movement in the backer board or the framing behind it. A proper fix addresses the substrate. Call (833) 954-4985 and we’ll tell you which one you’re looking at.
The Bottom Line
Every bathroom failure we see in Richardson has a paper trail. A caulk line that needed ten minutes a year ago. A wobbling toilet that got a snugness turn. A ceiling ring that got painted over. The bathroom told the homeowner, and the warning signs were quiet enough to miss. The point of this guide is to make those signs loud. Watch the floor at the toilet base. Read your ceilings and your grout lines. Inspect the shower from the outside. Do the five-minute monthly walkthrough. And when a repair is bigger than caulk or grout, call a contractor who’ll put the scope in writing and back it with a 730-Day Done Right Promise – if it’s not done right, we make it right. That’s the difference between a bathroom that lasts and a bathroom you have to fix twice.
Ready for a professional set of eyes on your bathroom? Groundwork Construction Co. of Richardson offers free project estimates and design consultations. Our technicians have up to 12 years of experience, carry background checks, and show up in uniform. Take advantage of $1,000 off projects over $10,000 and 0% financing for 18 months to spread the cost. Calls are answered by a live person, day or night – call (833) 954-4985 today. You can also explore Groundwork Construction Co. of Richardson home to see the full range of what we do, and when your project reaches the exterior, take a look at our Driveway & Pavers in Richardson, our Fence Installation in Richardson, and our Home Additions & ADU in Richardson services. From foundation to finish line, we’re built to last, backed in writing.
Written by the team at Groundwork Construction Co. of Richardson.