Last updated November 18, 2026



Free written scope consultation - allowances, timeline, and change-order rules on paper before a single trade is scheduled
DIY vs Professional Fence Installation: What’s Safe to Do Yourself
The most expensive fence call we get isn’t “I need a new fence.” It’s “I need someone to fix the fence I built last spring,” and that repair often costs more than starting from scratch would have. Fence installation is one of the most DIY-attempted projects in North Texas because post setting and layout look forgiving, right up until the first gate won’t latch or the whole line runs two inches crooked against the house. This guide draws the line for you: what’s genuinely safe to tackle, what quietly goes wrong in Richardson soil, and where calling a pro saves money instead of costing it.
Quick Answer
Single-panel replacement, hardware swaps, staining, sealing, and minor post shimming are safe DIY territory for most homeowners. Full fence installation – layout, post holes, setting posts, framing rails, and hanging gates – is not, mainly because post depth and string-line accuracy decide whether the whole run is straight and stable for the next 20 years. In Richardson, clay soil and shallow digging turn small layout errors into big ones fast.
Styles & brands we work with
- Kitchen remodeling
- Bathroom remodeling
- Home additions & ADU
- Roofing
- Windows & doors
- Driveway & pavers
- Fence
Table of Contents
- Where the DIY Line Actually Sits
- Why Post Layout and String Lines Are Deceptively Technical
- Digging in Richardson: 811, Clay Rock, and Post Depth
- Permit Reality for DIY Fence Work in Richardson
- The Hybrid Approach: Prep Yourself, Hire the Structure
- Materials, Rot, and Richardson Weather
- DIY vs Professional Cost: What You’re Actually Saving
- Common Mistakes to Avoid
- When to Call a Professional
- Frequently Asked Questions
Where the DIY Line Actually Sits
A fence is a system, not a set of boards. The posts carry everything – wind load, gate weight, the tension of the rails – and everything above ground depends on what’s buried. That’s why the divide between safe and risky isn’t about skill or confidence; it’s about whether the project touches the structural base.
Here’s the honest breakdown of what belongs in DIY territory and what doesn’t:
Safe to do yourself
- Single panel replacement. Swapping one damaged section between two sound posts is manageable with a level and a drill. If the posts are solid, the panel is cosmetic.
- Hardware swaps. Gate hinges, latches, handles, and caps. Small jobs, low risk, and a loose latch is a security gap worth fixing the same weekend you notice it.
- Staining and sealing. A brush or sprayer, the right product for the species, and a dry forecast. This is the highest-value DIY fence chore you can do.
- Minor post shimming. If a post has settled slightly and the panel sags, a shim can buy time. Note the word “time” – a shimmed post that keeps moving is a post that’s failing.
Not safe to do yourself
- New post holes and post setting. Depth, concrete, and plumb all have to be right on the first try.
- Full layout and string-line work. One bad starting point multiplies across the run.
- Gate hanging. Gates are the hardest part of any fence and the first thing to fail when the posts aren’t right.
- Removing a fence near utility lines. Call 811 before any digging, always.
If your project lives entirely in the first list, you’re fine. If any part of it touches the second, you’re paying someone eventually. The question is whether you pay them once to build it or twice to build it and then fix it.
Why Post Layout and String Lines Are Deceptively Technical
Every crooked fence in Richardson started with a post that looked fine. Layout is where amateur fence work quietly fails, because the error doesn’t announce itself. It accumulates.
Picture a 150-foot run with posts every 8 feet. That’s about 19 posts. If your first post is set one inch off the property line and your string line drifts another inch by the far end – easy to do when you’re eyeballing instead of measuring from a fixed reference – you’ve got a fence that visibly wanders. If the first post is set two inches off and the drift compounds, the last post can land three or four inches from where it belongs. On a shared property line, that’s a neighbor dispute. Against a gate, it’s a gate that won’t close.
Here’s how professional layout actually works, in order:
- Establish the property line. Pull the survey, not the memory. Corner pins are the reference, not the old fence.
- Set the two terminal posts first. End posts anchor the entire run. Everything between them is measured off those two points.
- Run a taut string line between terminal posts. Mason’s line, pulled tight, at the exact height of the post faces.
- Mark intermediate posts on center. Consistent spacing, measured from the string, not from the last post you dug.
- Check plumb on every post in two directions. A post can be straight front-to-back and lean side-to-side. Both matter.
A 2-inch error in the first post becomes a 4-inch error by the last post on a long run, and that’s the difference between a gate that swings clean and one that drags on the concrete. String lines exist because human eyes are bad at long distances and worse at cumulative error.
Digging in Richardson: 811, Clay Rock, and Post Depth
Richardson sits on the Blackland Prairie clay that runs across much of North Texas, and that clay does two things to fence projects: it shrinks and swells with the seasons, and it turns into something close to rock at depth once it’s dried out. Both are why fence posts here need to be deeper than the bag of concrete suggests.
Call 811 before you dig. Every time.
Texas law requires you to notify the 811 call center before any excavation. It’s free, it’s usually scheduled within a couple of business days, and the utility locators mark gas, water, electric, and communications lines on your property. Skipping it is how people hit irrigation lines, cable, or worse. In older Richardson neighborhoods, utility maps aren’t always perfect, so even with marks in place, dig carefully near the flags.
What happens when you hit clay rock at 18 inches
Around 12 to 18 inches down, Richardson clay often stops being dirt and starts being a hard, chunky layer that a manual post-hole digger bounces off. The temptation is to stop there and call 18 inches deep enough. It isn’t. A fence post in expansive clay needs to reach below the active soil layer – the zone that moves with moisture – or the post will heave and lean with every wet-dry cycle. Professional crews bring augers and bars for exactly this, and they keep going. A homeowner with a shovel usually stops.
Minimum post depth for stability
- Rule of thumb: one-third of the post’s above-ground height buried, plus a few inches. An 8-foot post set 6 feet above grade wants roughly 2.5 to 3 feet in the ground.
- Frost line isn’t the driver here – Richardson doesn’t have deep frost. Clay movement and wind load are.
- Concrete at the base, not the whole hole. A concrete collar around the bottom of the post anchors it against uplift; filling the entire hole with concrete can trap moisture against the post.
- Gravel at the bottom for drainage. Clay holds water. Standing water rots posts from the inside out.
If you’re weighing fence installation against other exterior projects, our guide to Fence Installation in Richardson walks through the full scope of what a finished, permitted fence job looks like.
Permit Reality for DIY Fence Work in Richardson
Permit requirements for fences vary by height, location, and whether the fence is on a corner lot or in a floodplain. In Richardson, the rules trip up DIYers most often on height (front and side yard fences are typically capped lower than backyard fences), on corner-lot sight triangles, and on fences near drainage easements. Before you buy lumber, call the city’s permit office or check the current development code – the answer for your lot may not match your neighbor’s.
Here’s the part most guides skip: skipped permits have a way of surfacing at the worst possible moment – the sale of your house. During a buyer’s inspection, an unpermitted fence can trigger a request for documentation, a re-inspection, or a credit at closing to cover removal and rebuild. That credit usually runs several thousand dollars. A permit that cost a fraction of that feels very cheap in hindsight.
Beyond permits, Richardson has an HOA reality in many subdivisions. HOA architectural review committees typically require approval on fence height, material, color, and orientation (which side the “good” side faces). Getting HOA sign-off is not something a contractor can do for you – it’s an owner step – but a professional crew will build to the approved spec and won’t guess at it.
The Hybrid Approach: Prep Yourself, Hire the Structure
You don’t have to choose between all-DIY and all-hired. The middle path is real, and it’s where we see the smartest homeowners land: they keep the labor that’s genuinely low-risk, and they hand off the parts that determine whether the fence holds.
Here’s what prep work legitimately reduces professional labor cost without compromising the structural outcome:
- Clear the fence line. Move planters, pull weeds, and clear brush along the run. Crews charge for clearing, and it’s grunt work anyone can do.
- Handle HOA and city paperwork. Get your approvals and permit in hand before the crew arrives. Every day of delay costs money.
- Mark the property corners. Have your survey and corner pins located so the layout is fast and accurate.
- Arrange utility locates through 811. Free, fast, and it keeps the crew from hitting a line on day one.
- Decide stain vs. natural, and buy the product. Choosing a finish up front avoids a second mobilization.
- Remove the old fence if it’s simple. Standard wood panels between sound posts can come down without special tools. If the posts are concrete-set and the fence is tall or near power lines, let the pros handle teardown.
What you don’t want to do yourself, even in the hybrid model: dig the post holes, set the posts, or hang the gates. Those are the three steps where a small error compounds, and where the cost of a redo swallows every dollar you saved.
If your project is bigger than a fence – say you’re planning a detached garage or a yard rework – the same logic applies, and our team can walk you through Home Additions & ADU in Richardson when the scope grows.
Materials, Rot, and Richardson Weather
Fence life in Richardson is a fight against moisture at the base and sun at the top. Our summers hit triple digits regularly, winters occasionally drop into the teens, and the clay soil stays wet for days after a storm. Cedar handles this well because it’s naturally rot-resistant. Pressure-treated pine is cheaper and holds up if the post base is detailed correctly. Composite and vinyl look clean and never need staining, but they’re less forgiving of layout errors – a bowed composite panel is a lot more obvious than a bowed cedar one.
Where we see fences fail early:
- End grain against the ground. Posts that sit directly on clay wick water up the end grain and rot from the bottom. Gravel and a concrete collar fix this.
- Fasteners that rust. Galvanized or stainless hardware costs a little more and lasts the life of the fence. Cheaper screws rust through in a Texas summer-plus-rain cycle.
- No seal on new wood. Cedar and pine both want a stain or sealer within a few months of installation, after the wood has dried but before it starts to gray.
- Wrong species for the exposure. A fence along an irrigated bed or a downspout will soak. In those runs, cedar and treated posts pay back the difference in a few years.
Our crews work with trusted material partners on fence, roof, and window projects alike – brands like GAF, CertainTeed, James Hardie, and Belgard across categories – because material quality is what “built to last, backed in writing” actually means. For a fence, the species of wood and the fastener are what you’ll be living with. If you’re pairing your fence project with paving, our page on Driveway & Pavers in Richardson covers the same ground on material selection.
DIY vs Professional Cost: What You’re Actually Saving
Here’s the number most DIY guides never put in a table. A fence looks like a lumber purchase until you factor in the tools, the redo, and your weekend.
| Line item | DIY reality | Professional reality |
|---|---|---|
| Materials (150 ft cedar, posts, concrete, hardware) | $3,200 – $5,000 | $3,200 – $5,000 |
| Tools (auger rental, level, bar, mixers, saw) | $200 – $600 (one-time) | $0 (included) |
| Labor | Your weekends (est. 4-8 full days for a beginner) | Typically 2-4 days |
| Permit | Varies; owner pulls | Pulled and inspected |
| Redo risk (out-of-plumb posts, gate misalignment) | 10-30% chance of partial rebuild | Covered by workmanship warranty |
| Warranty on the work | None | 730-Day Done Right Promise from Groundwork |
Read that table honestly. If you’ve got an auger, a helper, a level you trust, and time, DIY can save real money on a short, straight run. If you’re renting tools, learning on the job, and hoping the gate works, the savings shrink fast. Our team gives upfront pricing on fence projects with no surprises – the number you see is the number you’ll pay – and you can schedule a free estimate any time. If your project includes other big-ticket upgrades, our friends at Groundwork Construction Co. of Richardson home can walk you through the full slate.
One more budget consideration: cost isn’t just the fence. A redone fence often includes replacing landscaping damaged during teardown, a new gate, and a second permit. Add those to the DIY total before you decide it was cheaper.
Common Mistakes to Avoid
- Not calling 811 before any dig. More than one Richardson homeowner has cut an irrigation zone line or hit private cable because the shovel came out before the call. The call is free and takes a couple of days to schedule – do it first.
- Eyeballing the string line instead of measuring from a fixed pin. Your eye cannot see a two-inch drift over 150 feet. The tape can. Measure twice, from the property pin.
- Stopping at 18 inches because the clay gets hard. That post will heave with the seasons. Below the active soil layer, or it moves.
- Skipping the permit and hoping nobody notices. The buyer’s inspector will notice at resale, and the credit they ask for usually exceeds the full permit cost.
- Filling the entire post hole with concrete. Traps moisture against the post and accelerates rot. Concrete at the base with a gravel drainage layer lasts longer.
- Hanging the gate before the posts are cured. Concrete needs to set before the gate load lands on it, or the gate will sag the day you install it.
- Buying lumber before HOA approval. Color and height rules in Richardson subdivisions get enforced, and a denied submittal means returning hundreds of dollars of material.
- Not sealing new cedar or pine. Texas sun grays raw wood within a season. A coat of stain in the first six months adds years to the fence.
When to Call a Professional
Call a professional when the project is anything more than a single panel, a hardware swap, a stain job, or a shim. Full fence installation, gate hanging, post removal near utilities, and any fence over eight feet tall are jobs where the structural margin is too thin to learn on. If your property line is shared, contested, or in an HOA with strict architectural review, professional layout and documentation protects you. And if you’ve already built a fence that’s leaning, bowing, or has a gate that won’t close, the fix is usually more involved than the original build – not less.
Groundwork Construction Co. of Richardson offers free estimates in Richardson, with upfront pricing and the 730-Day Done Right Promise on every install. Our technicians have up to 12 years of experience and show up background-checked and uniformed on every job. Call (833) 954-4985 to schedule your free estimate – a live person answers, 24/7.
Frequently Asked Questions
Yes, legally, if you pull the required permit and follow city code on height, setbacks, and easements – and if your HOA allows self-installation. The real questions are whether your property line is precise enough for accurate layout and whether your post holes reach below the active clay layer. Those two conditions decide whether a DIY fence lasts or needs redoing within a few years. Call (833) 954-4985 for a free estimate if you’d like a comparison before you dig.
Post depth should reach one-third of the above-ground height plus a few inches – roughly 2.5 to 3 feet for a 6-foot fence above grade. That depth must pass below the active clay layer, the zone that swells and shrinks with seasonal moisture. If you can’t get below 24 inches because the clay turns to rock at 18 inches, rent an auger or bar and keep going. Shallow posts heave and lean within a couple of seasons.
Permit requirements depend on the fence height, its location on the lot, and whether the property is on a corner or in a floodplain. In most cases, front and side-yard fences hit lower height limits than backyard fences, and corner-lot sight triangles are restricted. Confirm with Richardson’s permit office for your specific address before buying materials. Pulling the permit up front avoids a much larger credit request at resale. Call (833) 954-4985 for a free estimate on a permitted install.
Setting the first post without a fixed reference point. From one misplaced starting post, the string line drifts, the run goes crooked, and the gate at the far end won’t close. By the time the error shows up, the posts are cured in concrete. The fix is measuring from the property pin, not the eyeball or the old fence line. Call (833) 954-4985 if you’d like a pro to lay out the line for you.
On a short, straight run with a helper, an auger, and a solid level, DIY saves money – roughly the labor cost of the install. On longer runs, irregular lots, or jobs with gates, the savings shrink because of tool rental, permit hassle, and the cost of redoing out-of-plumb posts. Add a warranty to the pro side and the math gets tighter. Groundwork offers free estimates and upfront pricing with no surprises, so you can compare numbers before committing. Call (833) 954-4985.
A typical 150-foot residential fence takes 2 to 4 working days for a professional crew – faster than most DIY attempts, and without the weeks of weekend work. The pace depends on post depth, soil conditions, and weather. If you’re hiring, schedule your free estimate before ordering material so the timing and the permit align. Call (833) 954-4985 to get on the schedule.
The Bottom Line
Fence projects are simple only on paper. Panel swaps, hardware, staining, and shims are yours to own – do them, and do them well. Post setting, layout, and gates are where the line sits, because a 2-inch error at the first post is a 4-inch problem at the last, and Richardson clay will test every inch of it. The hybrid approach – prep yourself, hand off the structure – keeps the DIY spirit without risking the fence. If you’re weighing the call, remember the cost of fixing a fence is usually higher than the cost of building it right the first time.
Ready for a Fence That Stays Straight?
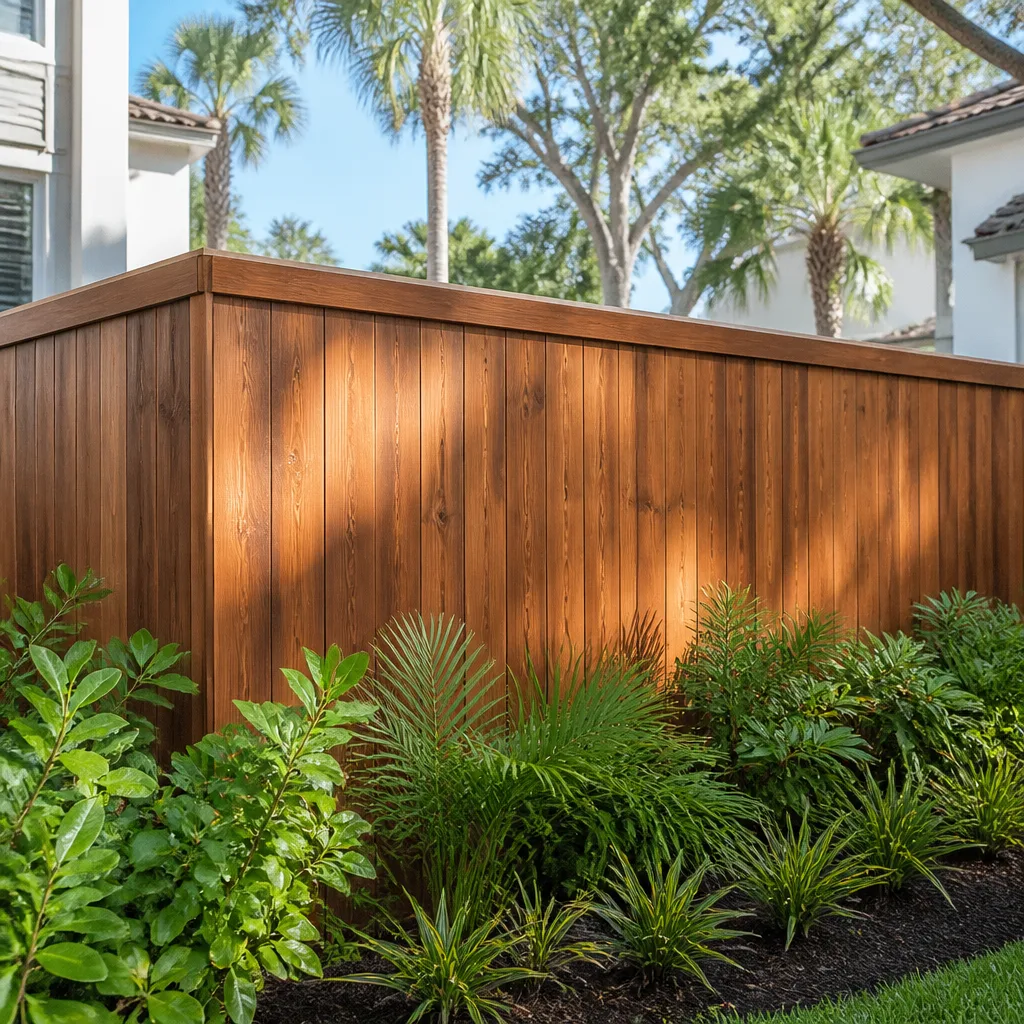
Groundwork Construction Co. of Richardson has been a trusted home construction partner in this community since 2014, with the 730-Day Done Right Promise behind every install. Our technicians – up to 12 years of experience each – are background-checked, uniformed, and arrive with the tools and know-how to build to Richardson code and HOA spec. Call (833) 954-4985 for a free estimate and let’s get your fence built right the first time. The number you see is the number you pay.
Written by the team at Groundwork Construction Co. of Richardson.
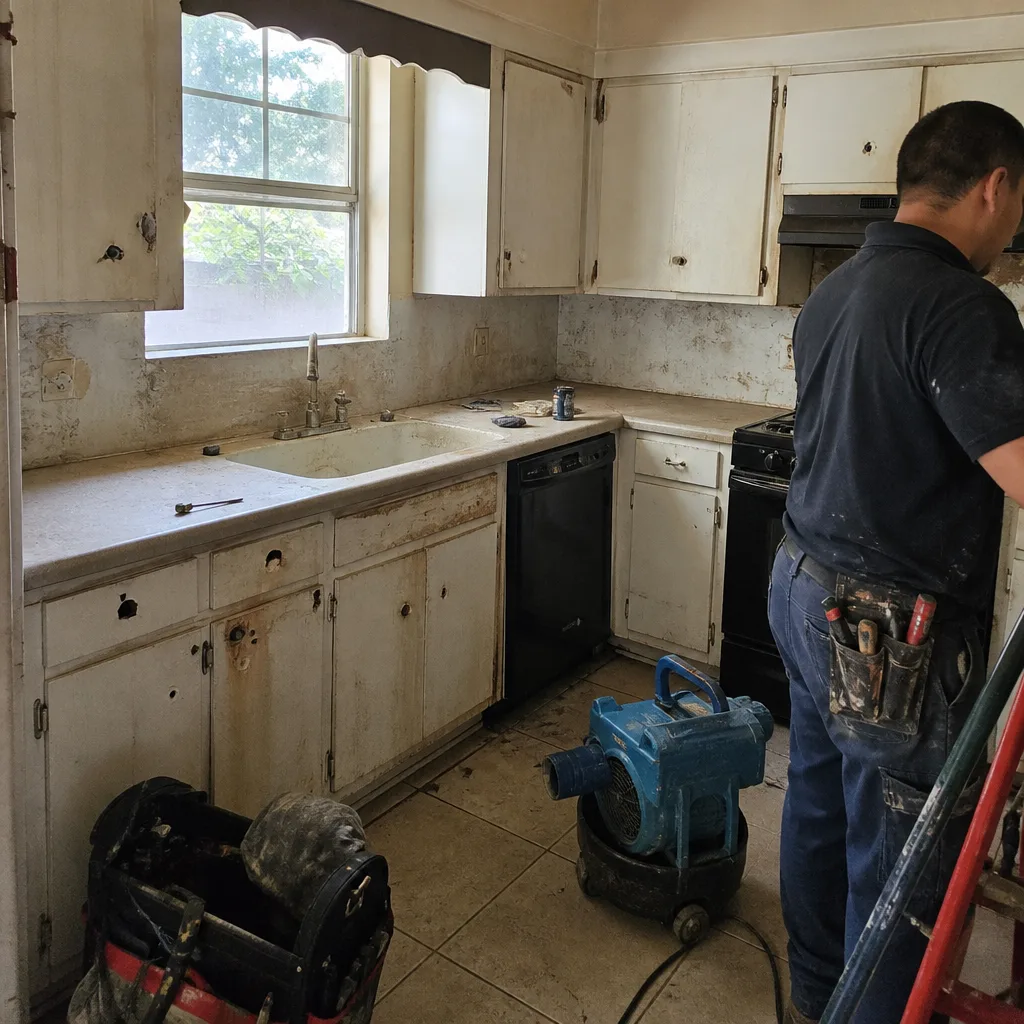
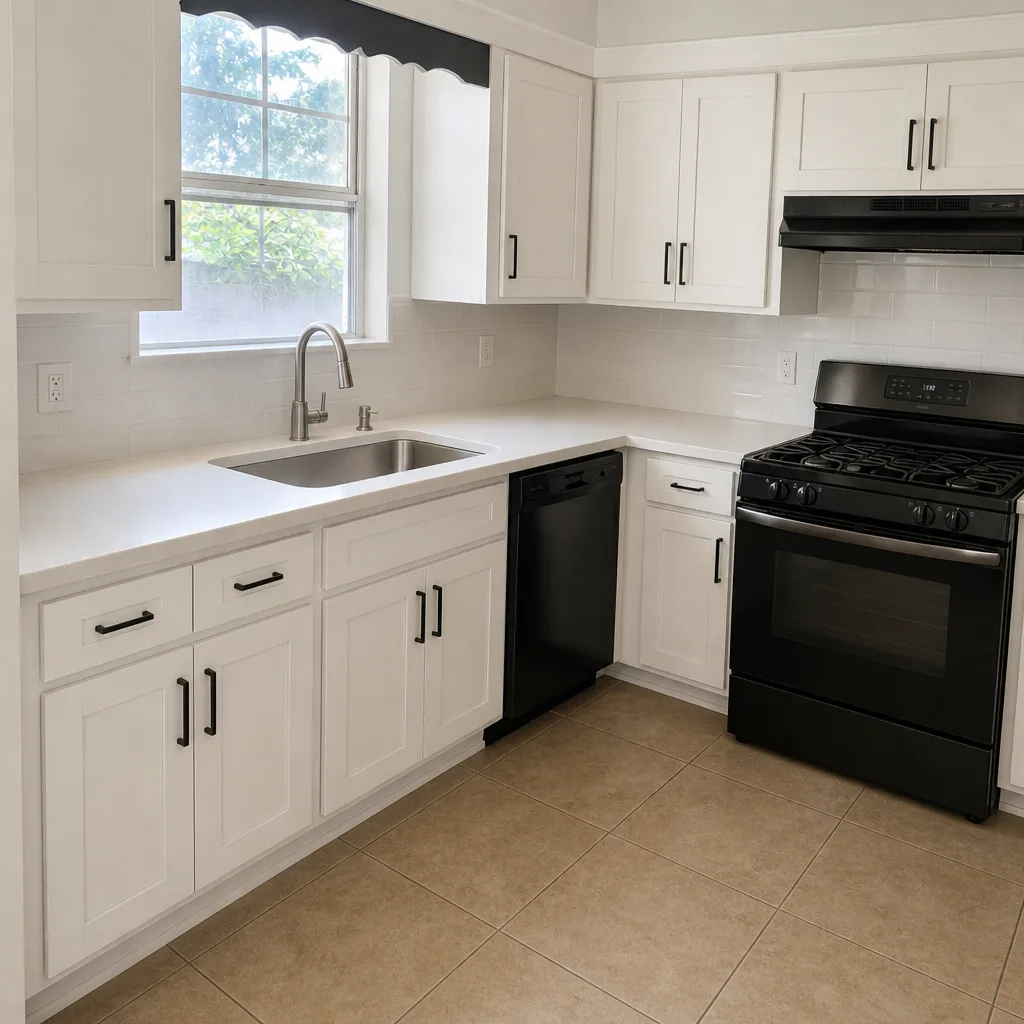
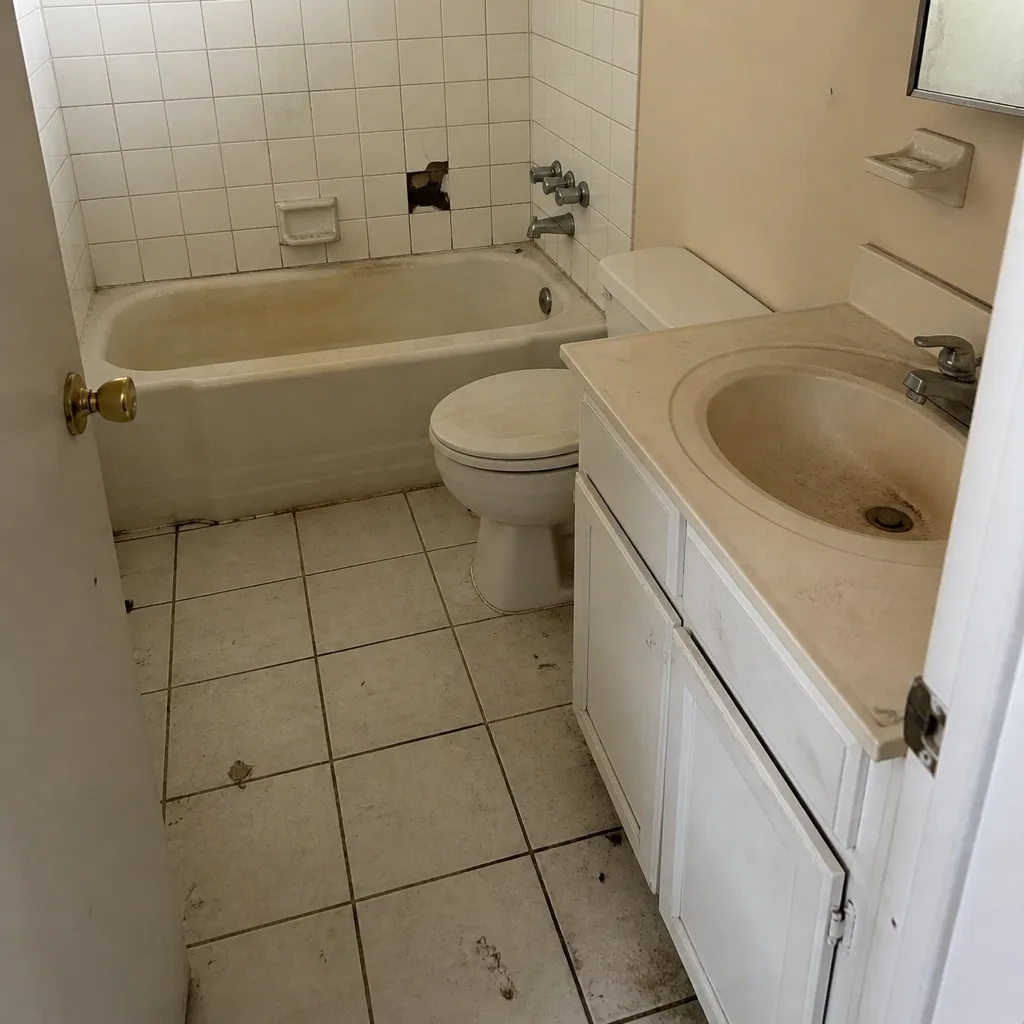
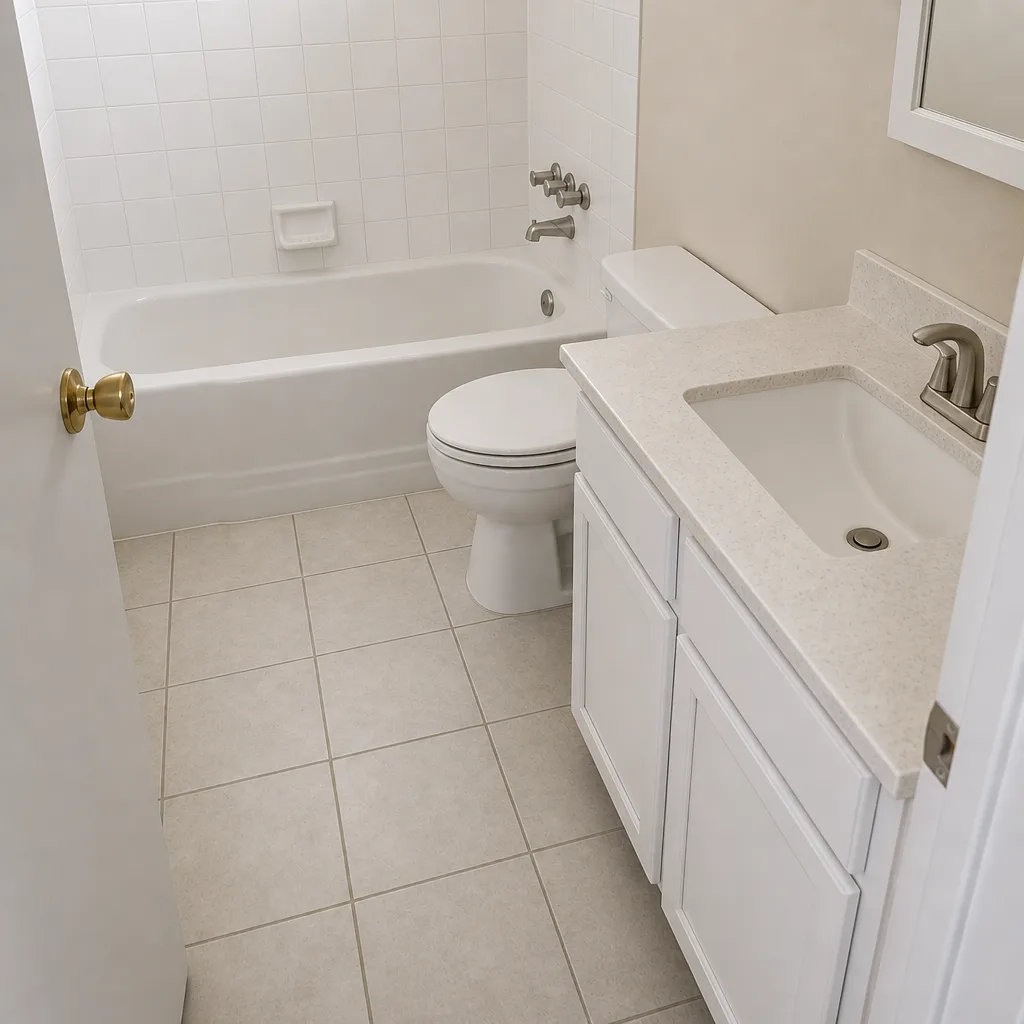
See the difference
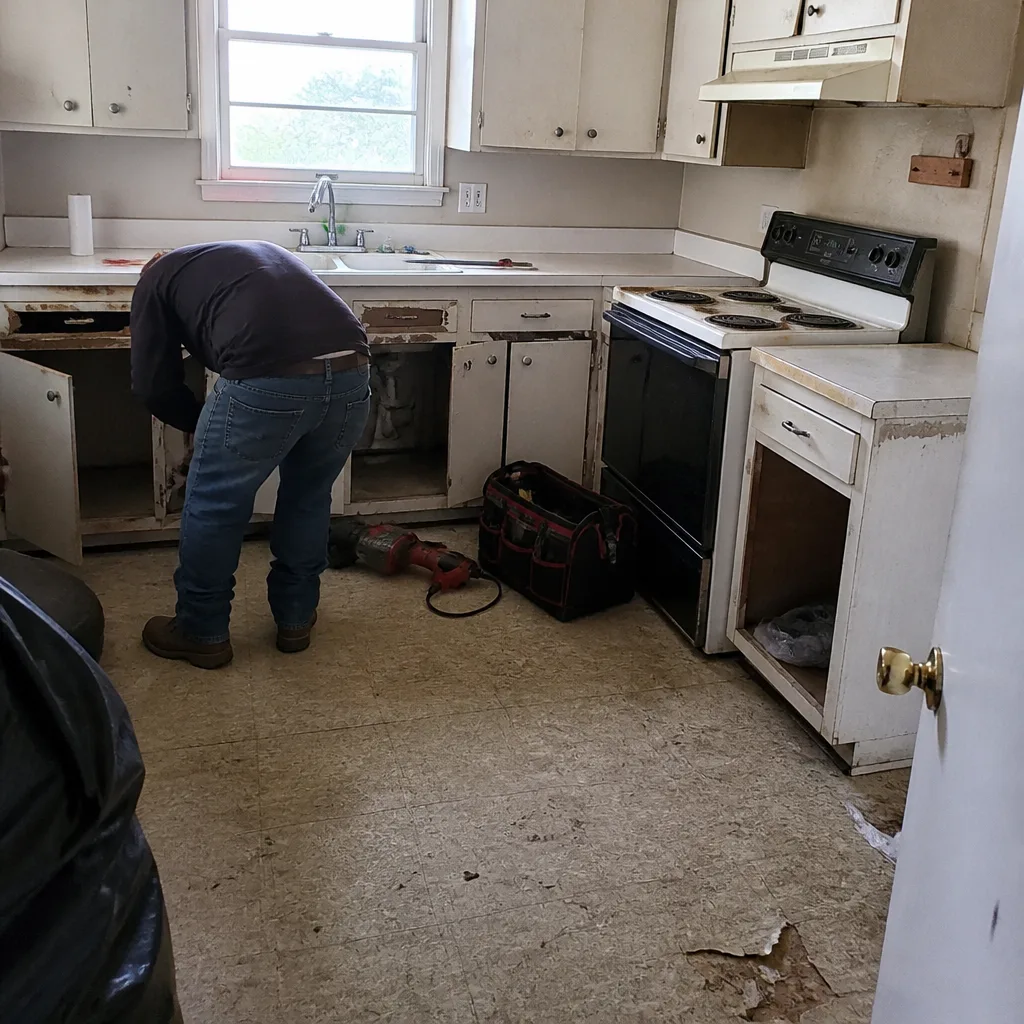 Before
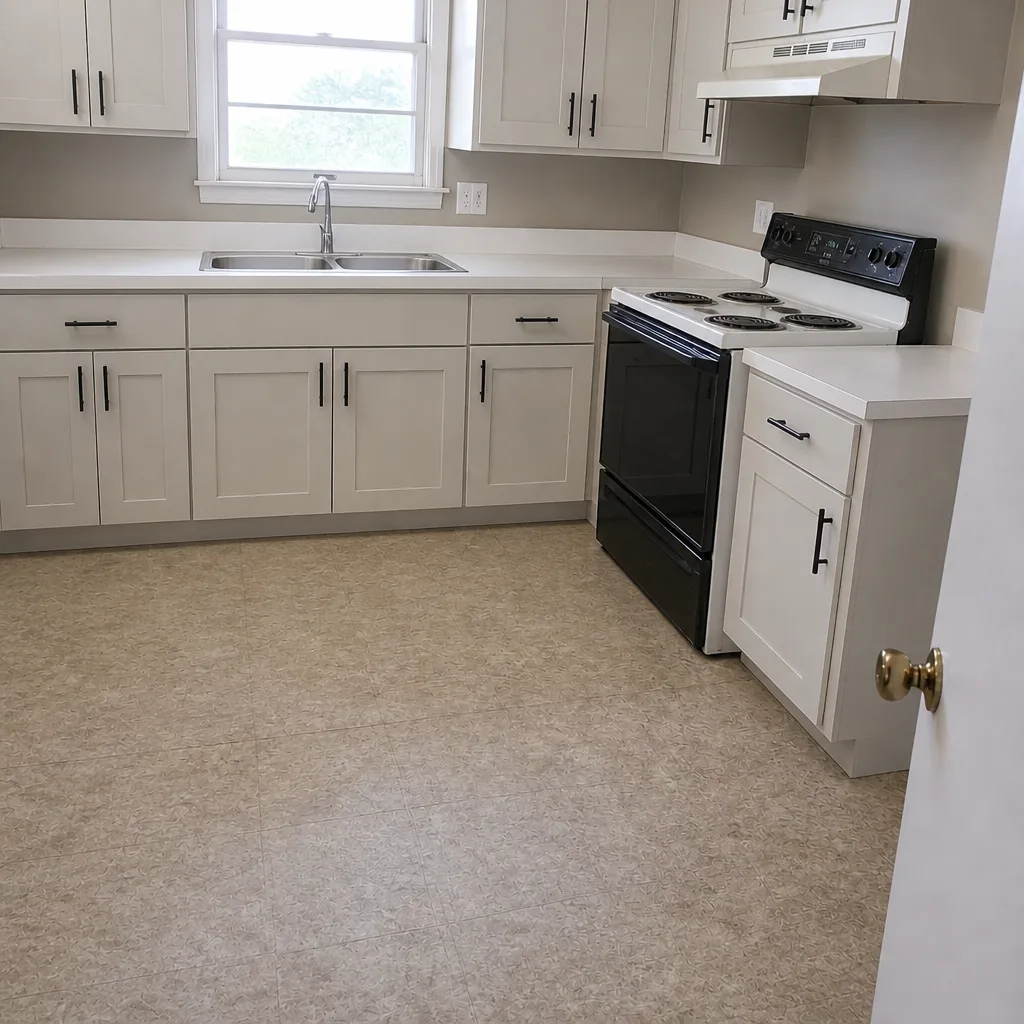 After
 Before
 After
 Before
 After