Last updated November 18, 2026
Free written scope consultation - allowances, timeline, and change-order rules on paper before a single trade is scheduled
DIY vs Professional Windows & Doors: What’s Safe to Do Yourself
A window that looks perfectly installed but is flashed wrong will cost you $8,000 in wall repairs over five years, and there’s no way to see it from the inside until the damage is done. That’s the uncomfortable truth about window and door work: the part you can inspect is the part that rarely fails. The part that fails is buried behind siding and trim, and it takes a season or two of North Texas rain before it announces itself. This guide separates the few window and door tasks that are genuinely safe for a homeowner to handle from the ones where the margin for error is zero. If you own a home in Richardson, the stakes are higher than you think.
Styles & brands we work with
- Kitchen remodeling
- Bathroom remodeling
- Home additions & ADU
- Roofing
- Windows & doors
- Driveway & pavers
- Fence
Quick Answer
Safe DIY window and door work is limited to non-structural tasks: replacing hardware, refreshing weatherstripping, re-caulking exterior seams, and installing interior casing and trim. Anything that opens the building envelope, changes the rough opening, or involves glass replacement, frame leveling, or structural shimming should go to a licensed professional. In Richardson, a full window or door replacement almost always requires a permit and inspection, which means skipping a pro isn’t just risky, it’s a code violation.
Table of Contents
- What Actually Happens During a Window Installation
- The Rough Opening: Why Half an Inch Decides Everything
- The Real DIY Scope: Four Jobs You Can Do Well
- Texas Permits for Window and Door Replacement in Richardson
- Why the Manufacturer Warranty Lives or Dies on Who Does the Install
- How to Read a Window Installation Quote Like a Builder
- Common Mistakes to Avoid
- When to Call a Professional
What Actually Happens During a Window Installation
The gap between what homeowners imagine and what actually happens on an install day is where most bad decisions get made. From the curb, a window replacement looks like a trim-and-glass swap. In our experience, it’s a small construction project wrapped around the most weather-sensitive part of your wall.
Here’s the real sequence for a single replacement window on a typical Richardson home:
- Measure and confirm the rough opening. The installer checks the framing cavity dimensions against the new unit’s spec sheet, both inside and outside, before any demolition starts.
- Remove the old unit. Old window, interior and exterior trim, and the old flashing membrane come out. Sometimes this reveals soft sheathing or water damage that has to be repaired first.
- Prep the opening. The rough opening gets squared, shimmed, and inspected. Any rot or framing issues get addressed before new material goes in.
- Install the sill pan and flashing. This is the water-management layer. It’s invisible when the job is done and it’s the single most common point of failure when it’s done poorly.
- Set and plumb the window. The unit is shimmed, leveled, and fastened according to the manufacturer’s spec, not the installer’s preference.
- Seal and flash the exterior. Flashing tape, house wrap integration, then caulk at the trim seams.
- Insulate and trim. Low-expansion foam around the perimeter, then interior casing and exterior trim.
- Inspect and test. Operate the unit, check the reveal, confirm drainage. In Richardson, this is also when the municipal inspector often shows up.
That’s the process a professional runs in a single visit. A homeowner attempting this on a Saturday is attempting all eight steps with none of the scouting reports, none of the material staging, and none of the flashing knowledge. The pieces go back together. The wall may not.
The Rough Opening: Why Half an Inch Decides Everything
The “rough opening” is the framed cavity in the wall where the window or door goes, and it’s the number most homeowners never think about until it’s wrong. If you order a window measured off the finished opening instead of the rough opening, you’ve got a package arriving that either won’t fit or leaves a finger’s-width gap on every side. Half an inch off changes everything downstream.
Manufacturers size windows to the rough opening, not the finished opening. The standard rule is roughly ½ inch of clearance on each side and ¼ to ½ inch in height (always per the manufacturer’s spec, never a rule of thumb). That clearance is what the shims live in. Remove it and you can’t level the unit, which means the sash hangs wrong, the weather seal fails early, and the operable part (the part you touch every day) stops working within a couple of years.
On doors, the rough opening math gets tighter still because the door frame plus the door adds up to a fixed thickness. A 36-inch exterior door needs a rough opening around 38 inches wide. Get that wrong by half an inch in the wrong direction and your choices are: return the door, widen the framing (structural work), or shave the door, which voids the warranty and turns the door into a modified unit with no manufacturer backing.
Another detail that gets overlooked: on masonry construction, which is common in mature Richardson neighborhoods like Canyon Creek and Prairie Creek, the rough opening is set in brick and block rather than wood framing. Corrections there are not “a little trim work.” They’re masonry.
Here’s a quick comparison of what “half an inch off” actually costs:
- New construction framing: Re-frame the opening with an insert or a full-frame unit. Add 3 to 6 hours of labor plus materials.
- Masonry home (Richardson stone/brick finish): Re-cut, re-flash, re-mortar. This is essentially redoing the install, plus masonry repair.
- Door jamb: Custom-ordered unit, delayed delivery, extended schedule, and the original door returns at your cost.
The point isn’t the labor cost. The point is that measuring happens first, and measuring the rough opening requires removing the old trim and looking at the actual framing. If nobody did that before placing the order, the window won’t fit.
The Real DIY Scope: Four Jobs You Can Do Well
Here is where the DIY conversation gets honest. There are several window and door jobs a homeowner can do well, with standard tools and no permit. If you’re reasonably handy, save your afternoons for these:
1. Hardware replacement
Locks, handles, hinges, casement cranks, door knobs, and strike plates are user-serviceable. This is the highest-value, lowest-risk window and door work available to a homeowner. A worn casement crank that grinds when you turn it is a $20 to $40 part and a ten-minute swap. The trick is matching the operator and its mounting arms to the exact sash model, so bring the old part to a hardware store or photograph it before ordering.
2. Weatherstripping and door sweeps
This is the single best move for lowering a Richardson energy bill without touching the envelope. Rotted or compressed weatherstripping lets cool air escape as much as a thin wall does. Foam tape, V-strip, and door sweeps are all DIY-friendly and cost under $50 per opening. Look for the spots where you can see daylight through a closed door. That’s your shortlist.
3. Exterior caulk refresh
Re-caulking the gap between the window trim and the siding every few years is a real maintenance task, and it’s safe. Cut out peeling caulk with a utility knife, clean the seam, and apply a good exterior-grade sealant rated for the material. On a Richardson home with wood or fiber cement siding, this is the same task that keeps water out of the wall at every seam. It’s the one “envelope” job that’s genuinely appropriate to do yourself, as long as the existing caulk line is intact and not hiding a bigger problem.
4. Interior casing and trim work
Installing interior window casing or replacing an interior door’s casing is finish carpentry, not structural carpentry. It doesn’t touch the building envelope. It’s time-consuming and requires a miter saw and patience, but a homeowner with tools can absolutely learn it. The same goes for interior door trim, baseboards, and paint touch-ups around new units.
Everything else belongs to a professional. Glass replacement, sash repair, sill replacement, frame re-shimming, door bottom re-building, and any work that requires cutting or opening the wall.
Texas Permits for Window and Door Replacement in Richardson
Here’s the part most DIY guides skip. In Richardson, replacing windows or doors in an existing home generally requires a permit from the city when the work changes the size of the opening, removes exterior wall structure, or touches the building envelope in a way that triggers a safety and energy compliance review. A one-for-one replacement in the same opening sometimes qualifies for a simpler path, but the only way to know for sure for your specific home is to call the City of Richardson’s building department before you order the window.
Why does this matter to a homeowner who wants to stay in their own lane?
- Inspection is the wall’s quality check. A city inspector looks at flashing, framing, and code compliance. If a contractor skipped something, that’s when it usually surfaces.
- Unpermitted work follows the house. It shows up at resale. A Richardson buyer’s inspector will pull the permit history, and any unpermitted window or door replacement gets flagged as a disclosure item.
- Insurance and warranty claims get messy. If a leak leads to a claim and the insurer discovers the window was never permitted or inspected, coverage disputes are common. Manufacturer warranties often require documentation of installation.
- Rough-opening changes are structural. Anything that enlarges a window, moves a door, or opens a new wall cavity is a structural modification and almost always requires a permit and inspection.
Window replacements done correctly in Richardson are permitted, inspected, and documented. That paper trail matters more than the permit fee. A residential window permit in the Richardson area typically runs in the low hundreds of dollars; the repair cost of unpermitted water intrusion is not. On a full installation project, it’s part of the professional package, not something you chase down later.
When you’re working with a reputable builder, permits get pulled, inspections get passed, and the paperwork is handed to you at the final walkthrough. That’s the standard we follow on every “one call, one quote” Groundwork Construction Co. of Richardson home project, and it’s the standard any professional quote should meet.
Why the Manufacturer Warranty Lives or Dies on Who Does the Install
A window or door warranty is a manufacturer’s document, and it usually breaks into two parts: a product warranty and a labor/installation warranty. The product warranty covers the unit. The installation warranty covers what happens to it after it’s in your wall, and that’s where most homeowner claims go sideways.
Andersen and Marvin, for example, both put significant language into their warranties about how the product is installed and flashed. Improper installation, missing flashing, or use of replacement units outside the manufacturer’s spec can void the product warranty along with the labor coverage. Translation: if you install it yourself and it leaks, the manufacturer will look at the install, not the glass.
The scenarios a homeowner should know about:
- You install it, it leaks, the manufacturer declines. Most likely outcome unless you can prove the install followed their spec line for line.
- You hire the cheapest bidder and they install it wrong. The installer’s workmanship warranty (if they have one) is now the only thing standing between you and an eight-thousand-dollar wall repair.
- You hire a contractor with a real workmanship guarantee. Now the manufacturer warranty and the installer’s warranty are both live, and you have a documented path if something goes wrong.
This is exactly why the workmanship guarantee matters more than the window’s brand on the sticker. Ours is the 730-Day Done Right Promise: if a window or door we installed isn’t done right, we make it right. Two full years of coverage after install is the window of time in which water intrusion issues typically surface. That’s not a coincidence; it’s how we set the term.
When we source windows and doors, we specify product lines from Andersen, Pella, and Marvin because those manufacturers stand behind the units when the install meets the spec. On trim and exterior work, materials like James Hardie siding go in around the flashing to keep the whole assembly weather-tight, not just the window.
How to Read a Window Installation Quote Like a Builder
A handyman quote and a professional proposal look similar at the top, and that’s where the resemblance ends. Here’s the structure a professional quote should include, item by item, so you can compare bids on the same terms:
- Window/door model and manufacturer on every line. Not “vinyl window” but brand, series, and glass package. If it’s missing, ask why.
- Rough opening measurements. Checked and confirmed on site before the order. Some bids assume measurements without ever removing trim, and the price changes after demolition starts.
- Removal and disposal fees. Skips or dumpster charges are real, and reputable quotes include them.
- Flashing, sill pan, and weatherseal line items. These are the water-management components. If a quote is silent on flashing, the installer may be planning to caulk the opening and skip the tape. That’s the $8,000 mistake.
- Insulation and interior trim. Foam, casing, and paint touch-ups are separate steps. A good quote lists each.
- Permit fees and inspection responsibility. Either the fee is on the bid or the contractor explicitly states they’ll handle it. Ask who pulls the permit.
- Manufacturer warranty terms and the installer’s workmanship guarantee in writing. Two separate documents, both yours to keep.
- A fixed price, not a range. Upfront pricing means the number you see is the number you pay. A “plus or minus” clause means the number is a placeholder.
This is also how you spot clear low-ball bids. The quote that’s $2,500 cheaper per window is usually missing flashing, permit, trim, or a workmanship warranty, or all four. The scope of work on any professional proposal should be readable by a homeowner who has never installed a window, and every bid you receive should be usable side by side with the others.
Common Mistakes to Avoid
- Measuring the finished opening instead of the rough opening. This is the most common and most expensive DIY error. Order off the wrong dimension and you’ve got a non-returnable unit.
- Skipping the sill pan and flashing. Caulk alone doesn’t manage water at a window. The membrane layer is the reason a correctly installed window doesn’t rot the wall from the inside out.
- Not pulling a Richardson permit. Window and door replacements that change the envelope or opening size trigger permits and inspections, and unpermitted work follows the house at resale.
- Assuming the biggest price is a rip-off and the smallest bid is the value. In Richardson’s window market, the low bid is usually missing scope. Compare line items, not total price.
- Replacing one operable sash and leaving the frame. On an older home, mismatched frame condition is the source of most leaks around “new” windows. When the frame has rot, the whole assembly goes.
- Installing a heavy exterior door alone. A solid exterior door weighs 80 to 120 pounds and hangs in a frame that has to be perfectly plumb. Doing this solo is a fall hazard and a plumb-line failure at the same time.
- Buying the window from a big box store and assuming installation comes with a real warranty. Store installation warranties vary widely. Read the workmanship terms before you sign anything.
When to Call a Professional
Call a professional when the work involves glass, the frame, the building envelope, structural change, or anything that requires a permit. That includes: full window replacement (insert or full-frame), any exterior door replacement, enlarging or moving an opening, replacing sills or any rot repair, repairing a leaking window, and any job where the manufacturer’s warranty needs to survive the install. It also includes the jobs where the schedule is tight, the house has masonry siding, or the window sits more than one story up. Steep-roof and height work add a fall-safety dimension to exterior installations that a homeowner shouldn’t take on. A fall is the injury; a mistimed seal is the slow, expensive leak that always follows.
Groundwork Construction Co. of Richardson offers free estimates in Richardson and the surrounding areas. Call (833) 954-4985 to schedule yours. Upfront pricing, no surprises, and every install is covered by the 730-Day Done Right Promise.
Frequently Asked Questions
You can legally do some window work yourself in Richardson, but a full replacement usually requires a permit and inspection, which makes a licensed professional the practical answer. The tasks that stay in DIY scope are hardware replacement, weatherstripping, caulk refresh, and interior casing; the tasks that don’t are glass, frame, envelope, and structural work. If you’re unsure which category your specific project falls in, call the City of Richardson building department before you order materials, and call (833) 954-4985 if you’d like a free estimate on the professional route.
Professionally installed replacement windows in the Richardson area typically run in a range that varies by unit type, brand, and whether the project uses an insert unit or a full-frame unit. Vinyl double-hung windows are the lowest cost per unit, wood and fiberglass lines cost more, and Andersen, Pella, and Marvin products sit in the upper range. What we recommend more than the per-unit number is the itemized quote: window model, remove/dispose, flashing and sill pan, insulation, interior trim, permit, and warranty. Call (833) 954-4985 for a line-item quote on your specific home. Estimates are free.
It shouldn’t, and with upfront pricing, it doesn’t. The number you see is the number you pay, unless you personally request a change to the scope. The one legitimate wildcard on window and door work is hidden damage discovered after the old unit comes out, like soft sheathing or a rotted sill, and the professional thing is for the contractor to stop, photograph it, and get your approval before adding cost. Any quote that has a broad “plus or minus” clause is a placeholder, not a price.
Yes, we pull the permits and manage the inspections on every project that requires them in Richardson. That includes the paperwork you receive at the end of the job, which matters when you sell the house or file a warranty claim later. If a bid you’ve received doesn’t mention permits at all, that’s a scope gap worth raising before you sign anything.
Most residential window projects we handle in Richardson are completed in a single visit per opening, with the full project often wrapping within a day or two depending on the number of windows. Door replacements are similar. What changes the timeline is special-order lead time for the units themselves (Andersen, Pella, and Marvin lines are often four to twelve weeks out), and any hidden damage discovered after demolition. The install itself, once the units are on site, is usually the fastest part.
Most policies will cover the water damage that results from a leaking window regardless of whether it was permitted, but they will investigate the cause, and unpermitted or improperly installed work can affect whether the claim is paid and how much. Insurers are increasingly subrogating against contractors and installers to recover costs. If your window was installed without a permit and it leaks, put the insurer on notice early and keep every installation document. When you’re choosing the contractor, ask for the permit number in advance.
The Bottom Line
The line between safe DIY and expensive rework on windows and doors is clearer than most homeowners realize. Hardware, weatherstripping, caulk refresh, and interior casing are yours to handle. Everything else involves the building envelope, structural framing, glass, or a permit, and that’s a professional’s territory, not a weekend project. In Richardson, the cost of getting it wrong shows up as a wall repair, an insurance dispute, a warranty denial, or a resale problem, and none of those happen until months after the original install looks finished. If you’re pricing a replacement, call Groundwork Construction Co. of Richardson at (833) 954-4985 for a free estimate. The 730-Day Done Right Promise is our workmanship guarantee in writing, and we’re on site from foundation to finish line. Take a look at our Driveway & Pavers in Richardson and Fence Installation in Richardson work if you’re planning a broader exterior project alongside your windows, and see our Home Additions & ADU in Richardson page if the window replacement is part of a larger build. Live person, 24/7, whenever you call.
Written by the team at Groundwork Construction Co. of Richardson.
See the difference
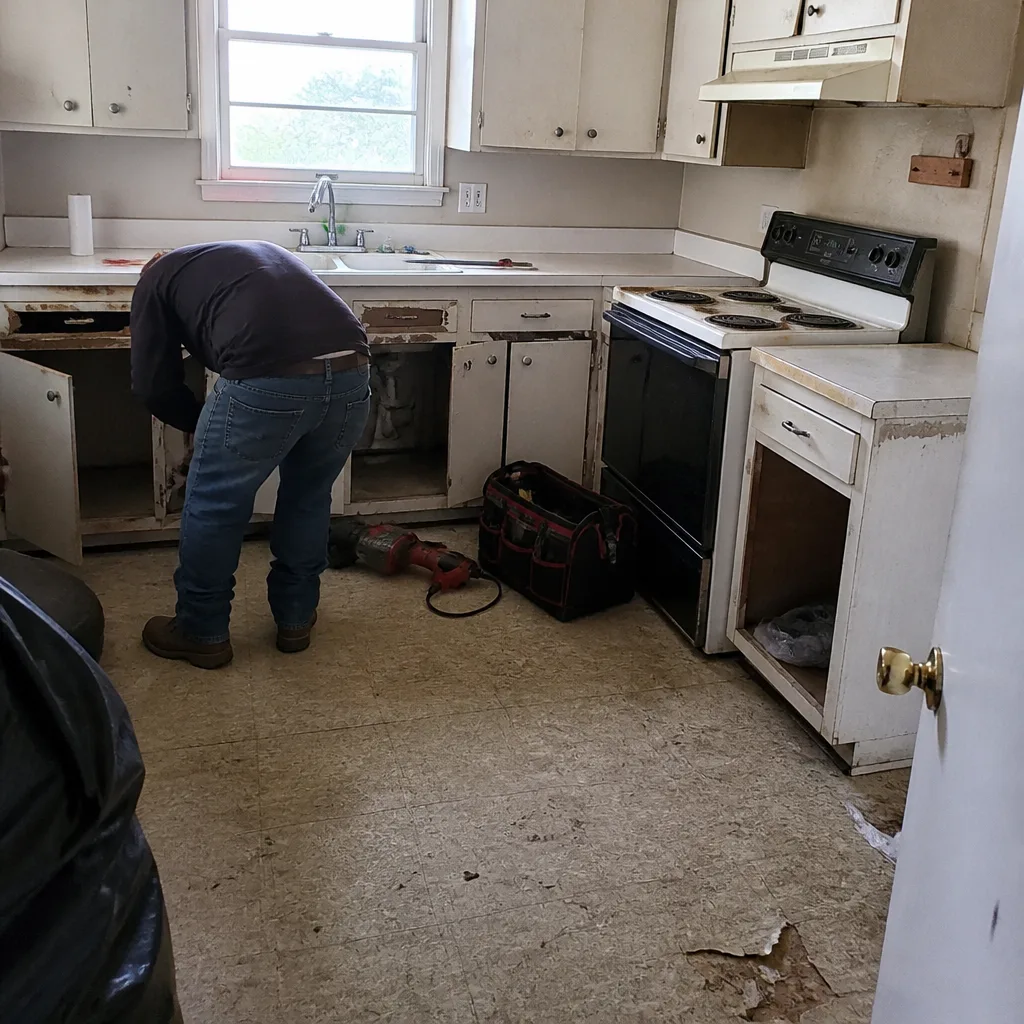 Before
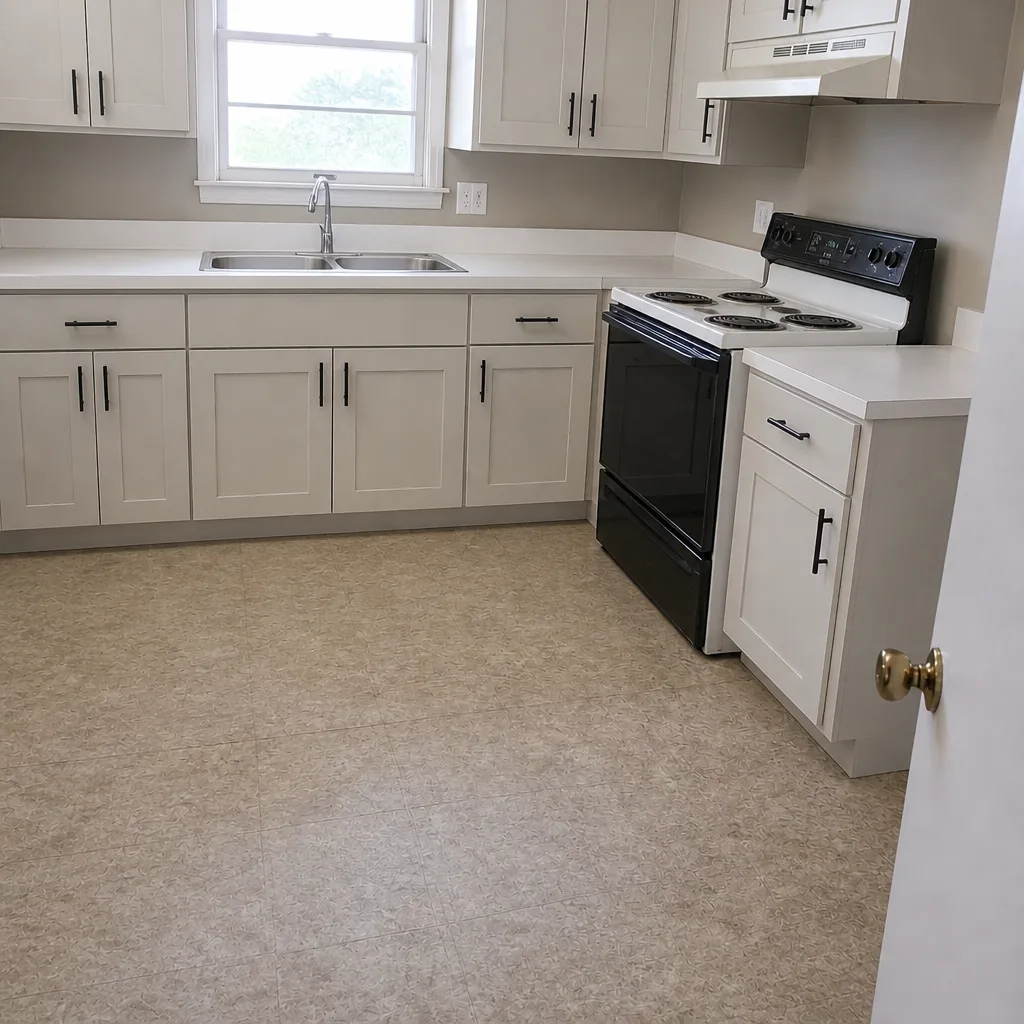 After
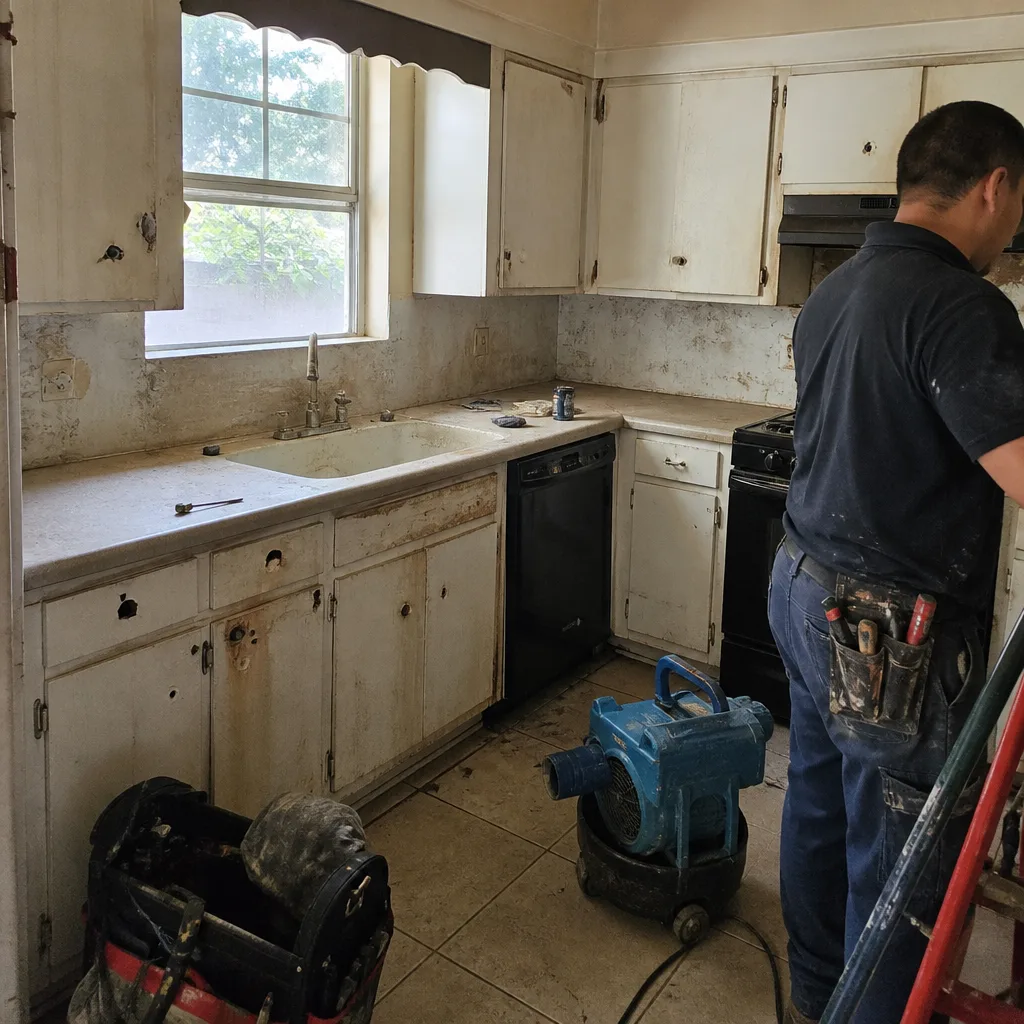 Before
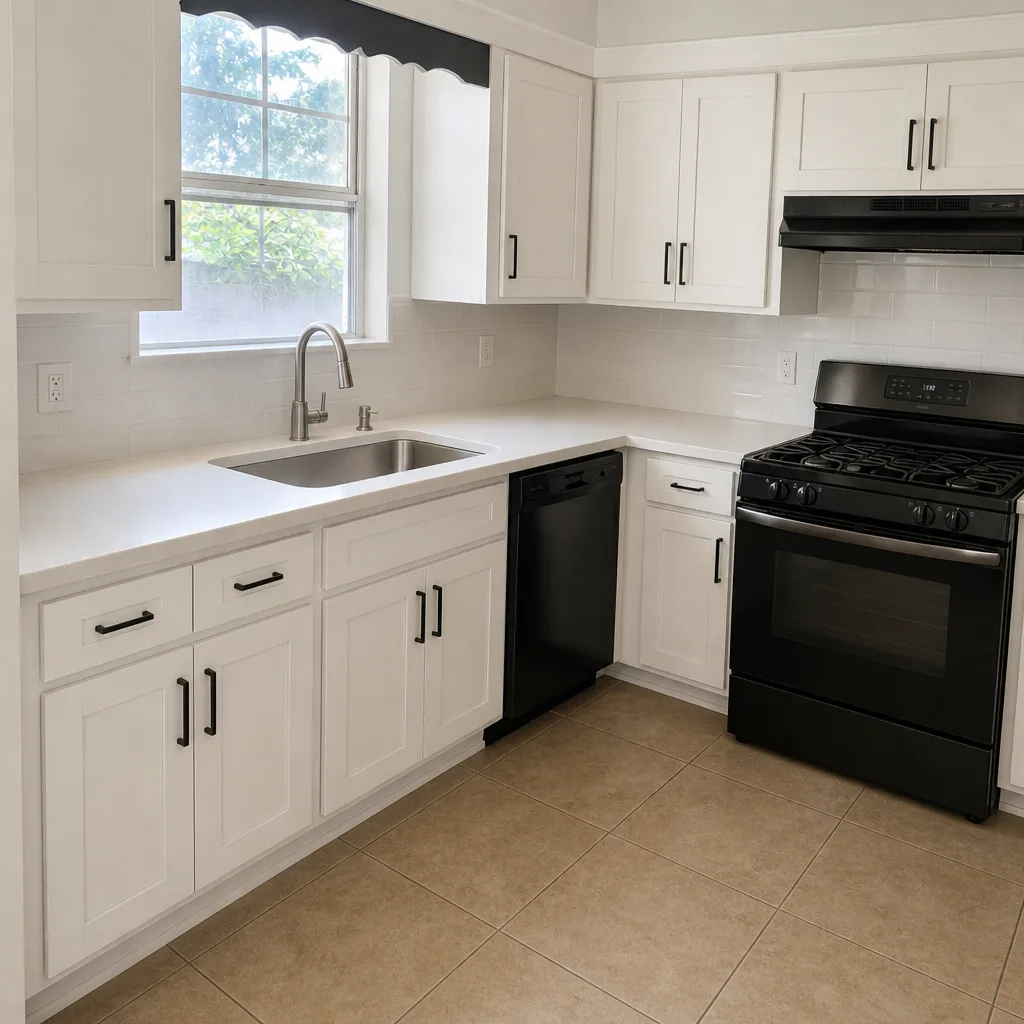 After
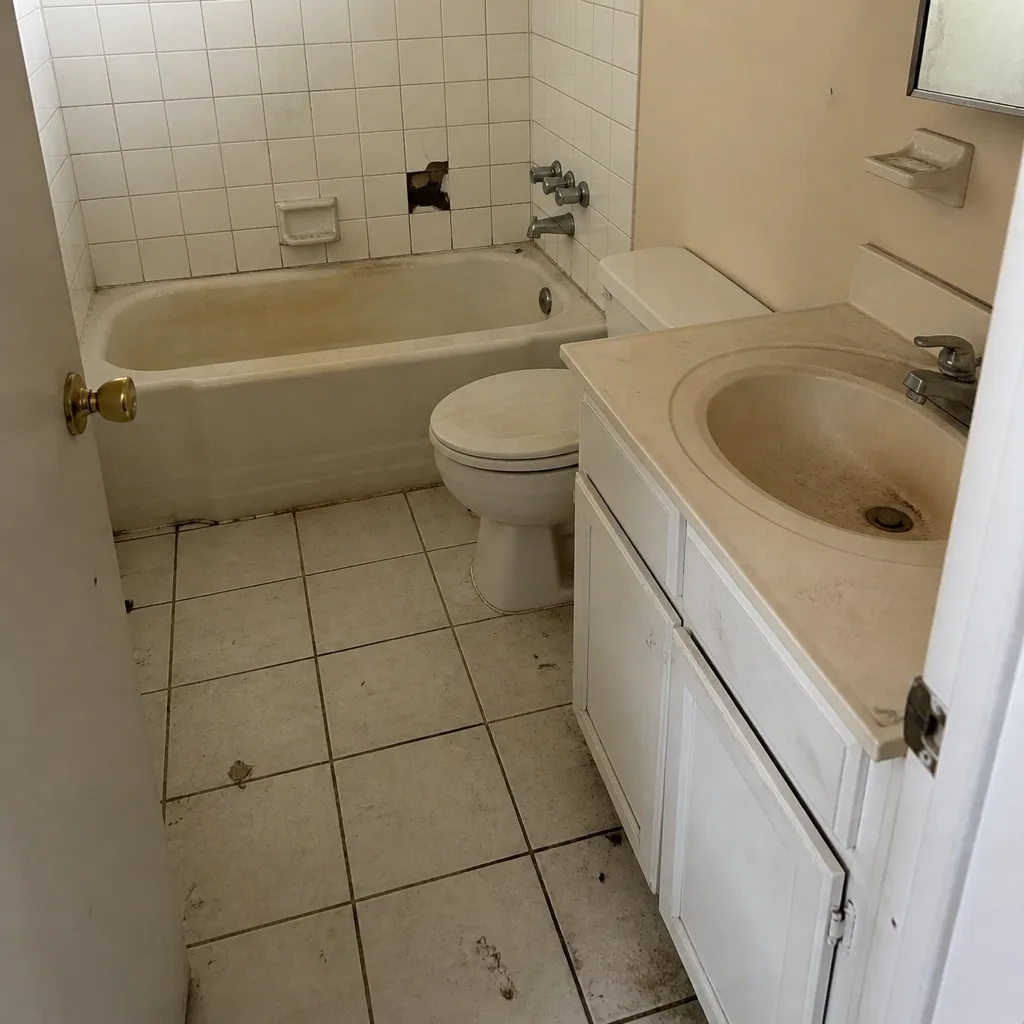 Before
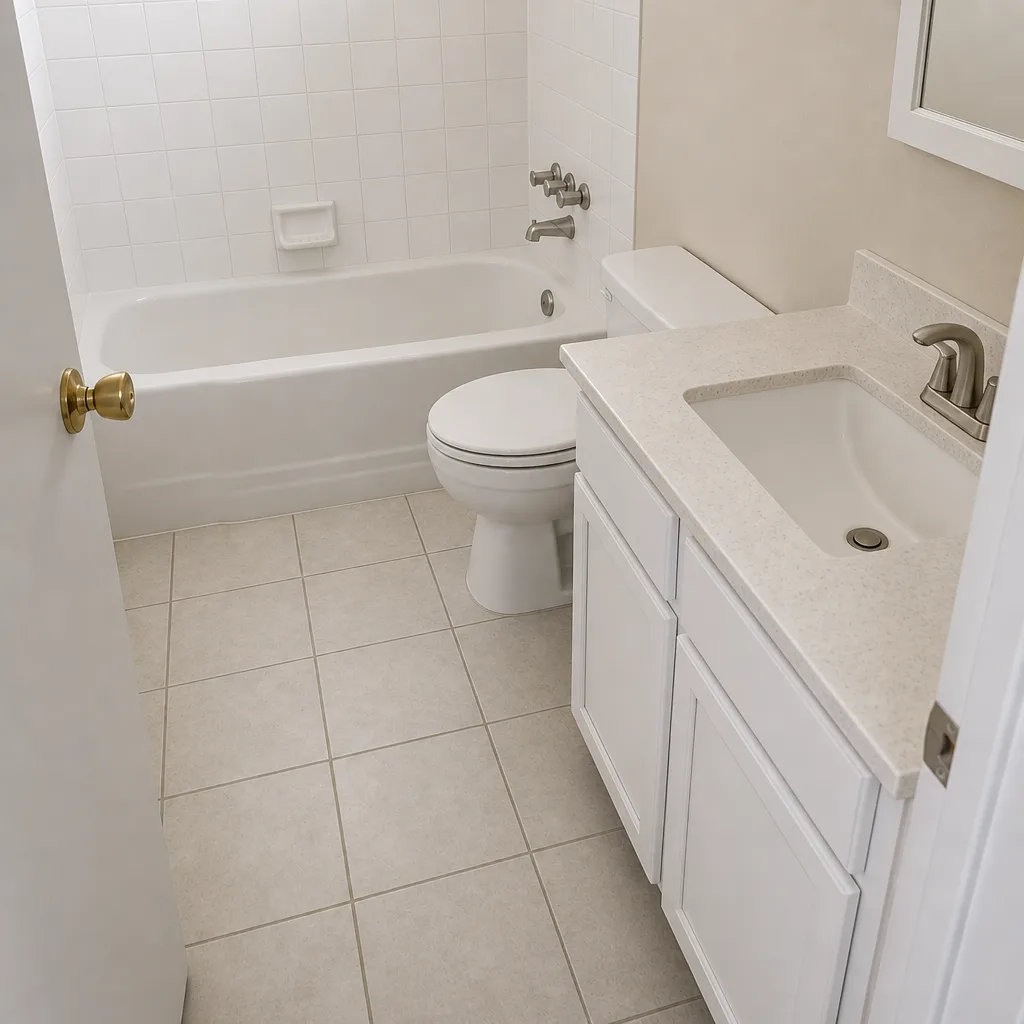 After