Last updated November 18, 2026





Free written scope consultation - allowances, timeline, and change-order rules on paper before a single trade is scheduled
Home Additions & ADU Maintenance Schedule: What to Do and When
The place where your addition meets your original house will move differently than either structure alone. Your original house has spent years settling into its footprint; the new wing hasn’t. That seam – the roof tie-in, the foundation joint, the wall where old framing meets new – takes the load of two buildings moving at different rates. If nobody told you to inspect it every six months, you’ve likely already missed a window. This guide lays out the full maintenance calendar for an addition or ADU in Richardson: the first-year checklist, the annual routine, the milestones most homeowners skip, and how to document all of it for resale and warranty claims.
Quick Answer
Inspect the structural seam where your addition meets the original house every six months – checking caulk joints, flashing, and any new cracks – and schedule deeper exterior maintenance annually (roof membrane at tie-ins, trim paint at the connection wall, grading around the new foundation). Replace sealants at flashing every three to five years, re-inspect the structural connection at year five, and keep a written maintenance log from day one. In North Texas, add seasonal checkpoints for summer expansion-joint stress, fall roof-valley leaf removal, and winter foundation moisture.
Styles & brands we work with
- Kitchen remodeling
- Bathroom remodeling
- Home additions & ADU
- Roofing
- Windows & doors
- Driveway & pavers
- Fence
Table of Contents
- Why an Addition Has a Different Maintenance Lifecycle
- The First-Year Month-by-Month Checklist
- The Annual Exterior Sequence for Additions and ADUs
- North Texas Seasonal Reality: Summer, Fall, Winter
- The 3-5 Year Milestones Almost Everyone Skips
- Building a Maintenance Log That Holds Up at Resale
- What Your 730-Day Done Right Promise Covers (and What It Doesn’t)
Why an Addition Has a Different Maintenance Lifecycle
Your original house is one building with one set of seams. An addition is a second building grafted onto the first, and every graft is a vulnerability. We’ve walked through hundreds of additions across Richardson, and the pattern is consistent: the problems that matter most aren’t inside the new rooms. They’re at the transitions.
Count the transition points on a typical primary-suite addition or detached ADU. There’s the foundation joint where new slab or pier-and-beam meets old. There’s the roof tie-in, where the new roof plane dies into the existing wall or intersects the original ridge. There’s the wall connection itself, where new framing is fastened to old framing and the finish is closed over with trim and sealant. Each utility – water, sewer, electrical, HVAC – has its own penetration point through an existing wall or a new trench. That’s five or more seams on a modest addition, and every one of them is doing something the original house never had to do.
Why it matters: new construction settles fastest in its first two years. The new structure moves; the original doesn’t. That differential motion shows up as hairline cracks at drywall joints, caulk pulling away at the connection wall, and occasionally a slight step at the foundation joint. Most of it is normal. Some of it is the early warning of a real problem – and the only way to tell the difference is to look on a schedule, write down what you see, and compare over time.
This is why a generic homeowner maintenance list doesn’t cut it after an addition. Your original house’s routine doesn’t include a structural seam inspection, because it doesn’t have one. If you’re planning an addition now, our Home Additions & ADU in Richardson team can walk you through the design and build side; this guide handles everything that comes after the final walkthrough.
The First-Year Month-by-Month Checklist
The first twelve months are when your addition reveals itself. Settlement is most active, sealants are curing and shrinking, and any installation issue tends to surface before the warranty window narrows. Here’s the calendar we recommend for a new addition or ADU in Richardson.
- Month 1: Walk the entire exterior perimeter. Photograph the connection wall, the roof tie-in from the ground with a zoom lens, and the foundation joint. Note any cracks in drywall at the interior connection wall – these are common and usually cosmetic, but you need a baseline photo. Check that HVAC registers in the new space have proper airflow.
- Month 2: Inspect all exterior caulk joints at the connection wall and around new windows and doors. Sealant shrinks as it cures; small gaps are normal. Re-caulk anything that’s pulled away. Check the new subpanel (if installed) for correct labeling of every breaker.
- Month 3: First seasonal filter change on the HVAC system. If the addition was tied into your existing system, the blower is now serving more square footage – track filter loading monthly for the first year so you learn the real interval. Check grading around the new foundation; backfill settles, and you want positive slope away from the wall.
- Month 4-5: Inspect the roof tie-in after the first good rain. Look for staining on ceiling drywall near the connection and check the attic side of the tie-in if accessible. Clean gutters on the new roof section; new gutter runs often carry construction debris for months.
- Month 6: The six-month structural seam inspection. Check caulk joints, look for new or widening cracks, probe the foundation joint for movement, and compare photos to your month-1 baseline. This is the checkpoint the thesis of this whole guide hinges on.
- Month 7-9: Summer heat stress test. In Richardson, July and August push expansion joints hard. Check that exterior doors in the addition still latch cleanly (frames move in heat), and re-inspect any caulk at south- and west-facing walls.
- Month 10-11: Fall leaf management on roof valleys. New roof intersections create valleys where leaves collect; a clogged valley during a fall storm is the most common cause of a first-year leak call we see.
- Month 12: Full annual exterior sequence (below) plus a documented year-one review. Photograph everything, update the log, and note any items you want addressed before the warranty narrows.
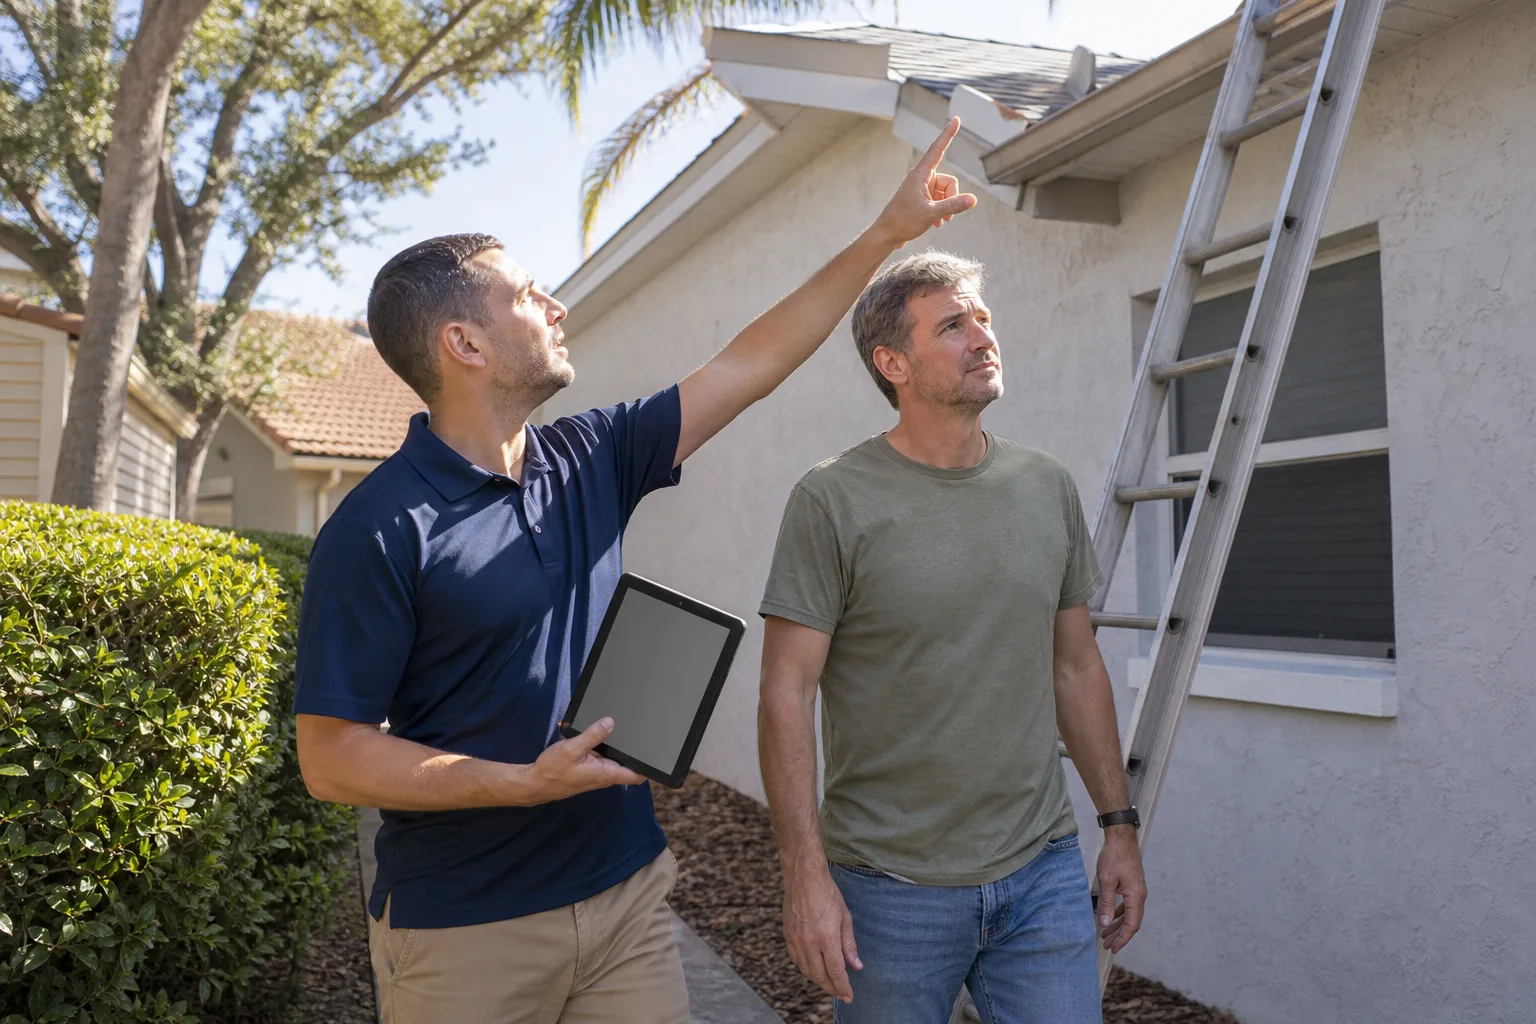
None of this requires a ladder or a tool beyond a caulk gun and a camera. The roof work should be done from the ground with binoculars or a zoom lens – we don’t recommend homeowners climb onto a new roof to inspect a tie-in. More on that below.
The Annual Exterior Sequence for Additions and ADUs
Once the first year is behind you, the routine settles into an annual sequence. Do it in the same order every year, in the same season – we recommend early fall in Richardson, after summer heat has done its work and before winter moisture arrives. The order matters: you inspect top-down so you don’t miss something above while fixing something below.
- Roof membrane and tie-in points (from the ground). Check the roof membrane at every junction with the original roof, plus any flat or low-slope section on the ADU, where membrane seams are the wear point. Look for lifted edges, ponding, or granule loss. Binoculars and a phone camera are enough for a visual. If anything looks questionable, that’s a call to a roofer, not a DIY project – roof work at height is genuinely dangerous.
- Gutters and valleys. Clear leaves from the new roof’s valleys and gutter runs. A new roof plane often changes how water sheds off the original house – watch where downspouts discharge and make sure it’s away from both foundations.
- Exterior trim paint at the connection wall. The wall where old meets new is a paint wear point because it’s a caulk-and-trim wall that sees more movement than any other exterior surface. Check for peeling, bubbling, or bare wood. Touch-up paint on trim is a homeowner job; full repaint of the connection wall is worth a pro’s eye.
- Caulk joint inspection. Walk every joint at the connection wall, every window and door perimeter in the addition, and the foundation joint if it’s exposed. Note gaps, pull-aways, and cracking. This is the inspection that prevents most water intrusion.
- Grading around the new foundation. Confirm soil slopes away from the new foundation on all sides. In North Texas, our expansive clay soil moves with moisture, and the grading around a new foundation is the cheapest defense you have. Add soil where it’s settled.
- HVAC filter change and system check. Change the filter, and if the addition tied into your existing system, have the system evaluated annually. Expanded square footage means the blower and ductwork are working harder than they were sized for; an annual check catches balance problems early.
- Interior structural seam check. Walk the interior connection wall. Photograph any new drywall cracks and compare to last year. Hairlines that appear once and don’t grow are normal; cracks that widen year over year are not.
An attached garage conversion or a bump-out follows the same sequence. A detached ADU has fewer seam issues but its own roof and foundation want the same attention. If you’re adding a detached unit and want the site work – patios, walkways, parking – handled by one contractor, our Driveway & Pavers in Richardson team often finishes the exterior side of these projects.
North Texas Seasonal Reality: Summer, Fall, Winter
Richardson sits on the Blackland Prairie clay that makes foundation maintenance a local sport. That soil expands when wet and shrinks when dry, and it does it violently enough that a new addition’s foundation joint is genuinely a seasonal checkpoint, not a once-a-decade curiosity. Here’s how the North Texas year shapes the schedule.
- Summer (June-September): Heat stress on expansion joints. Exterior caulk at south- and west-facing walls takes the worst of it; inspect those first. Door frames in the addition may bind slightly in August and free up in October – that’s seasonal, not a defect. Keep foundations evenly watered; a soaker hose run along the new foundation during dry spells is the single most effective foundation maintenance step available to a Richardson homeowner.
- Fall (October-November): Leaf management on new roof valleys is the priority. New roof intersections create collection points that the original roof didn’t have. Clear them before the first big rain. This is also the right season to run the full annual exterior sequence above, while temperatures are mild and before winter moisture sets in.
- Winter (December-February): Foundation moisture monitoring. North Texas freezes are short but the wet-dry cycling around them is what moves clay. Watch the foundation joint for new cracks, confirm grading still sheds water, and check that any exterior hose bibs serving the addition are protected on freeze nights.
- Spring (March-May): Storm season. After any significant hail or wind event, do a quick roof tie-in inspection from the ground. New roof planes and tie-ins are more likely to show storm damage than the original roof simply because there’s more roof edge and more junctions.
The seasonal pattern matters because a maintenance schedule that ignores local climate is just a generic checklist. In our experience, the additions that hold up best in Richardson are the ones where the owner kept the foundation evenly moist and inspected the seam twice a year – nothing exotic, just consistent.
The 3-5 Year Milestones Almost Everyone Skips
Every maintenance schedule has a middle section that gets ignored. The first year gets attention because the project is fresh. The annual routine gets attention once it’s a habit. The three-to-five year milestones fall off most homeowners’ radar entirely, and they’re exactly the items where deferred cost compounds.
- Sealant replacement at flashing (year 3-5). Caulk and sealant at roof flashing and at the connection wall have a service life. They don’t fail suddenly; they crack and pull away over a season or two. Replacing sealant at all flashing points on a planned schedule – rather than waiting for a leak – is the cheapest roof maintenance you can do. Budget it as a line item, not a surprise.
- Re-inspection of the structural connection (year 5). By year five, settlement has largely stabilized. This is the right time to have a professional look at the interior connection wall and any accessible structural fasteners – not because something’s wrong, but because now you know the baseline is settled and any future movement is new information. It’s also a good moment to re-check the foundation joint with a professional eye.
- Electrical panel check if a subpanel was added. If your addition included a subpanel, have an electrician inspect it every few years: check for heat at the main lugs, confirm breaker labeling still matches the circuits, and look for any signs of arcing. Panel work is not a homeowner task – it’s a genuine electrical hazard, and we recommend a licensed electrician for any panel inspection beyond a visual check for scorch marks or a burning smell.
- Exterior repaint evaluation at the connection wall (year 5). Paint on the connection wall and the trim around new windows typically needs a fresh coat by year five to seven in North Texas sun. Evaluate at year five, schedule before year seven.
- HVAC ductwork evaluation (year 5). If the addition tied into existing ductwork, have the system re-evaluated at year five. Duct leakage and balance issues accumulate slowly, and a system serving more square footage than it was designed for benefits from a professional check.
If you’re within the 730-Day Done Right Promise window, these milestones are also your chance to catch anything that should be handled as warranty work before the window closes. More on that below.
Building a Maintenance Log That Holds Up at Resale
A maintenance log is worth more than most homeowners realize – and a log built the right way is worth more still. The concept is simple: one document, updated every time you inspect or service anything on the addition, with photos and dates. It does three jobs at once.
- It separates normal settling from real problems. A crack photographed every six months tells you whether it’s growing. A crack you only remember vaguely doesn’t.
- It supports warranty claims. If you’re claiming workmanship under a warranty, documented inspections with dates are the difference between a clear conversation and a fuzzy one.
- It raises resale value. A buyer looking at a home addition or ADU wants to know the thing has been looked after. A dated log with photos is concrete evidence. Richardson is a competitive market and a well-documented addition reads as an asset, not a question mark.
What to include in the log: date, what you inspected, what you found, what you did about it, and a photo or two per inspection. A simple shared spreadsheet or a physical binder works equally well – the format doesn’t matter, the consistency does. Store the original build documents (permit paperwork, inspection sign-offs, product warranties, and the material brand documentation from your build) alongside the log. If your addition used brands like Boral or PGT products, keep the product warranty paperwork with the log so it’s available years later – those warranties are part of the addition’s value, and they’re often the first thing a homeowner loses track of.
One practical tip: keep the log where you’ll actually update it. A maintenance binder in a drawer gets forgotten; a note on your phone with a recurring reminder every six months gets used. The inspection itself is worth more than the paperwork, but the paperwork is what converts your diligence into resale value and warranty leverage.
What Your 730-Day Done Right Promise Covers (and What It Doesn’t)
If your addition or ADU was built by Groundwork Construction Co. of Richardson, it’s covered by the 730-Day Done Right Promise. What that means in plain terms: if workmanship on the build isn’t right, we make it right, for two full years from completion. It’s one of the longest workmanship guarantees in the residential construction space, and it’s the reason the maintenance log matters more for a Groundwork addition than for most.
What the promise covers: workmanship. If a caulk joint we installed fails faster than it should, if a trim detail we built pulls apart, if the roof tie-in we constructed leaks because of how we built it – that’s our responsibility, and we handle it. What it doesn’t cover: normal wear, damage from storms or neglect, and maintenance items that simply come due on schedule. A sealant joint you were supposed to replace at year three isn’t a workmanship failure at year five. That’s not fine print; that’s the standard boundary of any honest warranty, and it’s why a documented maintenance routine is in your interest as much as ours.
The 730-day window also gives you a clear deadline. Any issue you want handled as warranty work needs to be documented and reported before the window closes. The first-year and second-year inspections in this guide are the natural checkpoints for that. Use them.
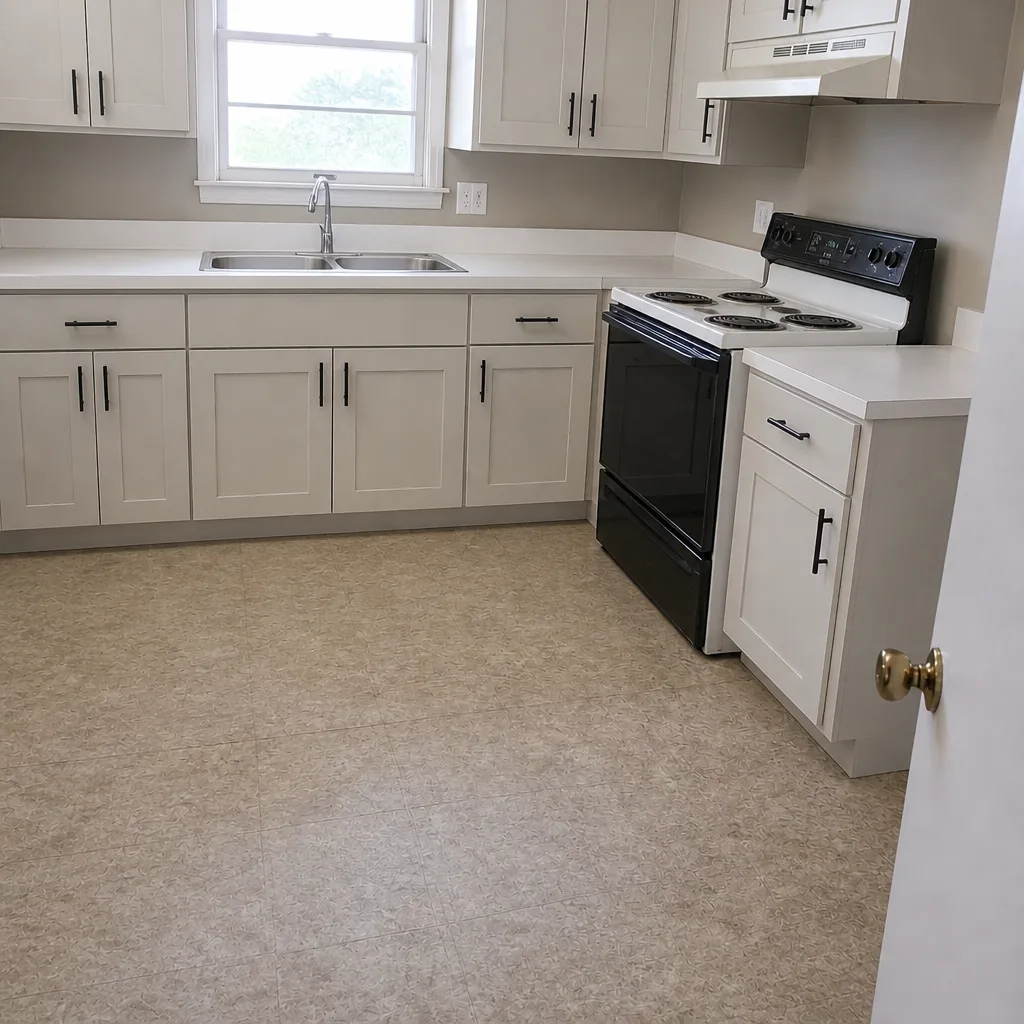
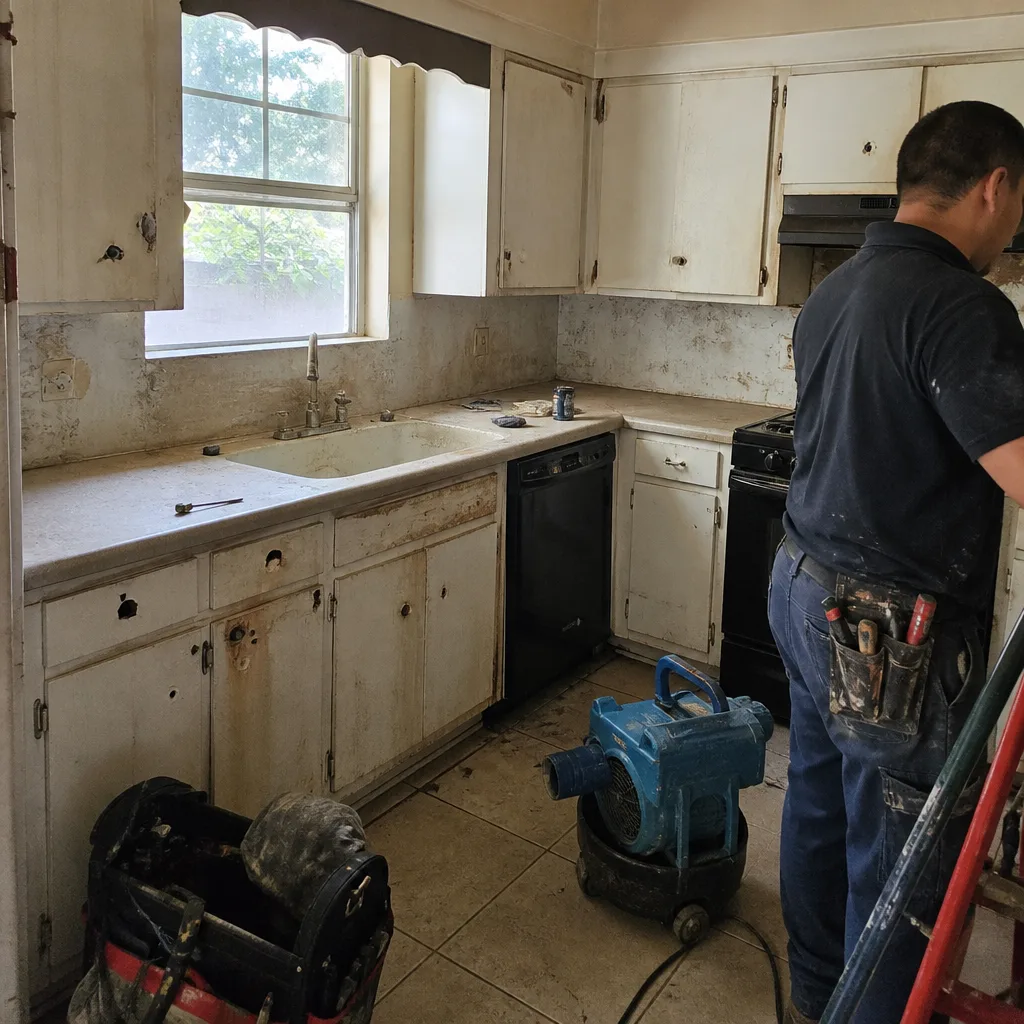
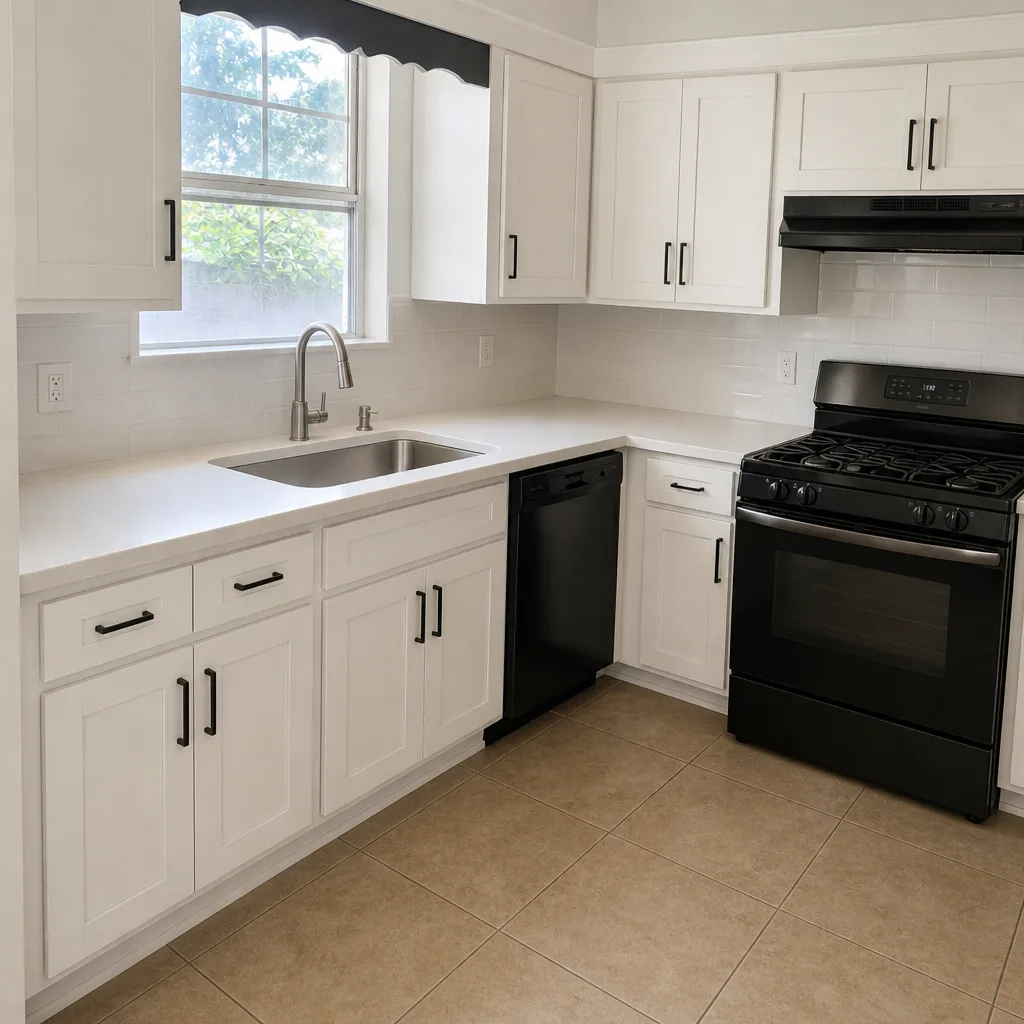
See the difference
 Before
 After
 Before
 After
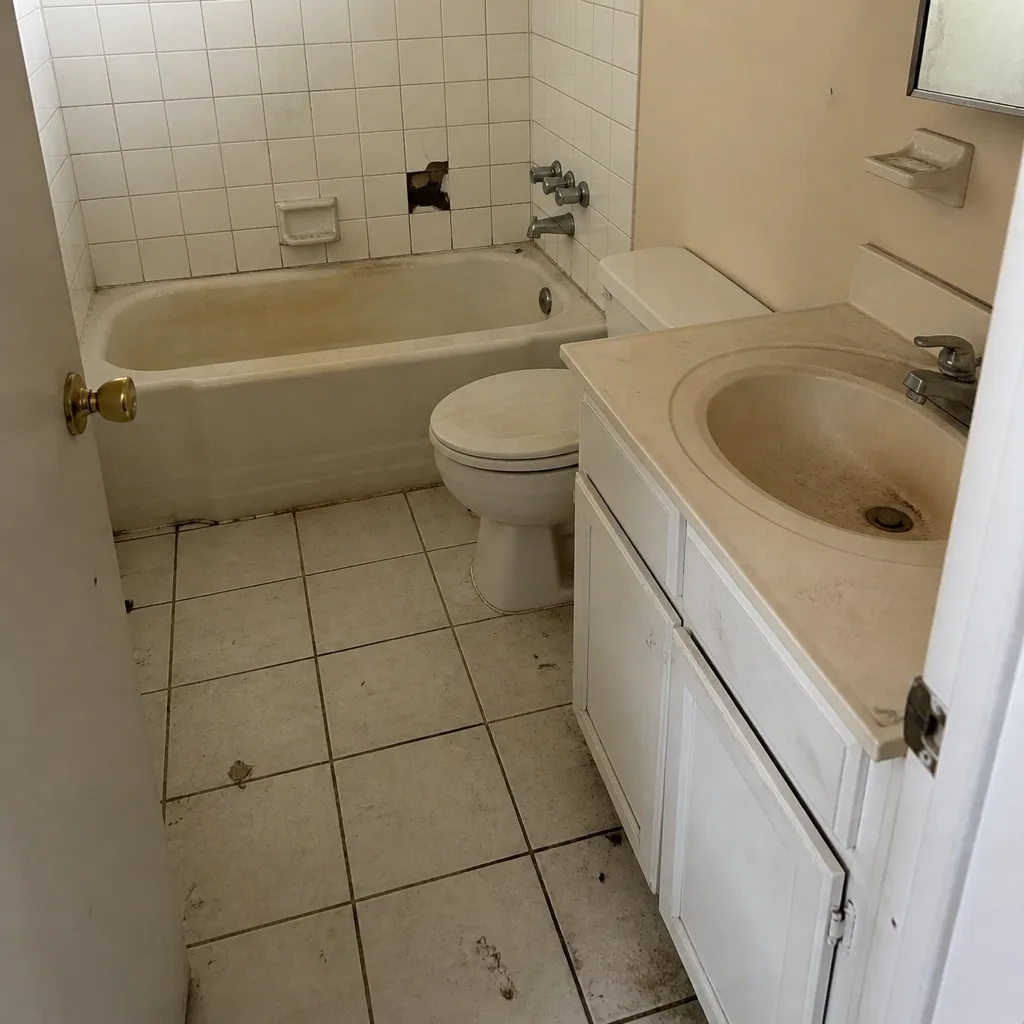 Before
 After
Common Mistakes to Avoid
- Skipping the six-month seam inspection because nothing looks wrong. The seam inspection exists precisely because early warning signs are subtle – a small caulk pull-away, a hairline crack. By the time it “looks wrong,” the repair is no longer small.
- Climbing onto the new roof to inspect the tie-in yourself. Roof work at height is a genuine safety hazard, and a new roof plane with a tie-in is exactly where you don’t want to learn that. Use binoculars from the ground and call a professional for anything that looks questionable.
- Letting leaves pile up in new roof valleys into winter. New roof intersections create collection points the original roof didn’t have. A clogged valley in a Richardson fall storm is the most common source of a first-year leak call we see.
- Ignoring foundation moisture during dry spells. Our expansive clay soil will find the dry side of the new foundation and shrink. A soaker hose run along the new foundation during dry stretches is cheap insurance against differential movement at the joint.
- Forgetting the HVAC filter interval changed. If the addition tied into the existing system, the filter is now serving more square footage. Change it on the new interval, and re-evaluate the whole system annually.
- Not keeping the log. Homeowners who document inspections catch problems earlier, have cleaner warranty conversations, and sell more easily. Homeowners who don’t are guessing every time.
- Treating the year-five structural re-inspection as optional. By year five, settlement has stabilized and any new movement is real information. Skipping that checkpoint means you lose the most useful baseline you’ll ever have.
When to Call a Professional
Some maintenance is yours to handle. Some of it is genuinely not – and knowing which is which is the mark of a homeowner who protects their investment. Call a professional if you see a crack at the interior connection wall that widens year over year, water staining on ceiling drywall near the roof tie-in, a foundation joint that has stepped or shifted, caulk failures you can’t reach safely, burning smells or warm spots at a subpanel (call an electrician immediately – panel work is an electrical hazard, not a DIY job), or significant storm damage to a new roof plane. Roof work at height, electrical panel work, and anything that touches gas lines are jobs for trained, licensed professionals – the risk of serious injury isn’t worth the savings.
Groundwork Construction Co. of Richardson offers free estimates in Richardson for any addition or ADU maintenance or repair work that falls outside your routine. Call (833) 954-4985 – our phones are answered by a live person, 24/7, and every technician who shows up on your project is background-checked and uniformed. Upfront pricing, no surprises.
Frequently Asked Questions
Every six months, minimum. The seam takes the load of two structures settling at different rates, and six months is the right interval to catch subtle caulk and crack changes before they become water intrusion. Routine exterior maintenance is usually handled by our Fence Installation in Richardson team on their own schedule, but the addition seam is the one inspection you shouldn’t outsource to memory.
A clogged roof valley during a fall storm, nearly every time. New roof intersections create leaf collection points that the original roof didn’t have, and the first big rain of the season tests them. Clear the valleys before fall storms arrive and you’ll avoid the most common first-year leak call we see.
Set a monthly reminder for the first year and log the filter condition each time. If the addition tied into your existing system, the real interval is usually shorter than it was before – you’re finding the new normal, not guessing. Once you’ve logged a year of data, you’ll know your actual change interval.
Plan on years three to five, on a scheduled replacement rather than waiting for a leak. Sealant at flashing and at the connection wall has a service life; replacing it before it fails is the cheapest roof maintenance you can do. If you see active water staining before then, call a professional – roof inspections at height aren’t a homeowner job.
No, and that’s a standard boundary of any honest warranty. The promise covers workmanship; scheduled maintenance (sealant replacement, filter changes, grading touch-ups) is the homeowner’s side of the arrangement. Document your maintenance with photos and dates – it protects both your warranty standing and your resale value.
Yes. A written log with photos is what turns your six-month inspections into useful information – it shows you whether a crack is stable or growing, and it’s the record you’ll want at the year-five structural re-inspection. Keep it in a place you’ll actually update it.
If you’re planning an addition or ADU in Richardson and want it built right the first time, start at our Groundwork Construction Co. of Richardson home and call (833) 954-4985 to schedule your free estimate and design consult. You can also explore our Home Additions & ADU in Richardson service page for the build side of the conversation. For a full picture of the services we handle alongside additions, see our Driveway & Pavers in Richardson page.
Written by the team at Groundwork Construction Co. of Richardson.