Last updated November 18, 2026



Free written scope consultation - allowances, timeline, and change-order rules on paper before a single trade is scheduled
Home Additions & ADU Troubleshooting: Common Problems and How to Fix Them
The most expensive addition defects are the ones you can’t see. Improper load transfer, flashing failures, and undersized HVAC ties all disappear behind drywall the moment the walls get closed, which means your real inspection window is far smaller than any contractor will voluntarily tell you. In Richardson, where clay soil and fast-tracked permits collide, we’ve watched homeowners discover a $14,000 mistake only after move-in. This guide shows you what to check during framing, at the roof tie-in, and inside your mechanical closet, so you catch problems while they’re still cheap to fix.
Quick Answer
Most home addition and ADU problems can be fixed if you catch them before drywall goes up: watch the connection point between new and existing framing for load transfer, confirm the roof tie-in flashing is step-flashed and counter-flashed, and verify your HVAC was sized with a real load calculation instead of a single added register. If work gets covered before an inspection, you can still request the city inspector reinspect; if you see structural movement beyond normal first-year settling, you need a licensed engineer, not a caulk gun. Call (833) 954-4985 for a free estimate before the walls close.
Styles & brands we work with
- Kitchen remodeling
- Bathroom remodeling
- Home additions & ADU
- Roofing
- Windows & doors
- Driveway & pavers
- Fence
Table of Contents
- Structural Warning Signs Visible During Framing
- Flashing and Waterproofing at the Roof Tie-In
- HVAC Capacity: Was Your System Actually Sized for the New Square Footage?
- Permit Inspections: Using the City Inspector as Your Quality Checkpoint
- Foundation-to-Addition Transition: Settling vs. Structural Cracks
- What a Healthy Addition Timeline Looks Like in Richardson
- Common Mistakes to Avoid
- When to Call a Professional
Structural Warning Signs Visible During Framing
The connection between new construction and the original house is where load path problems hide. When a new addition ties into an existing wall, the load from the new roof and floors has to transfer into the existing foundation. If the framing isn’t properly connected, the addition can separate, sag, or pull the old structure out of alignment. Drywall hides all of it.
Here’s what to look for while the studs are still exposed and the inspector hasn’t signed off yet:
- Headers over openings: A new door or window opening in the shared wall needs a properly sized header, not a doubled 2×4 used as filler. Ask your contractor what size the header is and why.
- Hangers and connectors: Every new joist that meets an existing ledger board should have a metal joist hanger with the correct nails, not toe-nailed. Visible gaps between the hanger and the ledger are a red flag.
- Shear panel nailing: Look at the plywood or OSB sheathing. The nails should be evenly spaced around the perimeter at the spacing on the engineer’s plan. A pattern that looks random probably is.
- Wall ties to the existing structure: The new wall should be strapped or anchored to the old wall with metal connectors, not just screwed through the sheathing.
In Richardson, older homes in the Heights and Prairie Creek areas often have pier-and-beam or slab-on-grade construction that wasn’t designed for a second story or an attached structure. That doesn’t make an addition impossible. It makes the connection detail matter more. A framing contractor who skips the engineer’s connection schedule is gambling with your equity. For detailed guidance on how additions are scoped correctly from the start, see our Home Additions & ADU in Richardson page.
Flashing and Waterproofing at the Roof Tie-In
Water intrusion at the roof tie-in is the single most common failure we see on home additions in Richardson, and it’s almost always a flashing shortcut. The new roof plane meets the existing wall, and that intersection has to shed water away from the house – not into it. The problem is that flashing is one of the last things an inspector sees clearly and the first thing a rushed crew cuts.
Here’s what proper installation actually looks like at the tie-in:
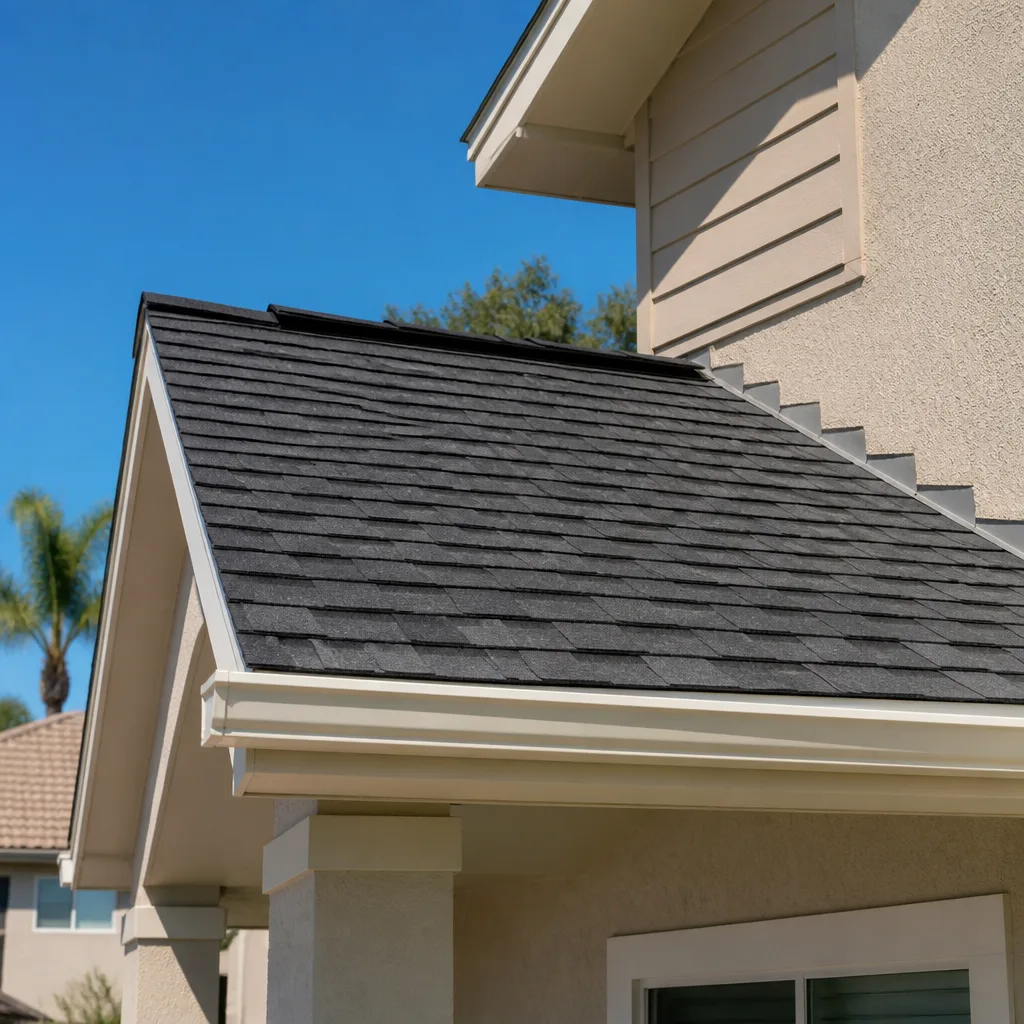
- Step flashing: Individual L-shaped pieces of metal weave into each course of the existing roof shingles and run up the wall behind the siding. You should see a visible stair-step pattern along the tie-in, not one long continuous strip.
- Counter-flashing: A second layer of metal, integrated into the wall’s weather-resistive barrier, laps over the top of the step flashing so water running down the wall can’t get behind it.
- Sealant placement: Sealant should be the backup, not the primary barrier. A crew that caulks the seam and calls it done has built a failure that will show up after two or three Richardson rain seasons.
- Kick-out flashing at the bottom: At the base of the tie-in, a kick-out diverter should push water away from the wall and into the gutter.
What a shortcut looks like: surface-mounted metal held by caulk, no counter-flashing, and a bead of black sealant where the wall meets the shingles. That passes a visual glance and fails within years. If your roofer or addition contractor is running GAF or CertainTeed systems, ask them to show you the manufacturer’s flashing detail – and compare it to what’s on your house. If the roof tie-in is the failure point, our Groundwork Construction Co. of Richardson home page outlines how we scope and warranty the full project envelope.
HVAC Capacity: Was Your System Actually Sized for the New Square Footage?
An addition that adds 400 square feet but only gets one new supply register didn’t get a mechanical upgrade. It got a symptom of an undersized system. When a contractor extends an existing HVAC duct into a new room without running a manual load calculation, the new room stays hot in August, the rest of the house loses pressure, and your compressor works harder every Texas summer until it fails early.
Here’s how to tell if your addition was properly sized:
- Ask for the load calculation: A proper HVAC design uses a Room-by-Room Manual J calculation, not a rule of thumb. If no one can produce one, you don’t have a properly designed system.
- Check the returns: A new room with a supply register but no return air path will pressurize the room and starve the system. Look for a transfer grille or a dedicated return.
- Confirm the tonnage: The outdoor condenser has a tonnage rating. Your contractor should be able to tell you whether the existing unit can handle the new square footage or whether a dedicated mini-split or a larger system is needed.
- Ask about the thermostat zone: A new addition on a single zone with the rest of the house will always lag or lead the thermostat. A zoned system or dedicated unit solves it; extending a supply line does not.
In Richardson’s older neighborhoods, adding a 300-square-foot primary suite often pushes a 2-ton system beyond what it can handle for the combined heated area. That’s a mechanical design problem that needs to be solved during rough-in, not with a window unit after the fact. If you’re planning an ADU in particular, our team can walk through the pre-design checklist – call (833) 954-4985 for a free consultation.
Permit Inspections: Using the City Inspector as Your Quality Checkpoint
A residential addition in Richardson requires multiple inspections: foundation, framing, rough mechanical, rough electrical, rough plumbing, insulation, and final. Each of those is a checkpoint where the city inspector is protecting your home for a fraction of the cost of an independent third-party review. The problem is that some crews try to schedule inspections on a moving target – or worse, cover work before a required inspection happens.
Here’s the inspection sequence you should expect, and what each one actually checks:
- Foundation inspection: Runs after excavation, forms, and rebar are placed, before the pour. If you never saw an inspection report before concrete, ask why.
- Framing inspection: Runs before any insulation or drywall. This is the inspector’s chance to check load path, nailing schedules, header sizes, and connection details. Once drywall covers the framing, the inspection requires special access.
- Rough mechanical, electrical, and plumbing: Often combined into one or multiple rounds. The inspector checks wire gauge, duct sizing, drain slope, and gas line pressure, all before the finishes.
- Insulation inspection: Checks R-values per the energy code and air sealing around penetrations at the tie-in to the existing house.
- Final inspection: Confirms all systems, egress windows, and smoke/CO alarms are correct before the certificate of occupancy is issued.
If you notice drywall is hung before the framing inspection, stop the job. The correct fix is to either pull the drywall or to have the inspector do a partial-wall-access inspection, depending on what the city office will accept. In Richardson, the permit portal shows whether inspections are scheduled and whether they’ve passed – check it weekly. A contractor who avoids showing you the inspection record is telling you something.
This is also where the 730-Day Done Right Promise becomes practical. We pull permits and pass inspections as a condition of closing out the job, and the warranty covers the workmanship the inspector didn’t see. That’s the difference between a warranty that’s on paper and one that gets enforced.
Foundation-to-Addition Transition: Settling vs. Structural Cracks
Some movement is normal. North Texas clay soil behind a new addition expands and contracts in the first year, and most Richardson homes with a new addition will see hairline cracks in a drywall corner or a joint between old and new. Here’s the line between “that’s just settling, monitor it” and “call an engineer today.”
Use this guide:
- Hairline cracks in drywall, under 1/16 inch, at the seam between old and new: Usually normal first-year movement from clay expansion and seasonal moisture swings. Caulk and monitor.
- Stair-step cracks in brick or masonry at the addition joint: Often indicates differential movement. Have it evaluated.
- Any crack wider than 1/4 inch, especially on an exterior wall: Structural until proven otherwise. Call a licensed structural engineer.
- Doors and windows at the addition that won’t close or latch after two or three months: Racking. That’s a framing or foundation issue, not a hardware issue.
- Floors on the new side visibly sloping: Not normal, ever. Get it inspected.
- Vertical settlement cracks running floor-to-ceiling on the same elevation: Have it evaluated before patching.
Richardson’s soil is notoriously expansive through the summer. A house in Lookout or Canyon Creek that stays stable through one wet winter and one dry summer is often settling into its new pattern. But the engineer-versus-caulk-gun call is not one to make by eye after patching. If a crack reappears after a caulk repair, that’s a signal the movement is ongoing. We see this often enough in Richardson that we build the first-year monitoring review into the closeout process – not as a sales pitch, but because catching movement at month four is far cheaper than catching it at year three.
What a Healthy Addition Timeline Looks Like in Richardson
The typical 400-square-foot attached addition in Richardson takes roughly five to seven months from permit issuance to final inspection. That’s not a hard number – it depends on the scope, the weather, and how fast the city schedules inspections – but it’s a useful benchmark for judging whether a job is drifting.
A healthy milestone sequence, in order:
- Weeks 1-3: Permits pulled, survey and engineered foundation plan finalized.
- Weeks 3-6: Site prep, excavation, and foundation pour. Foundation inspection passed.
- Weeks 6-14: Framing, roof tie-in, and sheathing. Framing inspection passed before any insulation.
- Weeks 14-18: Rough mechanical, electrical, and plumbing. All rough inspections passed.
- Weeks 18-22: Insulation, drywall, and finish-out. Only now do the walls close.
- Weeks 22-28: Flooring, trim, fixtures, and final inspection.
If a contractor tells you the whole thing wraps in eight weeks, that timeline assumes either no inspections or a scope smaller than what permits require. The value-for-money trade-off is not speed; it’s a clean inspection record and a warranty you can enforce. If you’re also considering outdoor hardscape as part of the addition project, our Driveway & Pavers in Richardson page covers how we sequence those finishes alongside the main build, and the finished envelope benefits from being planned as one scope.
Common Mistakes to Avoid
- Skipping the Manual J load calculation. Every HVAC decision made by eye rather than by calculation costs you comfort and equipment life. In Richardson’s summers, an undersized system on a 400-square-foot addition can add real dollars to your utility bill within a single season.
- Letting drywall go up before framing inspection. The inspector can’t verify load transfer through drywall, and neither can you. Wait for the green tag before the walls close.
- Trusting a rule-of-thumb flashing detail. One continuous strip of metal with a caulk bead over it is not a tied-in roof. Ask for the step and counter-flashing detail before rough-in, and check it during framing.
- Patching a foundation crack without diagnosing it. A crack wider than 1/4 inch is an engineer’s problem, not a caulk gun’s. In Richardson’s clay, a patched crack that reappears within a year is communicating something.
- Extending the existing HVAC without a return path. A supply register into a closed room pressurizes the room and starves the rest of the house. Always add a return or transfer grille at the same time.
- Skipping the insurance check on the crew. Ask for the general liability certificate and the workers’ comp status before the first day of work. This is not paperwork theater – it’s what protects your asset if someone is injured on your property.
- Accepting a bid without a line-item scope. A lump-sum price that says “addition, as discussed” is not a quote. A real bid lists framing, foundation, MEP rough-in, finishes, and permit fees separately, so you can compare foot by foot.
When to Call a Professional
Call a professional when the problem has crossed from “monitor it” to “diagnose it.” That includes: any crack wider than 1/4 inch on an exterior wall; an addition whose floors are visibly sloping; a roof tie-in that is staining interior drywall; an HVAC system that can’t keep the new room within 5 degrees of the rest of the house after a full season; or any point where a contractor wants to cover work before an inspection. The other trigger is simpler: if you don’t have documentation that a given inspection was passed, assume it wasn’t and get it verified. Small problems in the framing and flashing stage cost hundreds to fix; the same problems discovered after move-in cost thousands. Groundwork Construction Co. of Richardson offers free estimates in Richardson – call (833) 954-4985 to get a line-item scope and a real inspection record before you sign.
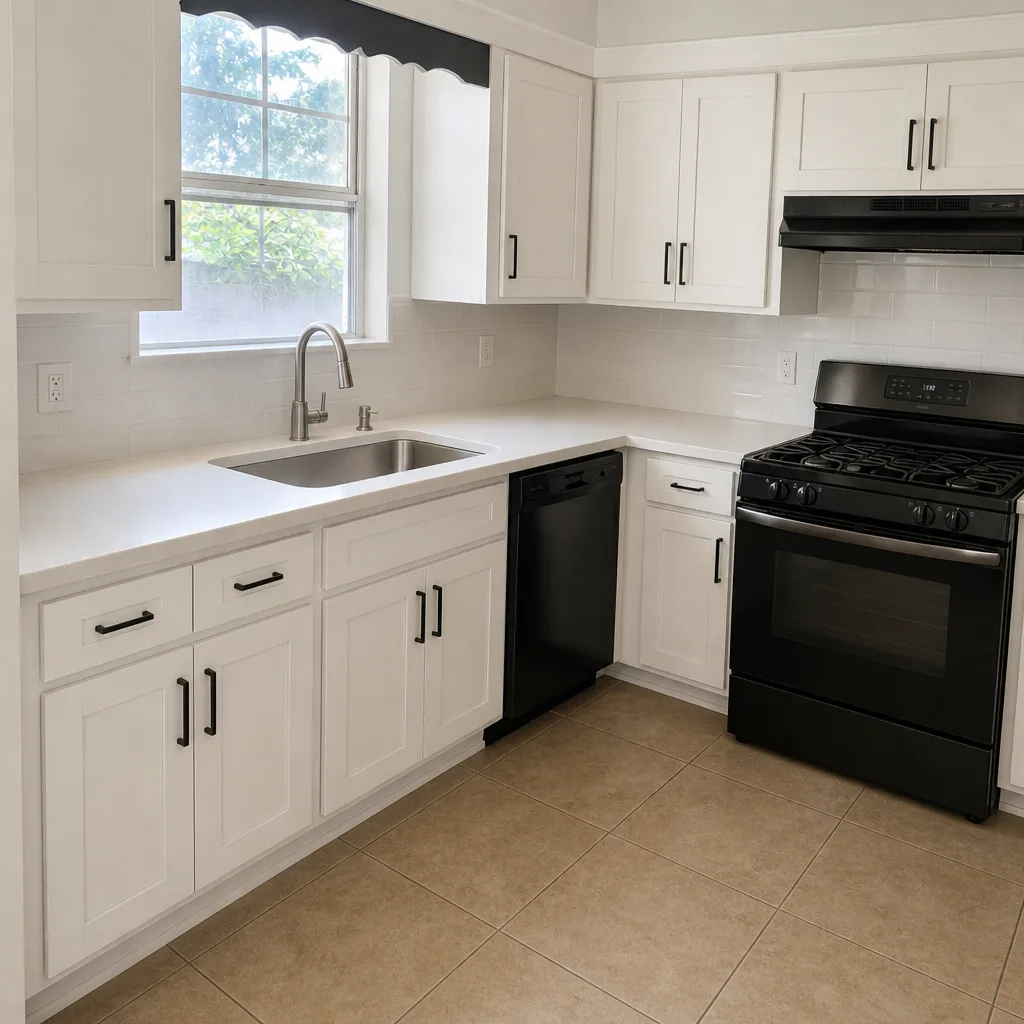
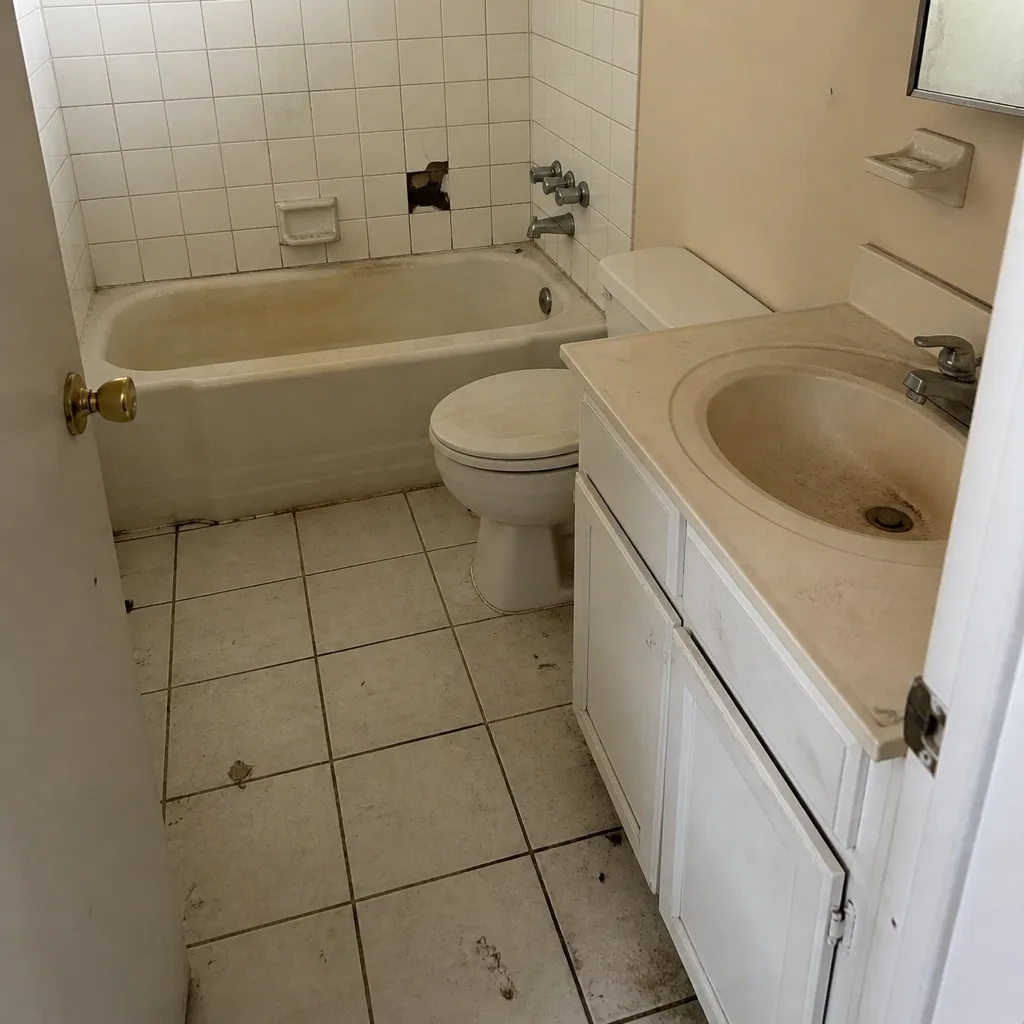
See the difference
 Before
 After
 Before
 After
 Before
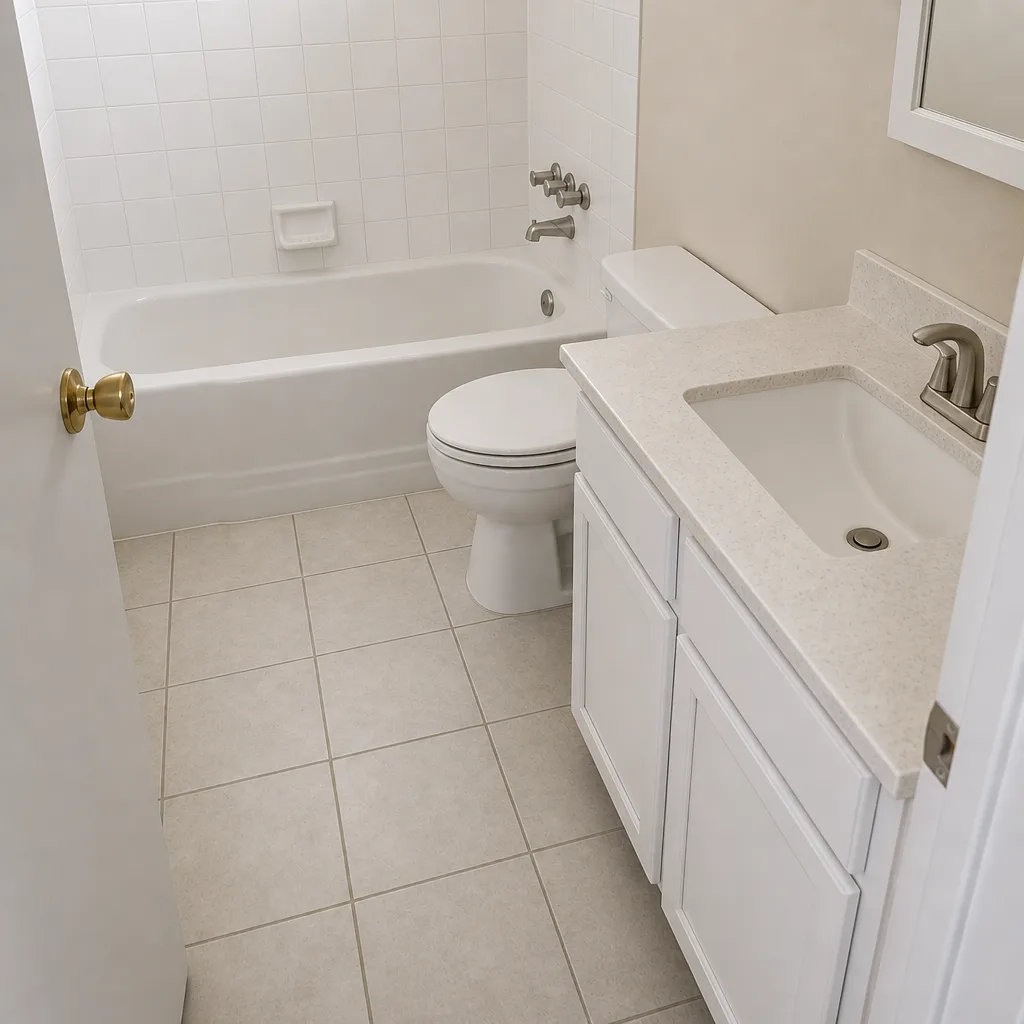 After
Frequently Asked Questions

The most reliable signs are stair-step cracks in brick wider than 1/4 inch, floors that visibly slope on the new side, doors and windows that won’t latch within a few months of completion, and any crack that reappears after being patched. Hairline cracks under 1/16 inch at the old-to-new seam during the first year are usually Richardson clay settling and can be monitored. If any of the structural signs are present, call a licensed structural engineer – fixing a structural problem early is a fraction of the cost of fixing it after the addition has moved out of alignment. Call (833) 954-4985 for a free estimate if you’d like an independent assessment before you commit to a repair.
Probably not, unless someone can show you a Room-by-Room Manual J load calculation. A supply register extension into a new room is not a mechanical upgrade – it’s a symptom of an undersized system. Ask the contractor to produce the calculation, confirm the existing condenser tonnage, and check whether the new room has either a dedicated return or a properly sized transfer grille. If the new room runs more than 5 degrees hotter or colder than the rest of the house for a full season, the system isn’t sized right for Richardson’s climate. Call (833) 954-4985 to get an honest assessment of what your addition needs.
Look for individual step-flashing pieces that weave into each shingle course in a visible stair-step pattern – not one long strip of metal with a caulk bead over it. Counter-flashing should lap over the top of the step flashing and integrate into the wall’s weather barrier, and you should see a kick-out diverter at the bottom of the tie-in to push water away from the wall. Surface-mounted metal and caulk placement are a failure in progress; both fail within a few Richardson rain seasons. Call (833) 954-4985 to schedule an inspection of the envelope before the walls close.
You have two options: pull the drywall back down for a clear inspection, or ask the city to accept a partial-access inspection depending on the scope of the covered work. Neither is a good outcome and both cost time. The best defense is checking the Richardson permit portal weekly to confirm that the framing, rough mechanical, and framing inspections have passed before any insulation or drywall is hung. If your contractor won’t show you the inspection record, that’s the signal to stop. Call (833) 954-4985 for a free estimate on a project where every inspection is documented before walls close.
Hairline cracks under 1/16 inch at the seam between old and new, appearing in the first 12 months, are usually normal movement from North Texas clay expansion and contraction – Richardson homes see this regularly through the first seasonal cycle. Stair-step masonry cracks, cracks wider than 1/4 inch, sloping floors, and doors that stop latching are not settling and need an engineer’s eyes. The test is whether the crack reappears after being patched; if it does, the movement is ongoing and the diagnosis needs to happen before the next round of caulk. Call (833) 954-4985 if you want a professional read on whether your addition’s movement is normal.
A typical 400-square-foot attached addition in Richardson runs roughly five to seven months from permit issuance to final inspection, depending on scope and inspection scheduling. Framing should close in weeks 6-14, mechanical/electrical/plumbing rough-in runs through week 18, and the walls shouldn’t close until all rough inspections have passed. Any contractor promising a full wrap in eight weeks is either skipping inspections or quoting a smaller scope than the permits will allow. Call (833) 954-4985 for a free estimate with a realistic, line-item timeline.
The Bottom Line
The expensive problems in home additions and ADUs are hidden problems – bad load transfer behind the drywall, missing step flashing under the shingles, and HVAC systems that were never really sized for the new square footage. In Richardson, the extra variable is clay, which adds motion in year one that you should watch rather than panic over, and then diagnose rather than patch if it keeps moving. Your best defense is watching the framing, the roof tie-in, and the inspection record before the walls close. A written 730-Day Done Right Promise and a permit record that gets shown, not guarded, is what separates a build that holds up from one you spend years correcting.
If you’re planning an addition or ADU in Richardson and you want a line-item scope, a fixed price, and a record of every inspection before the drywall closes, call (833) 954-4985 for a free estimate. Live person, 24/7. Upfront pricing, no surprises. From foundation to finish line.
Written by the team at Groundwork Construction Co. of Richardson.