
Last updated November 18, 2026








Free written scope consultation - allowances, timeline, and change-order rules on paper before a single trade is scheduled
Windows & Doors Maintenance Schedule: What to Do and When
Window and door failures are almost never sudden. They’re three years of skipped maintenance that became visible all at once. A hairline caulk crack in April is a rotted sill cap by October. A dry hinge that squeaks in spring is a stripped screw hole by fall, and a stripped screw hole is a door that won’t latch, and a door that won’t latch is a security problem you didn’t budget for. The math is brutal: a $200 weatherstrip and caulk refresh costs a fraction of the $4,000 frame replacement that follows years of neglect. In Richardson, with our UV load and our summer heat cycling, that timeline runs faster than most national advice assumes. This guide gives you the actual twice-a-year routine, the products that hold up here, and the documentation that protects your warranty and your sale.
Quick Answer
Windows and doors need a 20-minute inspection and touch-up twice a year: once in early spring (March-April, before the heat) and once in early fall (October, before winter). Spring tasks focus on caulk, weatherstripping, screens, and drainage; fall tasks focus on seals, hardware, locks, and storm door fit. Deep-clean tracks and weatherstrip annually, lubricate hinges and rollers twice a year, and document condition with dated photos every inspection. In Richardson, the UV exposure and clay soil movement make spring resealing non-optional.
Styles & brands we work with
- Kitchen remodeling
- Bathroom remodeling
- Home additions & ADU
- Roofing
- Windows & doors
- Driveway & pavers
- Fence
Table of Contents
- Why Windows and Doors Fail on a Schedule
- The Spring Checklist: March Through April in Richardson
- The Fall Checklist: October in North Texas
- How to Inspect and Reseal Caulk Lines Correctly
- Hardware Lubrication Schedule by Component
- Storm Doors and Secondary Glazing: Before and After Summer
- Documenting Condition for Warranty and Sale Disclosures
- Common Mistakes to Avoid
Why Windows and Doors Fail on a Schedule
Every failure mode of a window or door has a predictable clock. Caulk loses elasticity. Weatherstripping compresses. Hinges lose their lubricant film. Rollers flat-spot. Drainage weep holes clog. None of these things happen overnight, and none of them get better on their own. The reason a homeowner walks out one morning and finds a door that won’t close is that an intersecting set of small failures all reached their thresholds in the same week.
Richardson’s climate accelerates the clock in specific ways. The summer UV index here routinely runs at levels that break down standard acrylic caulk in two to three seasons, not five. The heat cycling, with exterior surfaces pushing well past 140°F and dropping 40 degrees overnight, works the sealant joints open and closed hundreds of times per year. And the expansive clay soil under most Richardson neighborhoods, from Canyon Creek to Prairie Creek to Breckinridge, shifts seasonally enough to rack door frames and window openings slightly. A frame that was plumb when the house was built can be out of square by an eighth of an inch after a dry summer.
What this means for the schedule is simple: you don’t get to skip a season here. The maintenance intervals that work in a mild climate will fail in Richardson. Our technicians think of it as two fixed appointments on the calendar, spring and fall, and the rest of the maintenance year hangs off those two dates.
The 20-minute baseline inspection
Before any task list, do this once so you know what you’re dealing with. Walk the house with a notepad and check each of these:
- Run a finger along every caulk line on the exterior of each window and door frame. Any crack, gap, or chalky texture is a fail.
- Push on the weatherstripping around each door. It should spring back. If it stays compressed, it’s done.
- Open and close every window. Listen for a grind, drag, or squeal. Note which ones.
- Look at weep holes at the bottom of window frames. They should be open. They’re often painted over.
- Check door hinges and strike plates for loose screws. A loose screw means a stripped hole is coming.
- Slide a sheet of paper between the closed door and the frame. If it pulls out with no resistance, the seal is failing.
Write down what you find. That list becomes the work for spring or fall.
The Spring Checklist: March Through April in Richardson
Spring is the reseal season, and here it’s the more important of the two. By the time the first 90-degree day hits, any failed caulk joint has to be caught, because once the heat drives it open further, it stays open until October. Do the spring maintenance on an overcast day with temperatures between 55°F and 80°F and no rain in the forecast for 24 hours. Caulk won’t adhere or cure correctly outside that range.
Spring tasks, in order
- Inspect and reseal all exterior caulk lines. Windows, door frames, trim joints, sill caps. Remove any loose or chalky caulk with a putty knife, clean the joint, and reapply. This is the single highest-value task on the calendar.
- Replace weatherstripping on any door that fails the paper test. Foam tape weatherstripping compresses fast in heat; V-strip or door-sweep style holds up longer.
- Clean window weep holes. Use a wire or a can of compressed air to blow out debris from each window frame drain slot. A clogged weep hole is a small water-damage situation waiting to grow.
- Inspect and clean window and door screens. Wash with mild soap, dry, and check for holes. Bent frames that no longer seat flush need replacing, not bending back.
- Lubricate hinges and window tracks. See the hardware section below for products.
- Check exterior door sweeps. A worn sweep lets both air and water under the door. Replace if daylight is visible.
- Clean gutter downspouts. Not a window task strictly, but if a downspout dumps against a window-side wall, splashback will find every caulk failure.
Budget an hour the first spring you do this, twenty minutes in subsequent years with no failures.
Products that hold up to Richardson UV
Standard acrylic-color caulk will last one Texas summer. For exterior seals here, use a 100% silicone or a high-performance elastomeric sealant rated for exterior UV exposure and 25% movement. For joints against brick or masonry, use a polyurethane sealant. For door frames that move seasonally, the elastomeric sealant is the right call because it stretches with the frame instead of cracking. Pick a caulk that lists UV resistance and stays flexible in a range from below freezing to 180°F.
We keep the brands we trust on file, and when we replace windows we install Andersen and Marvin units built for this climate range. But you can reseal what you already have with a good sealant and the spring checklist. The point is the schedule, not the brand.
The Fall Checklist: October in North Texas
Fall maintenance is about sealing out the cool season and getting the hardware through the winter. It’s the less urgent of the two seasons in Richardson, because we don’t have a hard freeze coming in October, but it’s where you catch the small stuff before it turns into a cold-weather symptom, like a door that doesn’t close because the frame has shrunk or a window that sticks because the track is gunked up.
Fall tasks, in order
- Re-inspect all exterior caulk and touch up anything that failed the summer. Use the same sealant as spring.
- Test every door lock and deadbolt. A lock that’s sticky or hard to turn is either misaligned or dry. Misalignment gets adjusted, dryness gets lubricated with graphite or a dry lock lubricant (not oil).
- Check door alignment, especially patio doors. Open and close; if a door drags or won’t catch the strike plate, the frame or hinge has shifted. A loose hinge screw should be replaced with a longer screw into the stud, not filled with glue.
- Clean window tracks and apply a dry lubricant. Every track, every window. It’s a 30-minute job with a can of silicone spray.
- Check window glazing compound on any single-pane windows, and replace any cracked putty. This is a window-by-window job where homes with updated windows are already ahead.
- Inspect storm doors for fit and seal. See the dedicated section below.
- Lubricate all hinges, springs, and slide hardware. Full pass on every moving part.
- Take the annual condition photos and file them. See the documentation section.
The fall check is where you also decide whether it’s a maintenance year or a replacement year. If you’re re-sealing the same window for the third fall in a row, the window isn’t the problem; the unit or the installation is. If you reach that point, that’s when a window and door replacement consultation starts to make sense.
How to Inspect and Reseal Caulk Lines Correctly
Resealing caulk is the task most homeowners do wrong, and that failure mode is what turns a maintenance call into a repair. Done wrong, new caulk over old caulk traps moisture and rots the frame faster than no caulk at all. Done right, it’s a fifteen-minute job per window that buys you three years.
Step-by-step correct resealing
- Remove old, failed caulk completely. Use a putty knife or a caulk-removal tool. Don’t just smear new sealant over a crack. If a joint is too deep to clean, use a small hook or a stiff wire.
- Clean the joint and let it dry. Wipe down with a clean cloth dampened with water or a mild solvent. Let it dry completely, at least an hour.
- Mask the joint with painter’s tape. Two parallel strips on either side of the caulk line, about 1/8″ apart, gives a clean seam.
- Apply sealant with a steady, continuous bead. Use a caulking gun and apply in one motion. Don’t layer it in three separate beads; the layers don’t bond.
- Tool the joint. Run a damp finger or a plastic caulk-smoothing tool along the bead to press it against both surfaces.
- Remove tape before the sealant skins over. Pull immediately after tooling, or it’ll tear the bead.
- Let it cure for 24 hours before any rain or washing. Check the label for the cure time on the specific product; silicones vary.
Do this on every exterior joint, not just the ones with visible cracks. The invisible failures are the ones that get you. The product choice is what makes it hold: we recommend a UV-rated elastomeric or 100% silicone sealant. Read the label; standard interior/exterior acrylic labeled as “paintable” isn’t the right product here.
Hardware Lubrication Schedule by Component
Hardware fails because it’s unlubricated or because it’s lubricated with the wrong product. Here’s the correct schedule and product for each type of hardware in a typical home:
- Door hinges: Light oil or a silicone lubricant, twice a year during spring and fall maintenance. A drop on each hinge joint, then work the door back and forth. Don’t over-apply; excess attracts dust.
- Door locks and deadbolts: Graphite or a dry lock lubricant, once a year, ideally in the fall before the cool season. Never WD-40 or oil; these gum up the internal mechanism.
- Window tracks: Silicone spray, twice a year, after a track clean. Spray lightly, wipe excess. Don’t use oil-based lubricants that attract dust and grit.
- Window rollers and slide mechanisms: Silicone or a light dry lubricant, twice a year. If rollers are visibly flat-spotted or broken, replace them; no amount of lubricant will bring a flat roller back.
- Patio door tracks and rollers: Silicone spray on the track, once every two months if the door is used daily. Patio door rollers are high-wear and usually need replacement every five to eight years in Texas heat.
- Storm door closers: Light oil on the pivot points, twice a year. Check the tension arm; it should push the door smoothly, not abruptly.
- Sliding screen door track: Silicone spray twice a year. And keep the track clean; grit is the enemy.
Buy one silicone spray and one graphite lock lubricant and you’ve got 90% of what you need for the whole house. Each of those cans will last multiple seasons.
Storm Doors and Secondary Glazing: Before and After Summer
If you have a storm door, it deserves its own check because it takes the direct UV hit on a south or west face and takes the wind and rain on a north or east face. In Richardson, a storm door on a west-facing front door is going to be baked every afternoon from May to September.
Before summer
- Check the closer tension. The arm should pull the door closed smoothly. If it slams or won’t close fully, adjust the tension at the arm.
- Inspect the weatherstripping around the frame. This is the storm door’s actual job: sealing the gap between the outer door and the inner entry door.
- Check the glass or screen for cracks. A cracked glass in a storm door lets water in behind the interior door and into the threshold.
- Look at the hinges. Exterior storm door hinges take UV and can seize. A drop of light oil before summer is cheap insurance.
After summer
- Inspect the seal around the door frame where it meets the house. Summer expansion often shows up as a hairline crack along that line.
- Clean the glass and screen. By October you’ve probably let a full season of pollen and grime sit on it.
- Re-check the closer; heat sometimes changes the tension and the door may not seat fully. Adjust.
- Check the threshold and sweep. Water should not pool on the interior threshold after a hard rain.
Secondary glazing, meaning an added interior panel or storm window on an older single-pane window, gets the same treatment: check seals before heat and check seals again after. On an older Richardson home with original single-pane windows, this routine is the difference between them lasting another decade and finding failed glazing in the fall.
Documenting Condition for Warranty and Sale Disclosures
A dated photo log is the single highest-ROI maintenance habit, and almost no homeowner keeps one. It costs nothing and it protects you twice: once when you try to claim a window or door warranty, and again when you sell the house and the buyer’s inspector writes up every window and door issue with no context.
What to document each year
- Date-stamped photos of every window and door after the spring maintenance pass. Same angle every year, so year-over-year comparison is meaningful.
- Photo of the caulk line at each window and door immediately after resealing. This is the proof that the seal was maintained.
- Serial number and model numbers of any windows or doors you’re tracking for manufacturer warranty. Take a photo of the label; it’s easier than writing it down.
- The work log. Note what was done each season: what you resealed, what was replaced, what was lubricated. Hand-written is fine.
- Any moisture evidence. If a window shows water staining, photograph it immediately with a date. It’s the single most useful record if you ever have to make a warranty claim.
Why this matters at resale
Most homeowner disclosures ask whether there are known issues with windows and doors. A documented maintenance log lets you truthfully say the windows and doors have been maintained, which is the answer a buyer’s inspector wants to see. When a buyer’s inspector flags a seal that was just refreshed in October, that maintenance log converts a potential credit request into a footnote. If you have windows nearing end of life and documented maintenance shows it, that also tells you it’s time for a consultation on window replacement, and you have the evidence to know it’s not a premature call.
When we install new windows and doors, they’re covered under our 730-Day Done Right Promise – if it’s not done right, we make it right. That’s one of the longest workmanship guarantees in the residential construction space, and it only works when the homeowner has documented the maintenance on their window or door. Keep the log.
Common Mistakes to Avoid
- Smearing new caulk over old caulk. This is the most common error we see on Richardson homes. It looks done but traps moisture in the joint, and the next failure is a rotted frame instead of a failed bead.
- Using interior-grade acrylic caulk on exterior joints. Richardson’s UV load destroys acrylic in one to two summers. Pay for the UV-rated elastomeric or 100% silicone; it’s a few dollars more per tube for years more life.
- Lubricating locks with WD-40 or oil. The mechanism gums up and the lock fails worse than before you touched it. Graphite or a dedicated dry lock lubricant only.
- Skipping the spring reseal because “it looks fine.” The failed caulk joint that will leak by July is invisible in March. Inspect by feel; if it’s chalky or has any crack, it’s a fail.
- Bending damaged window screens or storm door frames back into shape. Bent frames don’t seal; they leave a small gap that lets water in. Replace the frame, don’t bend it.
- Keeping no maintenance log. When the window’s warranty date comes up, the manufacturer’s claims department asks what maintenance you did and when. No log means no claim.
- Ignoring a door that “doesn’t quite close.” A door that’s out of square in Richardson is a warning sign, usually from clay soil movement. Adjust the hinges or the frame alignment before the gap seals a water problem in.
See the difference
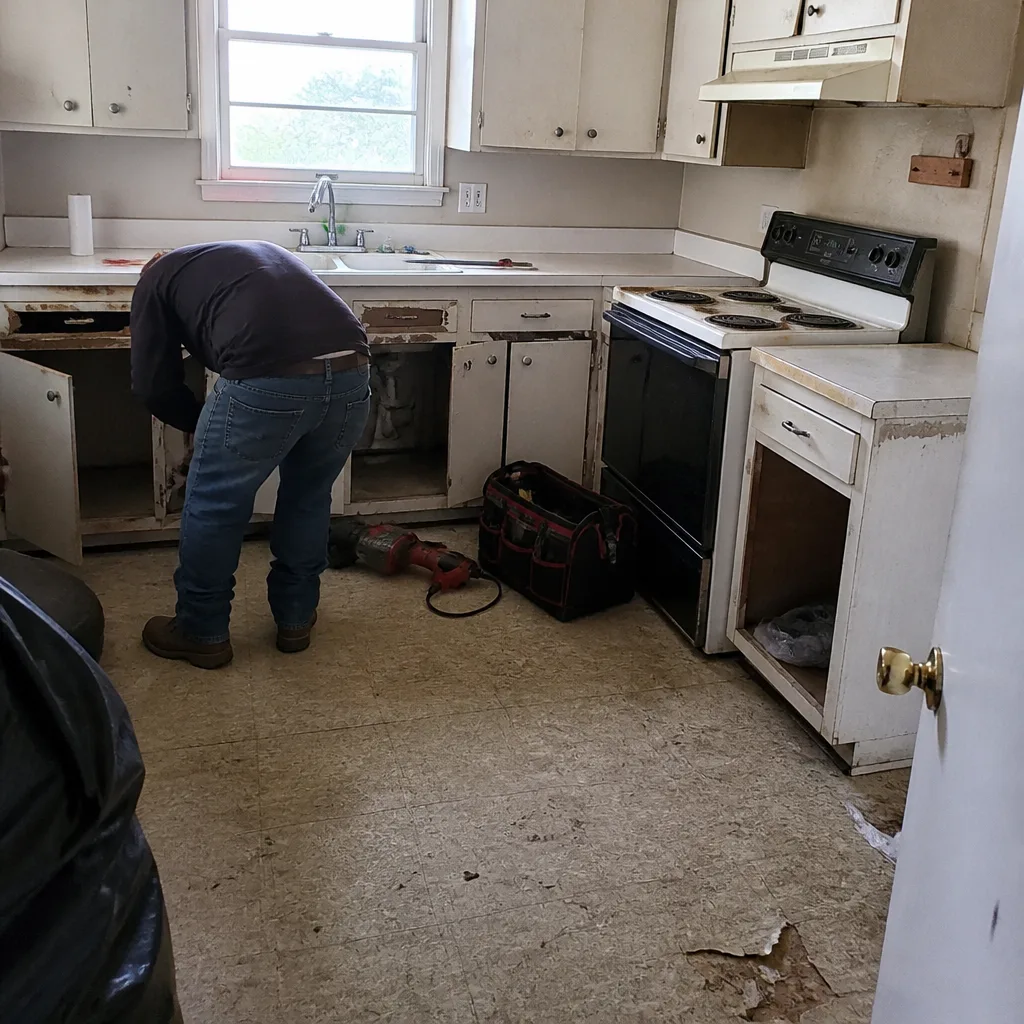 Before
 After
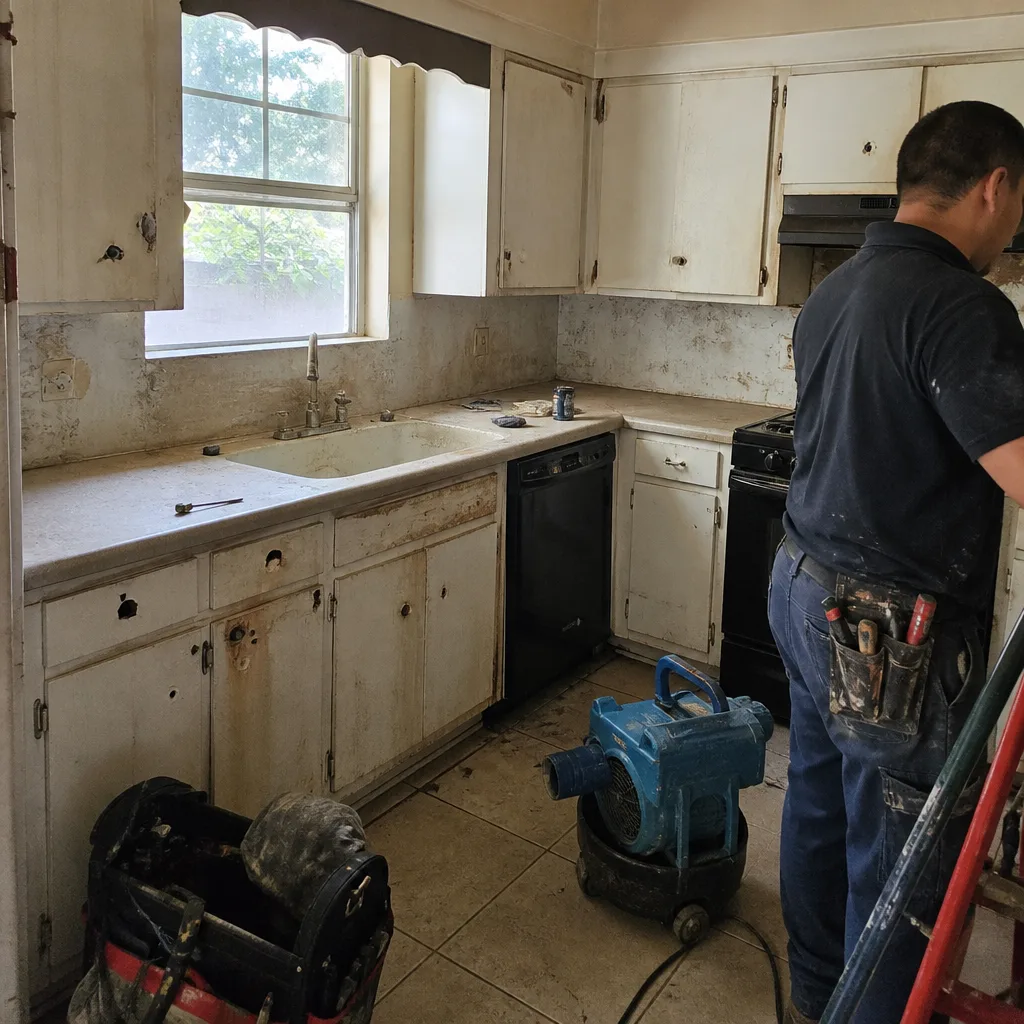 Before
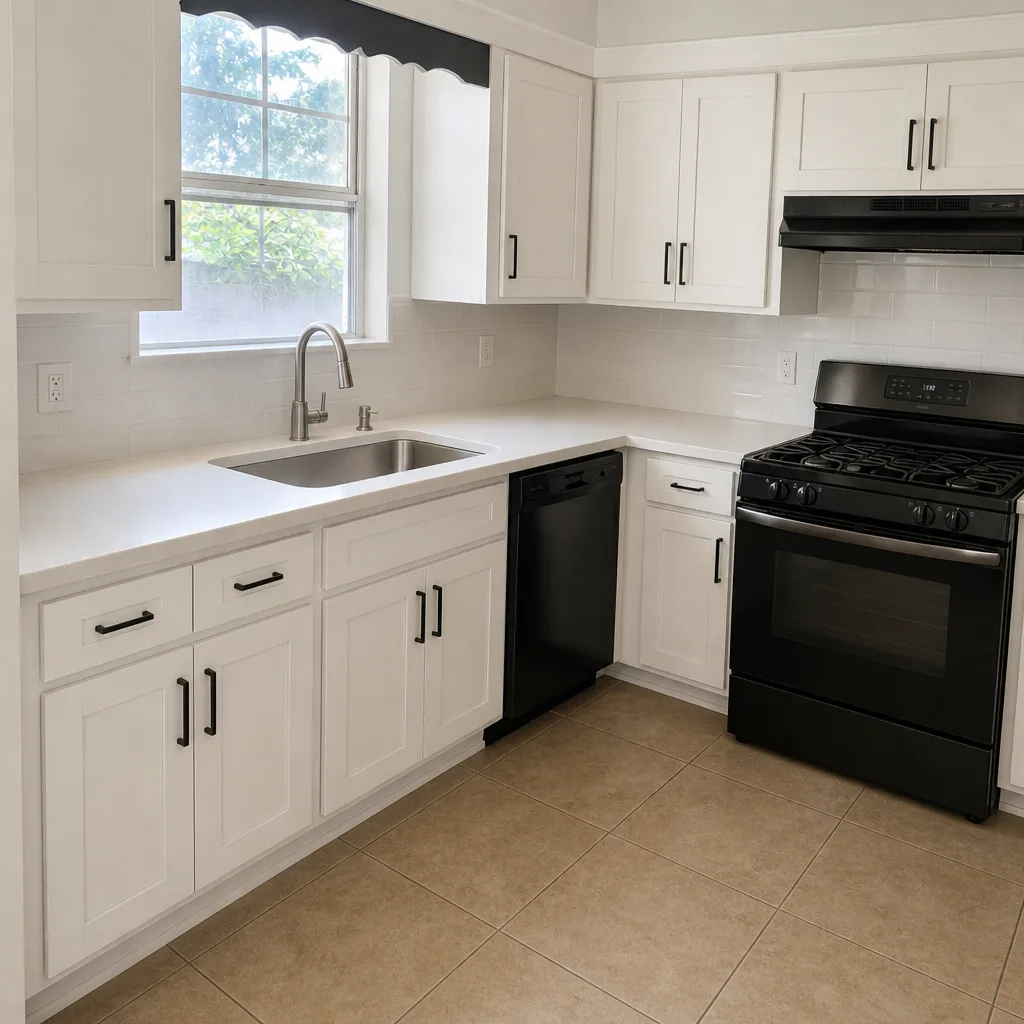 After
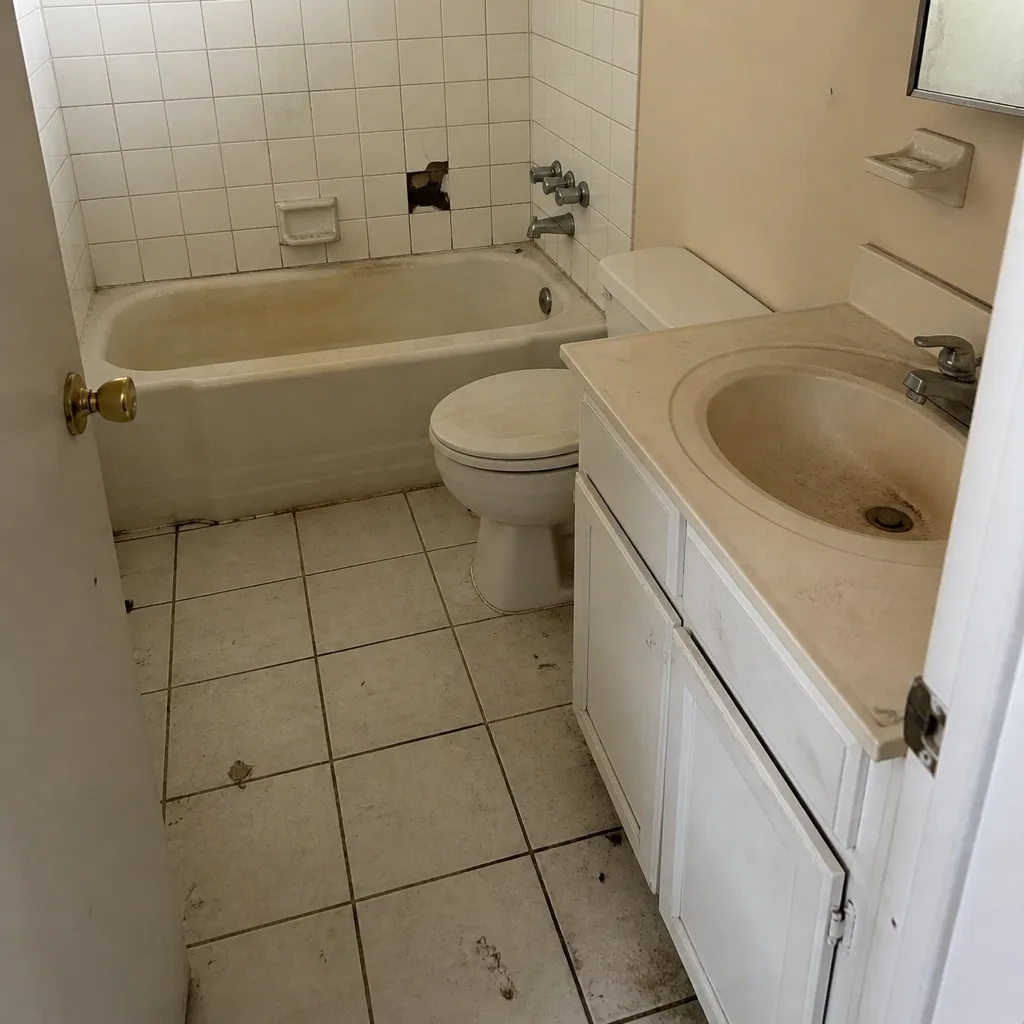 Before
 After
When to Call a Professional
Most of the twice-a-year routine is yours to handle, and the whole point of this guide is that a homeowner with a caulking gun and a spray can can do 90% of it. Call a professional if any of these come up:
The frame around a window or door is visibly out of square, rotted, or soft when you press into it. A door won’t close or latch no matter how you adjust the hinge. A window has failed glazing, fogginess between panes, or a crack that’s spreading. Water is showing up inside the house after rain, or you’ve found evidence of past water intrusion around a window or door frame. The window or door is more than 20 years old and you’re doing the same repair for the third year running. Or you’re simply not interested in handling it yourself and want the routine documented and done.
Groundwork Construction Co. of Richardson offers free estimates in Richardson – call (833) 954-4985. A live person answers 24/7. Our technicians have up to 12 years of experience, they’re background-checked and uniformed, and the price we quote is the price you pay.
Frequently Asked Questions

Reseal exterior caulk lines on windows and doors twice a year in Richardson: once in spring, once in fall. Spring resealing is non-negotiable here because the summer UV load will open up any failed joint by mid-July. Touch up any individual failure immediately, and do a full pass on all joints at both seasonal checkpoints.
A UV-rated 100% silicone or high-performance elastomeric sealant, rated for at least 25% movement, is the right product for exterior joints in Texas. Standard acrylic caulk breaks down in one to two summers here. For joints that move with clay-soil frame movement, choose elastomeric; it stretches instead of cracking.
Yes, twice a year. Use a light oil or silicone lubricant on hinges and silicone spray on window tracks and rollers. Avoid oil-based products on locks; those need graphite or a dedicated dry lock lubricant, once a year. The full schedule is in the hardware section of this guide.
It usually means the frame has shifted, and in Richardson that’s often clay soil movement combined with heat expansion. Check the hinge screws first; a stripped screw can be replaced with a longer screw into the stud. If the door is visibly out of square, call a professional – a misaligned frame usually needs adjustment or replacement, not just hinge work. Call (833) 954-4985 for a free assessment if you’re unsure.
Yes. A dated photo log of caulk and seals, plus the work log, lets you truthfully claim maintenance in disclosures and gives the buyer’s inspector context for any flagged issue. It’s the cheapest piece of resale prep you can do. Keep the log current and store it with the home’s other records.
A properly maintained vinyl or aluminum window or door usually lasts 20 to 25 years in North Texas; wood windows and doors, with maintenance, can reach 25 to 30 years. Without the twice-a-year routine, failure often comes at 10 to 15 years, and the repair cost is higher than a maintenance schedule would have been.
You can do the routine yourself: caulking, weatherstripping, cleaning, lubrication. Hire a professional if the work involves a failed frame, a door that won’t latch, a window with failed glazing, or evidence of water intrusion. For those, call (833) 954-4985 for a free estimate.
Ask three things: Is the work covered by a written workmanship warranty, and how long, is the work quoted upfront with no change-order language, and are the technicians background-checked. Our answers are yes to all three. Our 730-Day Done Right Promise is one of the longest workmanship guarantees in the residential construction space, and our technicians have up to 12 years of experience. We feature trusted brand partners like Andersen and Marvin for windows, and CertainTeed and Owens Corning for roofing on related work.
The Bottom Line
Windows and doors reward the homeowner who shows up twice a year with a caulking gun and a spray can. Spring reseal, fall hardware, four hours total per year, and you get 20 to 25 years out of the units instead of 10 to 15. That’s the whole math. Richardson’s UV and clay soil don’t let you skip a season, but they also don’t ask you to do anything harder than inspect by feel, replace weatherstripping, and lubricate the right parts with the right products. Keep a dated log. Photograph the caulk after every reseal. Call a professional the moment a frame goes out of square, a door won’t close, or water shows up inside. If any of that has already happened at your house, call us.
Groundwork Construction Co. of Richardson is your full-scope construction partner – from foundation to finish line, one contractor, one accountable team, and a 730-Day Done Right Promise behind every project. We answer the phone around the clock with a live person, we quote upfront with no surprises, and we’re ready to talk through your windows, doors, or any other part of the house when you are. Call (833) 954-4985 for a free estimate. If you’re weighing a bigger project alongside the window and door work, we also handle Groundwork Construction Co. of Richardson home, Driveway & Pavers in Richardson, Fence Installation in Richardson, and Home Additions & ADU in Richardson.
Written by the team at Groundwork Construction Co. of Richardson.