Last updated November 18, 2026




Free written scope consultation - allowances, timeline, and change-order rules on paper before a single trade is scheduled
Driveway & Pavers Troubleshooting: Common Problems and How to Fix Them
That single sunken paver in your driveway isn’t a paver problem. It’s a base problem. Replacing just the paver is exactly what a bad contractor wants you to keep paying for, because the second that new paver settles into the same failing base, you’ll call back. Here’s what we want you to understand before you spend a dollar: every paver symptom you can see at the surface begins six to eight inches below it, in the layers most homeowners never inspect. In this guide we’ll teach you to read your driveway the way a contractor does, so you can tell settlement from erosion from root intrusion, know which cracks mean “fix now” and which mean “watch,” and recognize when a repair is a real fix versus a delay tactic.
Quick Answer
Most driveway paver problems trace back to the base layer, not the pavers themselves, so the fix that lasts is almost always a base-and-drainage repair rather than a surface patch. A sunken paver usually means settlement or erosion underneath it, and joint sand loss with white bloom or shifting edges usually points to a drainage issue. Match the fix to the cause, not to the symptom, and the repair holds; ignore the base and you’ll repave the same square footage within a couple of seasons.
Styles & brands we work with
- Kitchen remodeling
- Bathroom remodeling
- Home additions & ADU
- Roofing
- Windows & doors
- Driveway & pavers
- Fence
Table of Contents
- How to Read Your Driveway Like a Contractor
- Settlement vs. Erosion vs. Tree Roots: Three Causes That Look Identical
- Efflorescence: When White Powder Is Cosmetic and When It Screams Drainage Failure
- Crack Patterns: Fix the Base Now vs. Monitor and Seal This Season
- Why Polymeric Sand Fails Faster in Texas Heat and What Spec to Use Instead
- Is It a Real Repair or a Contractor Buying Time?
- A Step-by-Step Field Diagnosis You Can Do This Weekend
- Seasonal Maintenance That Actually Extends Paver Life in Richardson
How to Read Your Driveway Like a Contractor
When we pull up to a Richardson driveway, we’re not looking at the surface first. We’re looking at the edges, the transitions, and the water lines. A paver surface is a report card. It tells you what the base and the grading have been doing for years, and it tells you before we dig a single square foot.
Here’s the sequence we walk through, and you can copy it.
- Look at the perimeter first. Where the driveway meets the garage slab, a sidewalk, or the soil, is it flush? A gap at the garage threshold usually means the field is settling, not the slab. A lifted edge at the soil side usually means water is pushing from below or the base wasn’t compacted at the edge restraint.
- Read the water lines. After a rain, the low spots hold puddles for hours. Mark them with chalk. Those marks tell you where the grading stopped moving water and started storing it.
- Check the joints between pavers, not just the pavers. Consistent, tight joints mean the base is stable. Wide, uneven, or sand-depleted joints mean movement.
- Feel for “rocking.” Step on every paver in a suspect area. A paver that rocks has lost bedding support underneath it. A paver that sits firm but low has lost base support. Those are different fixes.
- Note the crack direction and mirror it. Cracks running parallel to a slope or along a driveway edge tell you water is moving along that line. Cracks spidering outward from a fixed object (a light post, a drain, a tree) tell you the base is bridging over something that no longer matches the grade.
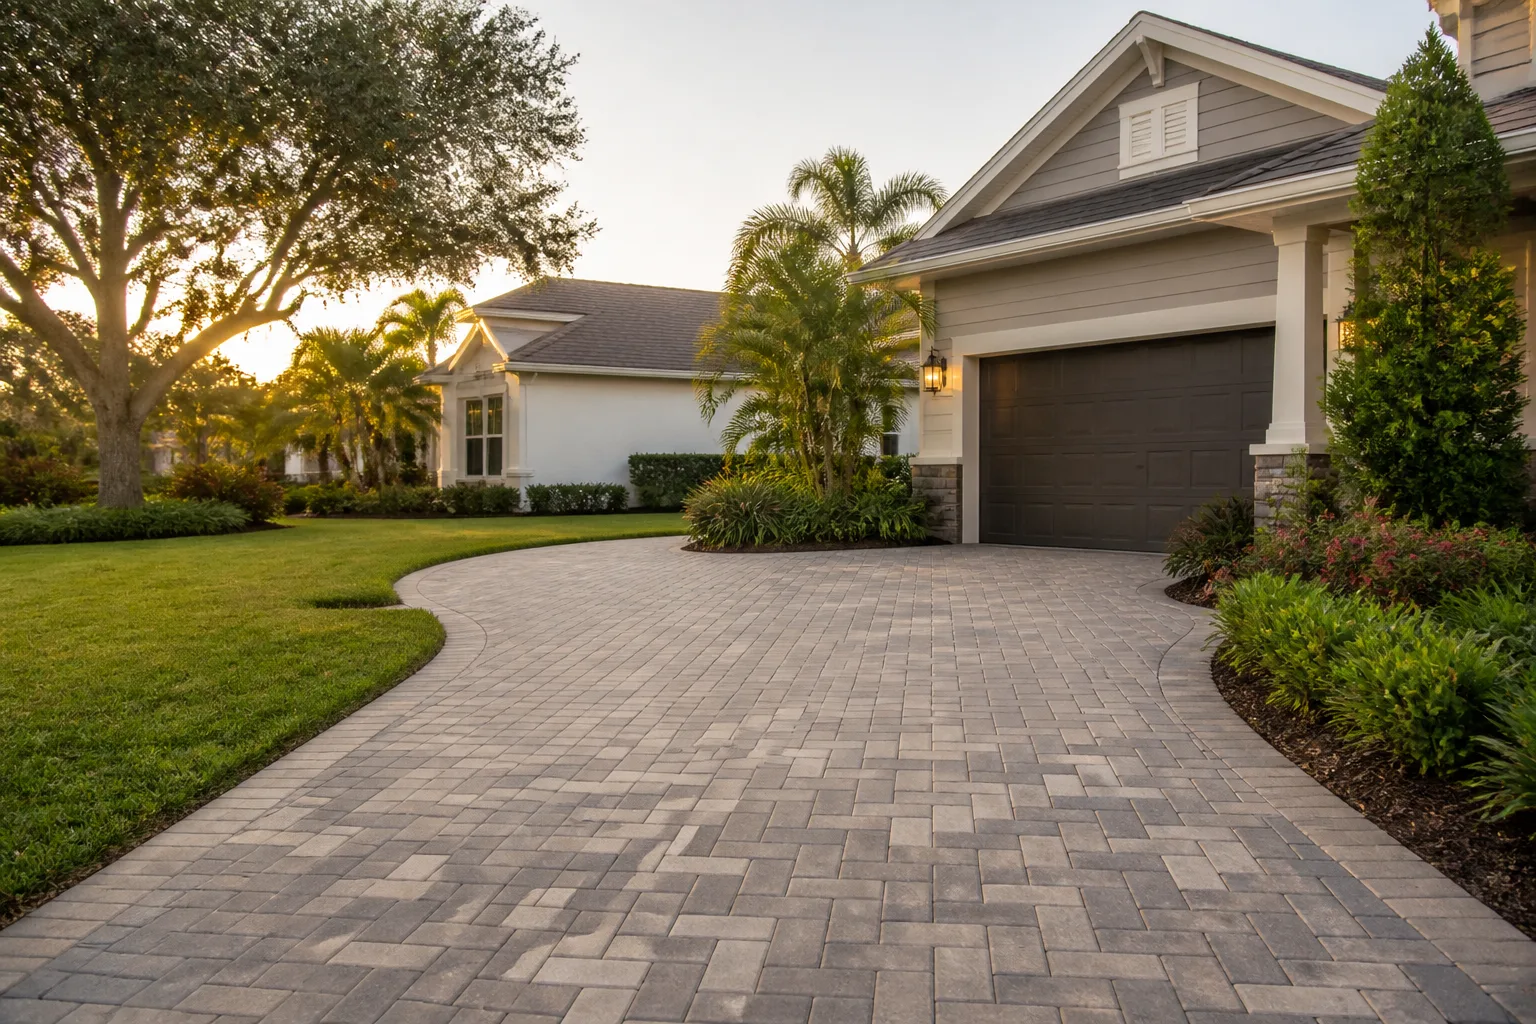
When you read the driveway this way, you stop seeing “a broken paver” and start seeing the reason it broke. That’s the whole game. If you want to see what a properly built base and drainage profile looks like, our Driveway & Pavers in Richardson page walks through the spec we build to.
Settlement vs. Erosion vs. Tree Roots: Three Causes That Look Identical
This is the part most homeowners never get told, and it costs them real money. Three completely different causes produce the same symptom: a low, sunken, or uneven section of pavers. They require three completely different repairs. Misdiagnose it and you’ll spend twice.
Settlement
Settlement is the base compacting or the subgrade giving way gradually. It typically shows up as a wide, gentle bowl, one to four pavers deep, that developed over months rather than after a single storm. The pavers are still firm when you step on them, just lower. In Richardson, we see this most on driveways built on expansive clay that swells in wet springs and shrinks in dry summers. If the dip is smooth and stable, it’s almost always settlement. The fix is base re-compaction and re-bedding, not pulling the whole field.
Erosion
Erosion is different and faster. Water got under the pavers, moved the bedding sand, and washed out a void. Symptoms are a paver that rocks when you step on it, a joint that suddenly drains, or a depression that appears within weeks of heavy rain. Erosion usually points to a drainage failure – a blocked edge, a failed downspout discharge, or a slope that runs toward the driveway instead of away. Repairing the surface without fixing where the water came from is the classic mistake. We fix the drainage first, always.
Tree Root Intrusion
Roots don’t sink pavers; they heave them. Look for a paver that’s higher than its neighbors, a tented joint, or a ridge line that traces back to a nearby tree trunk. Older Richardson lots with mature live oaks and pecans are prone to this. The pavers on the tree side get pushed up and the base compacts unevenly around the root. You cannot fix this by re-bedding alone. You either sever the offending root with a certified arborist’s input, install a root barrier, or reroute the drive. Any contractor who says “we’ll just reset the pavers” is buying time.
Quick field test
- Firm but low, wide and smooth: settlement.
- Rocks underfoot, appeared after rain, joint drains: erosion.
- Raised paver, tented joint, near a tree: root heave.
When two of these are happening at once – and they often are – the repair order matters. Fix the water and the roots first, then the base, then the surface. Get that order wrong and the new pavers fail from underneath. This is the single biggest reason we don’t quote a paver repair without seeing the water behavior first.
Efflorescence: When White Powder Is Cosmetic and When It Screams Drainage Failure
Efflorescence is the white, powdery bloom that shows up on concrete pavers and sometimes on brick. It’s dissolved salts migrating to the surface as moisture moves through the paver and evaporates. That moisture movement is normal. The volume and pattern tell you whether there’s a real problem.
Cosmetic efflorescence
A light, uniform haze that appears on new pavers within the first few months, or a thin film after a wet season that brushes away with a stiff broom, is cosmetic. New pavers carry residual salts from manufacturing, and in Richardson’s first wet spring after installation, efflorescence is common and typically fades with cleaning and time. Dry-brush it, then follow up with a paver-specific efflorescence cleaner. No structural concern.
Efflorescence that signals drainage failure
This is the one to care about. If the bloom is heavy, patchy, and returns within weeks of cleaning, or if it concentrates along a crack or at the driveway edge, that’s a sign that water is moving through the paver section at an abnormal rate. When moisture is trapped and driven upward rather than draining away, the salts come with it. Look for these companions:
- Bloom concentrated on the low side of the driveway
- Efflorescence paired with sand loss in the joints
- Bloom that returns within a few weeks of cleaning
- White streaks that trace a grading or slope line
When you see two or more of those, the efflorescence is a symptom of a drainage problem, not a cleaning problem. It’s also a signal we look for on Richardson properties where the driveway drains toward the house or where a French drain was never installed. If your bloom keeps coming back after cleanings, that’s worth a professional look before you seal anything, because sealing over trapped moisture locks the problem in.
Crack Patterns: Fix the Base Now vs. Monitor and Seal This Season
Every paver crack means something. The direction and location tell you which category it falls in. Here’s the distinction we use.
Fix the base now
- Long cracks running parallel to a slope or along a driveway edge. The base is not supporting the edge; water is running the seam.
- Star or spider cracks radiating from a fixed object like a drain, light post, or utility cover. The base is bridging over a void.
- A crack with visible vertical displacement – one side higher than the other. That’s a structural base failure.
- A crack that reappears in the same location after a prior seal job. Sealing the top without fixing the base just bought a season.
Monitor and seal this season
- Hairline cracks at a joint where the joint sand has thin spots but the pavers are stable and level.
- A single crack under a downspout discharge point where the rest of the drive is sound. Fix the discharge, then seal.
- Cosmetic corner chips with no crack propagation and no movement.
Our rule: if the crack is a line, we watch it. If the crack is a line with a step in it, we open the base. Why? Because a crack with no vertical displacement is almost always the joint sand shrinking and the pavers moving less than the thickness of a dime. A crack with vertical displacement means a layer underneath is no longer where it was placed. That second category never fixes itself with a sealer, no matter how well the sealer is applied.
One Richardson-specific wrinkle: this region’s clay expands and contracts through wet and dry cycles. That means a hairline crack you saw in August can widen noticeably by the end of a wet October. Document it with a photo each season. If it’s wider by more than a credit card thickness in twelve months, it moved categories – fix the base.
Why Polymeric Sand Fails Faster in Texas Heat and What Spec to Use Instead
Polymeric sand is the product that fills the joints and locks the surface together. When it’s specified and installed right, it lasts. When it isn’t, it fails within a season or two, and in the Dallas-Fort Worth heat it fails faster than it does in cooler climates. This isn’t a product problem. It’s a spec problem.
Why it fails here
Polymeric sand cures to a firm, slightly flexible joint. In the DFW climate, that joint is hit with a specific double punch. First, summer surface temperatures on a full-sun paver surface climb high enough to soften the polymeric binder. Second, the region’s wet-dry swings from heavy spring rains to dry stretches cause the joint to move. Softened binder plus moving pavers equals joint sand that cracks, crumbles, and washes out. Add in the clay subgrade swelling under a driveway, and you’ve got pavers working over a base that’s working too.
The failure gets accelerated further when the sand was installed during the wrong window. In a Richardson summer, polymeric sand should never be installed when the surface temp is high enough to set it before it’s fully swept and watered. The cure starts too early and the joint never firms up properly. That’s an installer-day error, not a product failure.
What spec to use instead
- Polymeric sand rated for high-heat climates. Ask your contractor to show the product spec sheet and the rated install temperature range. If they don’t have it, that’s a signal.
- Correct joint width and depth. The joint should be sized to the sand spec, typically in a range that lets the sand lock without packing too hard or leaving gaps.
- Proper compaction before sand. The sand only holds if the pavers and base are locked. If the pavers are still settling, the sand will fail first and fastest.
- Edge restraint integrity. Sand loss at the perimeter is often edge restraint failure, not sand failure. Fix the restraint before re-sanding.
- Seasonal timing. Install in a cooler window and avoid full-sun surface temps during application.
We don’t install joint sand as a fix for a failing base. If the base is failing, sanding over it is cosmetic. That said, if your base is sound and the sand has just aged out, a proper re-sand with the right spec can reset the surface for years. The distinction matters, and it’s the difference between a $150 re-sand and a $400 surface fix that keeps returning.
Is It a Real Repair or a Contractor Buying Time?
Here’s what we tell every homeowner who calls us at Groundwork Construction Co. of Richardson: a repair is a real fix only when it addresses the layer that’s actually failing. If a contractor quotes “replace the sunken pavers” and doesn’t mention the base, the drainage, or the roots, they are buying time. Sometimes buying time is exactly right. Sometimes it’s the wrong call, and you should know which you’re paying for.
Signs the repair is legitimate
- The quote specifies what’s happening below the surface and why.
- The scope includes drainage remediation, base compaction, or root control, not just paver replacement.
- The area of repair is targeted, not a full repave of a field that’s mostly sound.
- The contractor will show you the base condition once it’s opened and adjust the line-item quote before the work is done.
Signs a contractor is buying time
- “We’ll just reset these pavers” with no explanation of the underlying cause.
- A patching scope that doesn’t mention water management or joint sand spec.
- Quotes that promise a 5-year surface fix on a driveway with vertical displacement.
- No written line-item scope – “we’ll handle it” without specifics.
There are legitimate cases where a targeted repair is the right answer. If a single erosion pocket from a failed downspout took out three pavers and the rest of the drive is sound, we fix the discharge, rebuild those three, and you’re done for years. That’s a real repair. If a quarter of the driveway shows vertical displacement and returning efflorescence, a targeted repair is just the first installment on a full repave. We’ll tell you which one you’re looking at. Our written quotes set that scope before the first shovel moves, and the 730-Day Done Right Promise means that if we tell you a repair will hold, we’ll be there if it doesn’t.
A Step-by-Step Field Diagnosis You Can Do This Weekend
You don’t need a crew to learn what’s happening under the pavers. Run this sequence, and you’ll have a solid read before you call anyone.
- Mark the low spots after a rain. Chalk circles on the pavement. If the puddles are gone within a few hours, the grading works. If they sit for a day or more, note those spots.
- Test the perimeter for gaps and lift. A short level or a straightedge laid across the drive at the garage threshold and at the soil edge tells you if either end has moved.
- Rock test every suspect paver. One foot on the corner, a small amount of weight. A firm paver with no movement is stable. A paver that rocks is supported only at the edges.
- Trace cracks to their source. A crack from a drain or light post points to base bridging. A crack along an edge points to edge failure. A crack across the driveway points to subgrade movement.
- Check the joints along a straight line. A joint that wanders in or out of parallel tells you a section is creeping.
- Look at the bloom. Efflorescence that returns after a cleaning is a drainage signal, especially in the north Texas metro.
- Pull one paver if you’re comfortable. A single paver on a suspect corner can tell you more than a hundred photos. What’s under it? Firm bedding sand is good. Loose sand or a void is a base problem. That’s a real, uncontroversial read.
Write down what you find. If your list includes rock-test movement plus a returning efflorescence bloom plus a widening crack, you’re looking at a base repair, not a surface patch. If it’s a single firm-but-low paver with no other symptoms, you may have one settlement spot that a targeted repair can handle.
Seasonal Maintenance That Actually Extends Paver Life in Richardson
Maintenance is where most homeowners either protect a good install or waste money on a soft surface. Here’s what works in this climate.
- Inspect after every heavy rain. Look at where water ran and where it stood. A driveway should shed water off in a defined path, not store it.
- Keep the joints full. When joint sand is at the top edge rather than recessed, the pavers interlock and stay put. Top off with the right spec sand, not general-purpose sandbox sand.
- Manage the downspouts. Discharge should run at least several feet away from the driveway edge. A downspout that dumps onto pavers is the single most common cause of erosion we see.
- Watch the trees. Roots that heave a paver will not “settle in.” If you’ve got live oaks or pecans near the drive, getting a certified arborist’s take is cheaper than repaving.
- Don’t seal over efflorescence. Sealing traps moisture and makes the bloom return worse. Clean, correct the drainage, and let the pavers dry before any sealer goes on.
- Check the edges every season. The edge restraint is what keeps the whole field locked. A failed edge lets the entire driveway creep.
If you’re also dealing with the fence line along the drive, our Fence Installation in Richardson page covers how post placement and grading interact with driveway drainage. And if a driveway widening or a motor court is part of a larger property plan, our Home Additions & ADU in Richardson team can grade the new hardscape right the first time.
Common Mistakes to Avoid
- Replacing just the sunken paver. If the base underneath failed once, it’ll fail again, and the next contractor will tell you that you need a full repair. Find the cause before you buy a single replacement paver.
- Sealing before diagnosing. A sealer on top of a drainage problem locks the moisture in and makes the efflorescence return worse. We see this most on driveways graded toward the house.
- Using general-purpose sand. Box sand doesn’t lock joints the way a proper spec polymeric sand does. In the Richardson heat, it fails within a season.
- Ignoring a downspout dumping on the pavers. That’s the single most common erosion trigger we see. A $50 extension hose is cheaper than a base rebuild.
- Cutting a root without an arborist. Tree root heave on a mature oak can be managed, but a DIY saw cut can shock a tree or destabilize it. Get a certified arborist’s read first.
- Assuming a contractor who shows up with a paver box is diagnosing the issue. Surface-level repair on a base problem is the most expensive way to repave a driveway twice.
- Skipping the perimeter check. The edge restraint is what holds the whole field together. Homeowners who repair the field but not the edge usually call back within a year.
See the difference
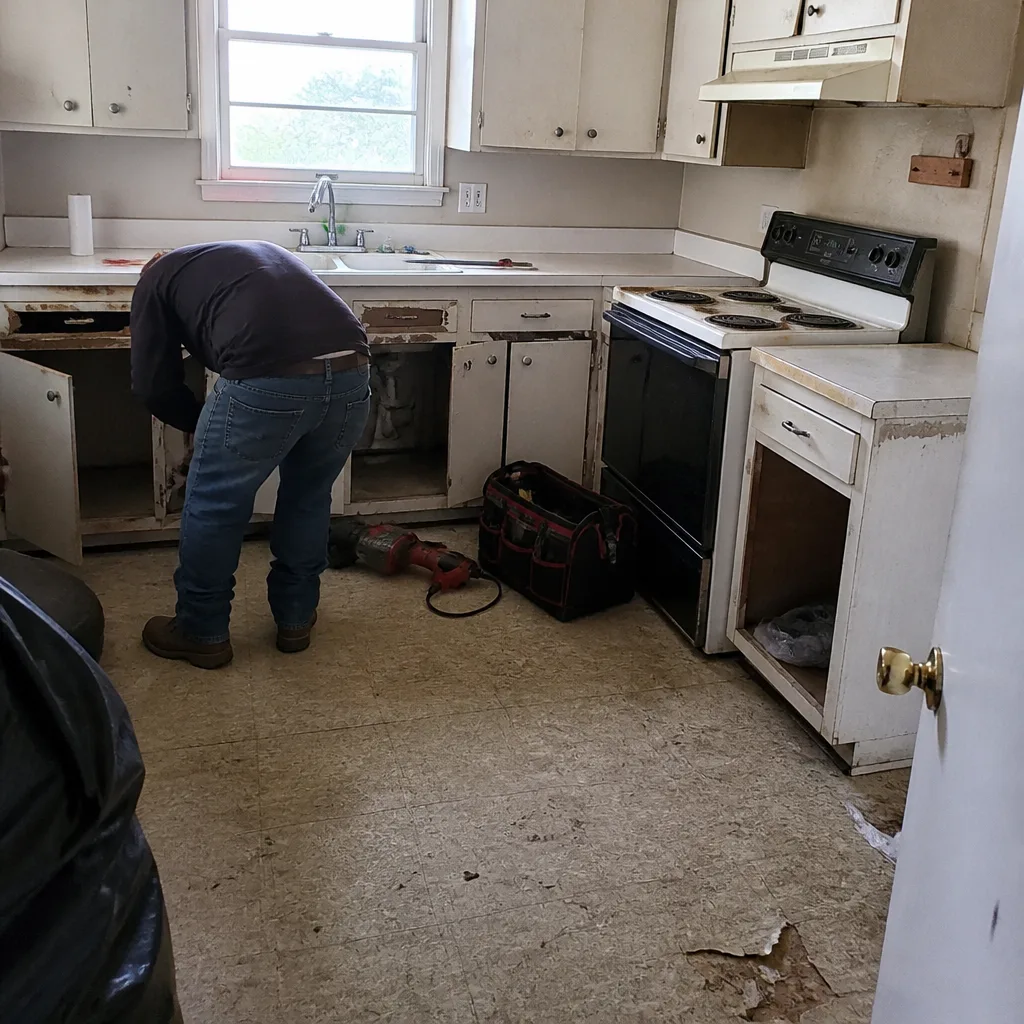 Before
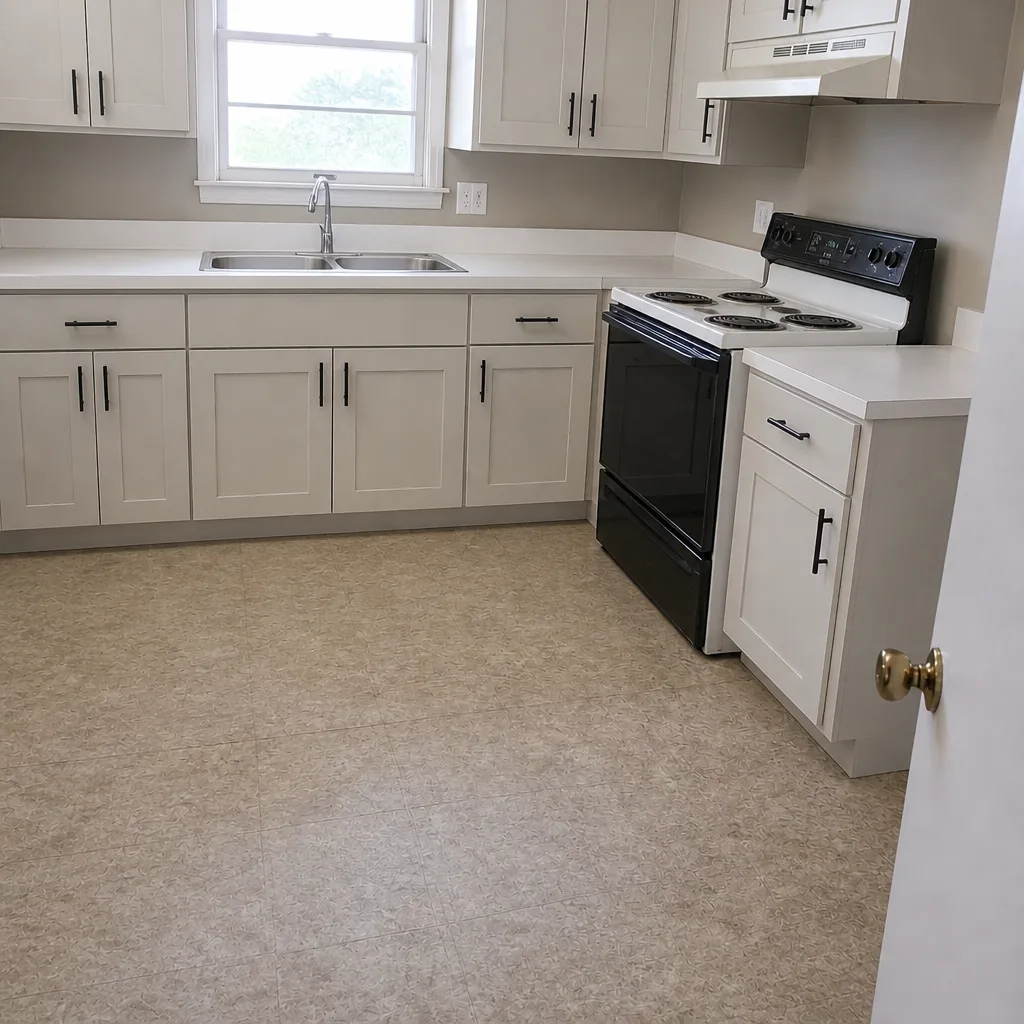 After
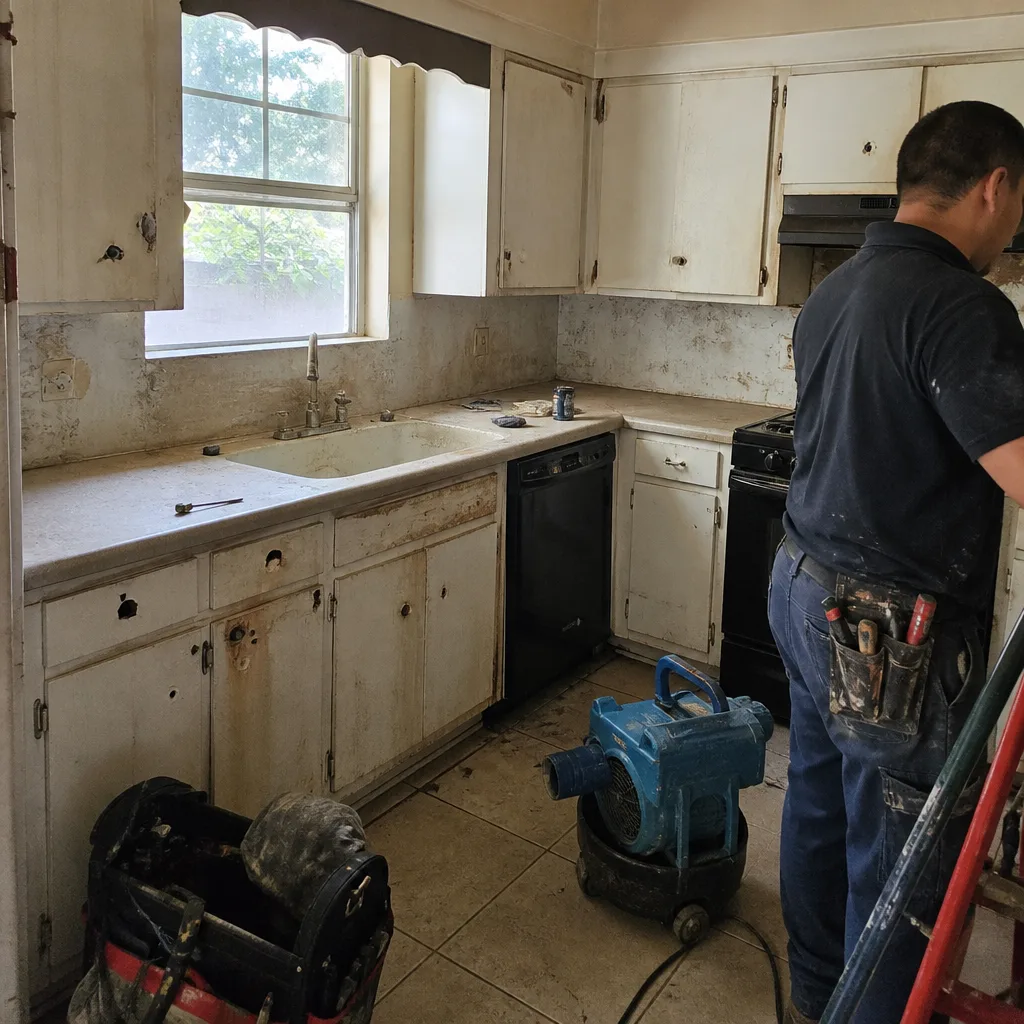 Before
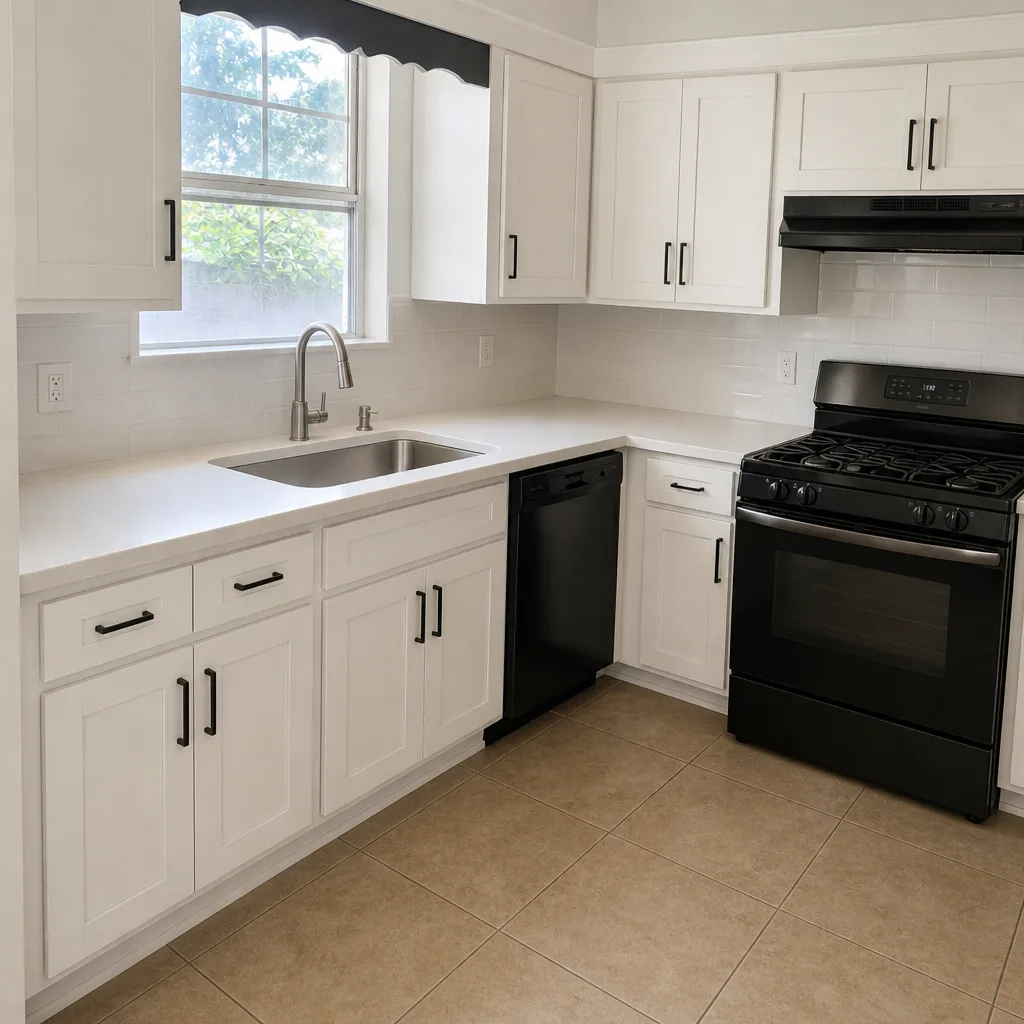 After
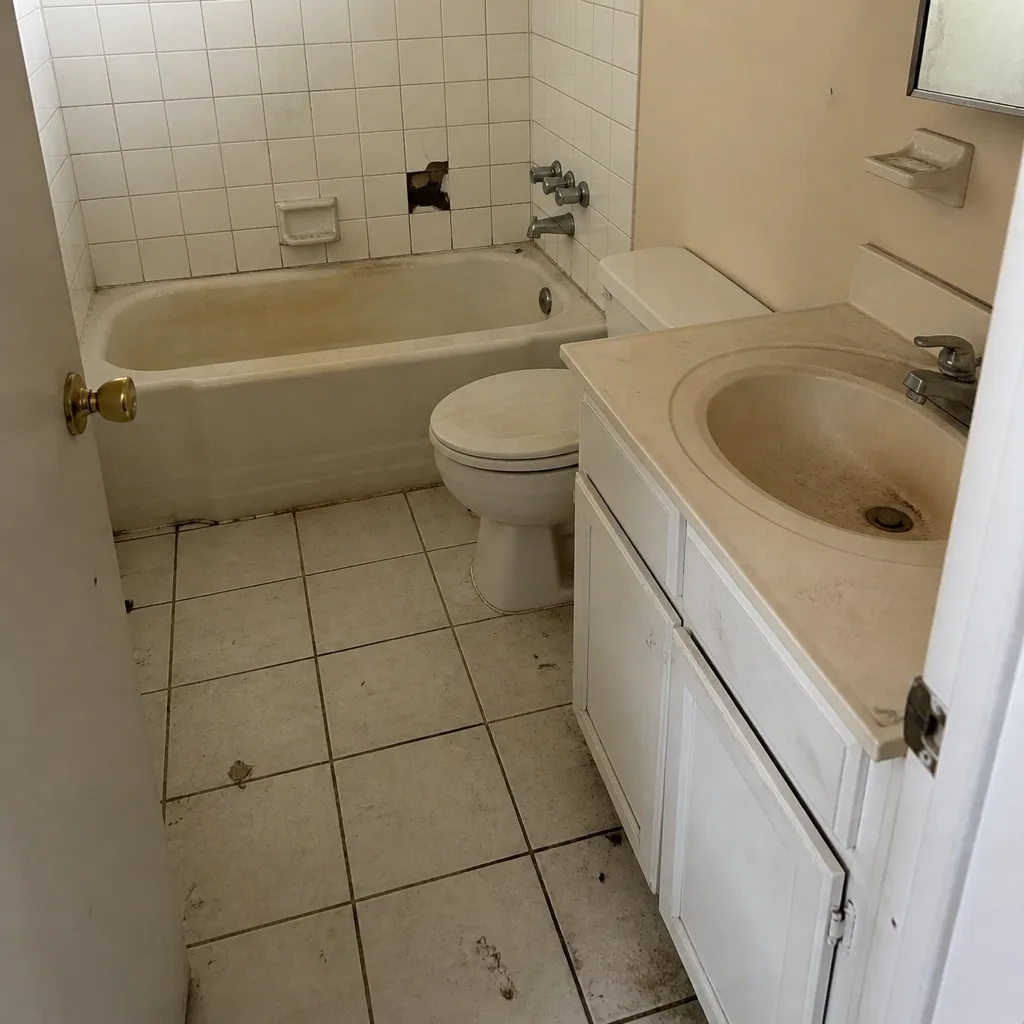 Before
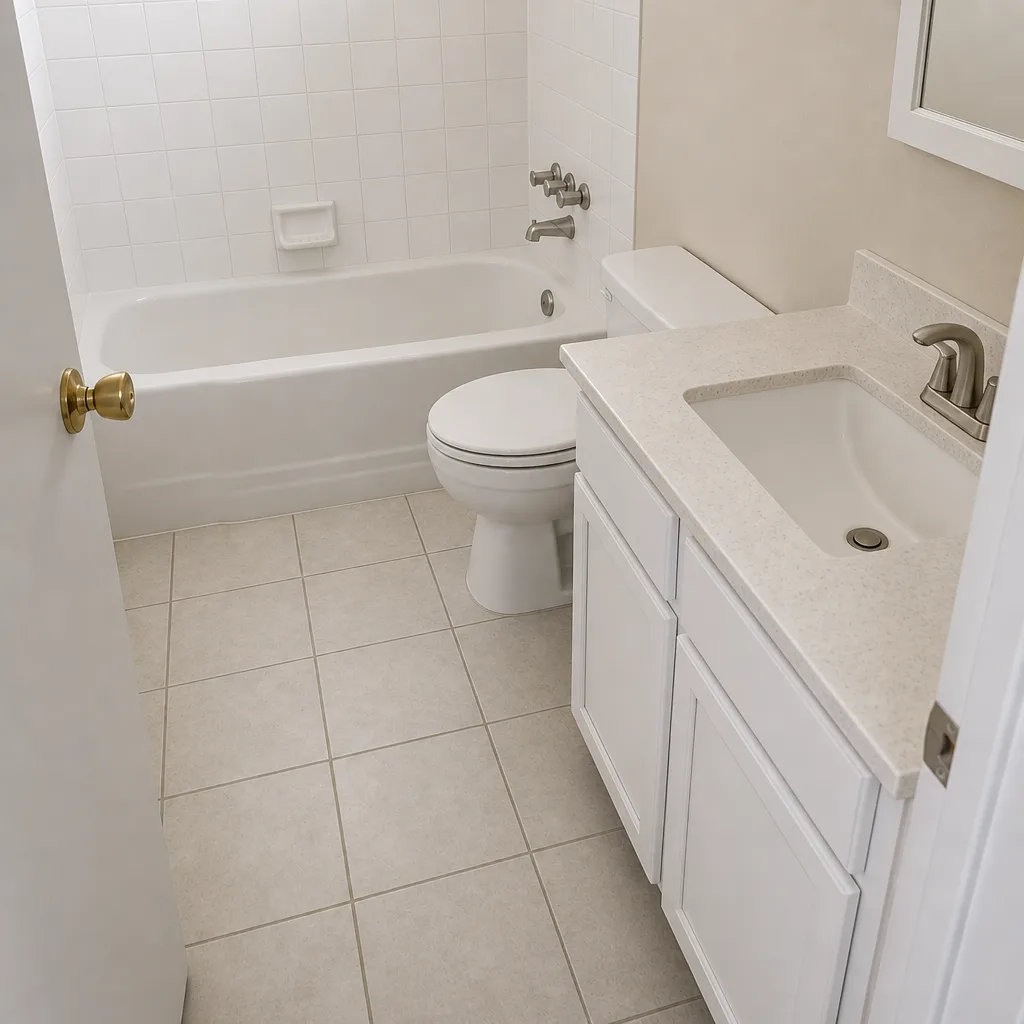 After
When to Call a Professional
Call a professional when your diagnosis turns up three or more of these: a paver that rocks underfoot, a crack with vertical displacement, a returning efflorescence bloom, a downspout dumping on the pavers, or a raised paver near a mature tree. Those are base-and-drainage conditions. Surface fixes won’t hold. If a paver is firm but low and there are no other symptoms, a targeted repair may be a legitimate option, and a professional diagnosis will tell you which.
At Groundwork Construction Co. of Richardson, we offer free estimates in Richardson and we bring the 730-Day Done Right Promise to every paver job. Our technicians have up to 12 years of experience diagnosing base and drainage failures, and we pull permits and pass inspections when a repair requires them. If you’re weighing a targeted repair against a full repave, we’ll tell you which one your driveway actually needs. Call (833) 954-4985 for a free estimate.
Frequently Asked Questions
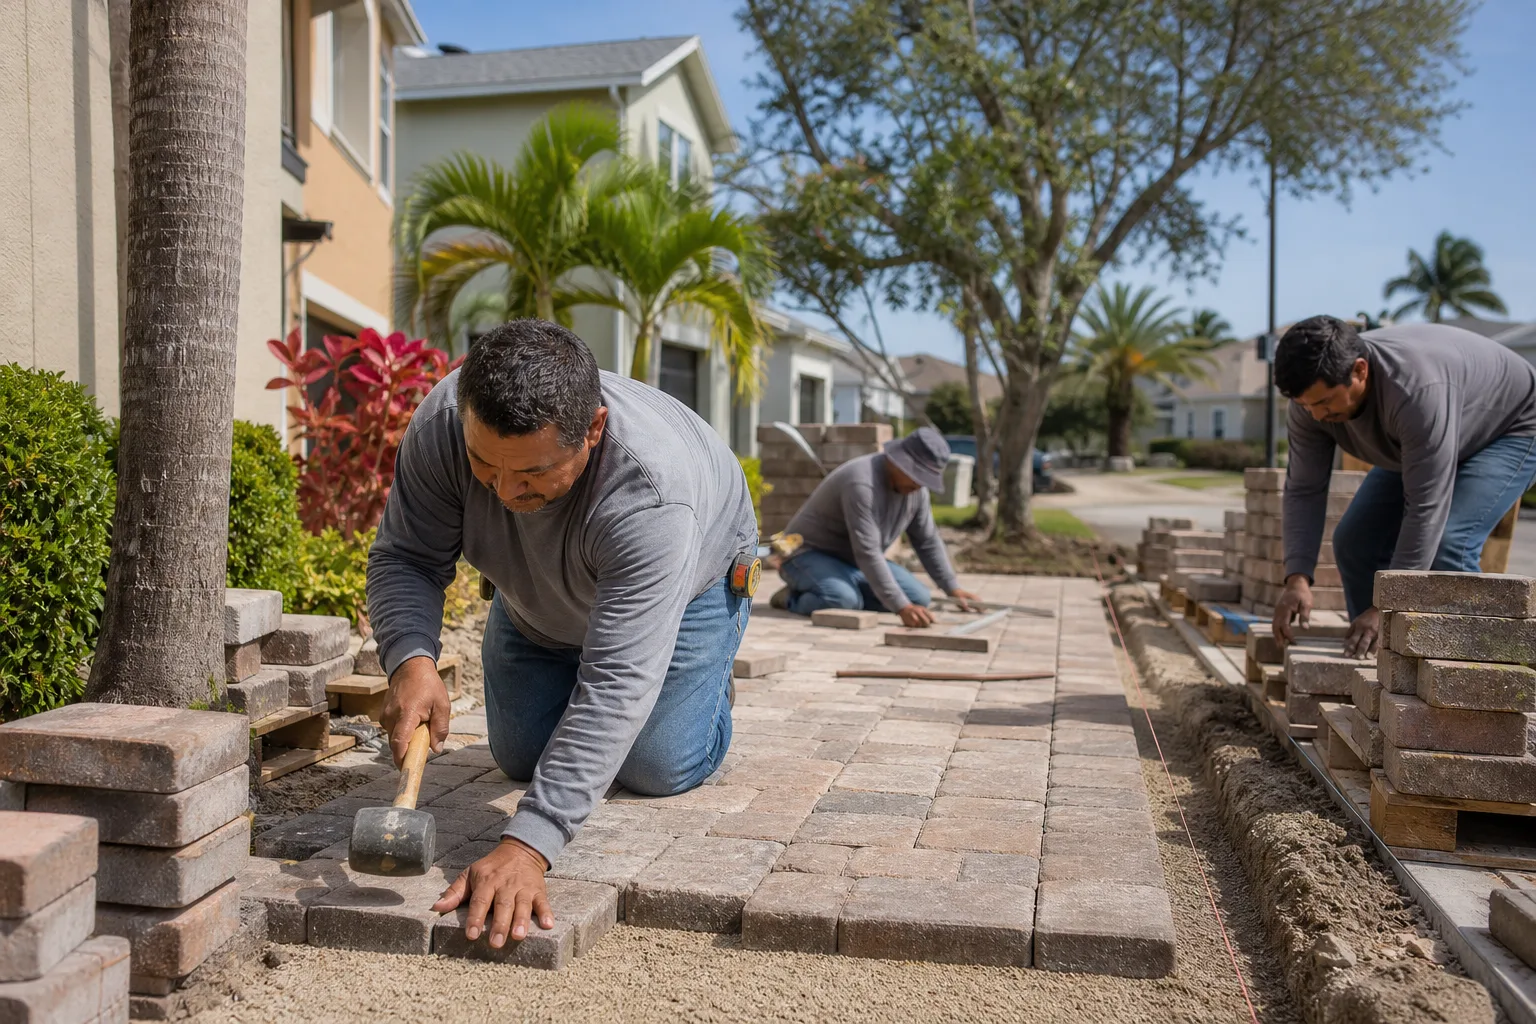
Targeted paver repair in Richardson typically runs in the low-to-mid hundreds for a small erosion pocket or re-sand, and climbs into the low thousands when base repair, drainage remediation, or a partial rebuild is involved. Full repaves are priced separately based on square footage and base conditions. The only way to get a firm number is a free estimate. Call (833) 954-4985 for an exact quote, and estimates are free.
You can, but it usually won’t hold. A single sunken paver is almost always the surface sign of a base or drainage issue, and the replacement paver will settle right back into the same failing condition within a season. If you want to try, pull the paver and look at what’s underneath. Loose sand or a visible void means the base needs attention, and that’s the part a DIY reset won’t fix.
White powder is efflorescence, dissolved salts that migrate to the surface as moisture moves through the paver. A light, uniform bloom on newer pavers that brushes away is cosmetic. A heavy, patchy bloom that returns within weeks of cleaning, or one that concentrates along a slope or crack, signals a drainage problem underneath. If yours keeps returning, get it diagnosed before you seal anything.
Polymeric sand in the Richardson climate fails when it’s installed at the wrong spec or in the wrong conditions. North Texas summer surface temperatures soften the binder, and the region’s wet-dry swings move the joints. If the sand was installed in full-sun heat, or if the base is still settling, the sand will fail first. The fix is a proper heat-rated spec, a sound base, and a cooler install window.
Step on the pavers. If they rock underfoot and a void has opened up after heavy rain, it’s erosion. If they’re firm but low, in a wide gradual bowl developed over months, it’s settlement. Erosion tracks to water management; settlement tracks to base compaction. The repair is different for each, and misdiagnosing one as the other is the most common way homeowners pay twice.
Sometimes, and it depends on the cause. Storm-driven damage, a burst pipe under the driveway, or a fallen limb may be covered. Gradual settlement, normal aging, and lack of maintenance typically are not. Document the condition with photos before you file, and get a contractor’s written diagnosis so the adjuster knows exactly what they’re looking at. Call (833) 954-4985 if you need a written diagnosis to submit.
The Bottom Line
Every paver problem you can see at the surface begins below it. Settlement, erosion, and root heave look nearly identical from the top, but they require different fixes, and treating the wrong one wastes money and speeds up failure. Read your driveway the way a contractor does – water lines, joint consistency, perimeter integrity, crack displacement – and you’ll know when a repair is real and when it’s a delay tactic. If your driveway shows a firm-but-low paver and nothing else, a targeted repair may hold. If you’re seeing movement plus returning efflorescence plus a widening crack, fix the base and the drainage before you touch the surface. Groundwork Construction Co. of Richardson builds and repairs pavers with the base and drainage first, backed by the 730-Day Done Right Promise. Start at our Groundwork Construction Co. of Richardson home page to see the full service lineup.
Ready to get a straight diagnosis and a written, line-item estimate? Call (833) 954-4985 for a free estimate in Richardson. Calls are answered by a live person, 24/7, and our technicians arrive in uniform and background-checked. 0% financing for 18 months and $1,000 off projects over $10,000 are available on qualifying work.
Written by the team at Groundwork Construction Co. of Richardson.