Last updated November 18, 2026




Free written scope consultation - allowances, timeline, and change-order rules on paper before a single trade is scheduled
Fence Installation Troubleshooting: Common Problems and How to Fix Them
A leaning fence in year two almost never means the fence failed. It means the post depth or concrete mix was wrong from day one, and the Texas summer just finished exposing it. Here in Richardson, we see more fences fail at the post line than at any other point, and the failure almost always traces back to installation, not the wood, not the pickets, not the panels. This guide walks through the diagnosis and repair of the problems Richardson homeowners actually call us about: leaning posts, sagging gates, rot patterns, warping panels, and how to document it all so a warranty claim holds up. By the end you’ll know what you’re looking at and what a real fix costs versus a patch.
Quick Answer
Most fence problems are post problems, and most post problems are installation problems that show up 18 to 24 months after the check clears. A leaning fence, a sagging gate, or a splitting post usually traces back to a post set too shallow, set in the wrong concrete mix, or set in soil that drains poorly. The fix is rarely a new fence. It’s resetting or replacing the failed posts correctly, then correcting whatever the post movement pulled out of alignment.
Styles & brands we work with
- Kitchen remodeling
- Bathroom remodeling
- Home additions & ADU
- Roofing
- Windows & doors
- Driveway & pavers
- Fence
Table of Contents
- How Do You Diagnose a Leaning Fence Post?
- Frost Heave, Soil Erosion, and Under-Dug Posts: Three Different Fixes
- Gate Sag: Hinge Failure, Post Movement, or Frame Racking?
- Wood Rot Patterns and When to Replace vs. Treat
- Fence Panel Warping in Texas Heat: Workmanship or Material?
- How to Document Fence Problems for a Warranty Claim
- What Does Fence Repair Cost in Richardson?
- What Should Installation Look Like So These Problems Don’t Happen?
How Do You Diagnose a Leaning Fence Post?
Start by measuring, not guessing. A post that leans a half inch over eight feet is a different problem than one that leans four inches. Grab a 4-foot level and a tape measure, then work through these checks in order.
- Check the plumb line at the post base. Place a level against the post on two sides. A lean that starts at grade (the bottom of the post is visibly angled) points to soil movement. A lean that starts above grade (the post is straight to the ground line, then tilts) points to a broken post at the soil line.
- Probe the soil around the base with a screwdriver. If it sinks in easily and comes out wet, you have poor drainage or a downspout dumping water at that post. If it comes out dry and crumbly, you’re looking at soil that never compacted.
- Check the concrete collar. Expose it a few inches. A collar that’s cracked, tilted, or sitting above grade with a gap means the post pulled out of it. A collar that’s buried and intact usually means the concrete itself moved.
- Measure across the fence run. A single leaning post with the rest of the run straight is a local fix. Several leaning in the same direction points to a shared cause: water, soil, or a run installed with posts too shallow.
In Richardson we see a specific pattern in older neighborhoods like Canyon Creek and Prairie Creek: clay soil that swells in spring and shrinks hard in August. Posts set 18 inches deep in that soil get heaved and loosened over a couple of seasons. A post that needs to be at 24 to 30 inches starts moving. Measuring the actual depth when you pull a failed post tells you whether the original installer cut corners.
Frost Heave, Soil Erosion, and Under-Dug Posts: Three Different Fixes
Three causes produce what looks like one problem. The repair for each is different, and patching the wrong one wastes money.
Frost heave
North Texas gets fewer hard freezes than the rest of the country, but they happen, and the clay soil here retains moisture that expands when it freezes. A post set too shallow gets lifted a fraction of an inch per cycle, then settles at an angle. Frost heave shows as a post that’s pushed up slightly and tilted. The fix is resetting the post deeper, at least 24 inches below grade, with concrete shaped with a slight dome at the top so water runs off. You can’t reverse heave with a brace. The post has to come out.
Soil erosion
Richardson’s heavier summer storms wash soil out from around concrete collars when the yard grading slopes toward the fence line. You’ll see a gap under the collar, exposed concrete, and a post that leans away from the yard. The fix is twofold: re-grade or add drainage to stop the water, then reset the post. Resetting without fixing the drainage means you’ll be back at it in two years.
Under-dug installation
The most common failure in Richardson, and the one we see most often in year two. The original installer dug 12 to 15 inches when the fence needed 24. The post looked fine on day one because concrete holds it upright even when it’s not deep enough. Then the summer heat cracks the soil, the autumn rain softens it, and the post moves. The fix is pulling and replacing the affected posts at the correct depth. You can’t add depth to an installed post. You can add a ground anchor plate to stabilize a lightly moving post, but for a post that’s already leaning past an inch, replacement is the honest answer.
When you’re ready to replace a failed section rather than patch it, our Fence Installation in Richardson team can diagnose and quote the repair, and often a fresh install is the better value when three or more posts are failing on the same run.
Gate Sag: Hinge Failure, Post Movement, or Frame Racking?
All three look identical from the driveway: the gate drags on the ground and the latch won’t catch. The repair is different for each, so the diagnosis has to come first. Here’s how to measure your way to the right answer.
Hinge failure
Open the gate 90 degrees and let it go. If it droops or swings loosely, the hinge is loose or worn. Look for stripped screw holes in the post or gate frame. A hinge that’s pulling out of rotted wood is a hinge problem on the surface, but the rotted wood underneath is the real cause. A hinge that’s tight in solid wood but the gate still drags is something else.
Post movement
Measure the plumb of the hinge post. If it’s leaning away from the gate, the gate hangs lower even though the hinges are fine. This is the post problem showing up at the gate. Reset or replace the hinge post. Adding a new hinge to a moving post just delays the next failure.
Frame racking
Racking is when the gate frame itself has moved out of square, usually because the diagonal brace was omitted or installed on the wrong side (the brace should run from the bottom hinge up to the top of the latch side). A rectangular gate with no brace will rack out of square within a season. Measure the diagonals of the gate. If they’re more than a half inch different, the frame has racked. The fix is re-squaring the gate and adding a diagonal brace.
In Richardson, gates fail faster than the surrounding fence because they carry the full weight of the moving panel on two posts. A gate installed on a post set 14 inches deep in clay fails faster than a fence panel that does nothing. This is one of the reasons our Driveway & Pavers in Richardson crews regularly see gate posts that need resetting alongside the driveway widening work.
Wood Rot Patterns and When to Replace vs. Treat
Not all rot is a failure. Some is normal weathering. The distinction matters because treating a cosmetic issue as a warranty claim wastes everyone’s time, and treating a structural rot as cosmetic costs you a fence.
Surface weathering
Graying, minor surface checking, and a rough texture are normal for cedar and pine fences in Richardson’s sun. A pressure wash and a fresh stain brings the wood back. No replacement needed.
Ground contact rot
Look at the base of the post, right where it meets the soil. Softness there, a screwdriver that sinks in, or visible discoloration spreading up from the ground is ground contact rot. This is a real failure. The post is losing cross-section at the point where it carries the most load. A fence post with ground contact rot is compromised even if the board above it looks fine. Replace the post. Treating the surface does nothing for the interior.
Moisture trap rot at post caps
Post caps can trap moisture if they aren’t sealed or if the top of the post wasn’t cut at a slight angle. You’ll see rot starting from the top of the post and working down. In Richardson we see this most often on posts where the cap was nailed in place with no sealant, letting water wick under the cap. The fix is cutting the top of the post at an angle, sealing it, and re-capping with a proper sealant. If the rot has reached more than a couple inches down, the post has to be replaced.
When you’re grading rot along a fence line, note that the fence side facing Richardson’s west-facing afternoon sun dries faster than the shaded north side, so rot patterns often run one-sided. That’s a useful signal for identifying a moisture trap rather than an organic issue.
Fence Panel Warping in Texas Heat: Workmanship or Material?
Panels move. That’s normal. Panels warp, cup, or twist. The question is whether the movement is within what the species does in this climate or whether the panel was installed wrong. Here’s how to tell them apart.
- Normal movement: minor cupping (a slightly concave face) that shows across the width of several boards after a wet spring, then flattens as the wood dries. Cedar and pine both do this. It’s not a failure.
- Workmanship failure: boards cupping in one direction only across a whole panel, or panels twisting out of the fence line by more than an inch. That usually means the boards were installed too wet, or too tight against each other with no gap for movement. A fence installed with no gap for expansion has to warp to relieve the tension.
- Material failure: boards that split down the length, show a lot of knots that fall out, or sound hollow when tapped. This is a board quality problem, not a workmanship problem. The fix is replacing the affected boards, not rebuilding the panel.
Richardson summers put real stress on fence material. Any fence install here has to account for the fact that boards will expand in the wet spring and shrink through July and August. When we install a fence, we leave a gap and let the material acclimate. A fence installed with boards butted tight looks great on install day and looks different by Labor Day. If you want a fence that holds its line through a Richardson summer, that’s the standard to look for.
How to Document Fence Problems for a Warranty Claim
A warranty claim is only as strong as the documentation behind it. Photos that just show damage don’t prove causation. Photos that show the cause actually do. Here’s a numbered procedure you can run before you call a contractor.
- Photograph the whole run, then the problem. Get a wide shot of the fence line with the failing section in frame, then close-ups. A wide shot establishes scale and pattern; a close-up shows the failure. Warranty reviewers need both.
- Photograph the diagnosis, not just the symptom. For a leaning post, photograph the level against the post, the base at grade, and the exposed concrete collar. For rot, photograph where the rot starts (top of post or ground line) and how far it climbs. For a sagging gate, photograph the hinge and the plumb of the post.
- Take a dated photo with a reference object. A tape measure held against the leaning post or a level against the gate frame proves the actual measurement. A photo without a reference point shows damage, not failure.
- Keep the hardware and the failed part. If a post comes out or a hinge strips, keep them. A failed part can be inspected to confirm the cause (for example, a post that’s only set 14 inches deep).
- Log the timeline. Date of install, date of first symptom, and what the symptom was. If the fence is 14 months old and the first lean shows 11 months in, that’s a strong signal of install failure instead of normal aging.
- Get the quote in writing before any repair. A written quote from a second contractor that states the actual cause (“post set at 14 inches, requires reset to 24 inches”) carries a lot of weight.
When we do a free estimate, we put the diagnosis in the quote. The homeowner gets a written record of what failed and why, which is useful whether they hire us or not. That’s part of what our Groundwork Construction Co. of Richardson home team means by upfront pricing with no surprises.
What Does Fence Repair Cost in Richardson?
Richardson fence repair runs $200 to $600 per post for a proper reset, and a sagging gate repair runs $150 to $500 depending on the cause. Warped panel board replacement runs $8 to $15 per board for standard cedar or pine, plus the labor to install. A full section replacement, meaning new posts and panels along one run, runs $45 to $90 per linear foot. Add 10 to 20 percent if the original install has to be removed first and disposed of.
- Post reset: $200 to $600 per post, most often toward the lower end for a single post in accessible ground.
- Full post replacement: $350 to $750 per post, includes pulling the old concrete collar.
- Gate re-hang with hinge repair: $150 to $350.
- Gate frame re-square and brace: $200 to $450.
- Board replacement (per board): $8 to $15 in cedar or pine, plus install labor.
- Full section replacement: $45 to $90 per linear foot.
These are Richardson market ranges. If a quote comes in dramatically below them, either the fix is a patch that won’t hold or the material is thinner than standard. A patch on a post that was set too shallow won’t extend the fence life past another season, and you’ll pay for the real fix on top of the patch. If you’re weighing a repair against a full replacement, our Fence Installation in Richardson team will walk through both numbers in a free estimate. It’s also worth noting that our Driveway & Pavers in Richardson work pairs naturally with fence fixes, since a new driveway often means the gate, apron, and fence posts all have to line up at once.
What Should Installation Look Like So These Problems Don’t Happen?
The fix for all of these problems is a correct install in the first place. Since most of these failures show up 18 months post-install, the original job is where the money is saved or lost. Here’s what a fence line that holds up looks like in Richardson.
- Post depth: 24 to 30 inches for a standard 6-foot fence. Clay soil in Richardson needs to be compacted and the post set deeper than in sandier soil.
- Concrete: one 80-pound bag per post as a minimum collar, mixed to the correct ratio, domed at the top so water sheds. No dry-pour with water added on top.
- Material: boards that are dry to the touch at install, gapped for expansion, and cut from the same batch to keep the color consistent across the run.
- Hardware: galvanized or stainless fasteners. Standard steel rusts in Richardson’s humidity faster than the wood rots.
- Gate posts: deeper than fence posts, since they carry the full weight of the swinging gate. A gate post set the same as a line post is a gate failure waiting to happen.
- Drainage: French drain or gutter extensions if the yard slopes toward the fence line. Water is the enemy of every fence post.
Installing a fence line right isn’t dramatic. It’s the difference between a fence that stands straight through 5 summers and one that leans by year two. If you want a fence that holds up in Richardson, the standard is digging deeper than looks necessary, using more concrete than looks necessary, and letting the wood acclimate before installing. Our Fence Installation in Richardson work is built to that standard, and it’s covered by the 730-Day Done Right Promise. If we install it and it fails to the standard, we make it right.
Common Mistakes to Avoid
- Patching a post with a brace or anchor plate before diagnosing the soil. A brace treats the symptom. If the post is set too shallow or the soil is draining wrong, the brace delays the failure by one season at best. Diagnose the post depth and soil first.
- Adding a second hinge to a sagging gate without checking the post plumb. A new hinge on a moving post fails at the same rate as the old one. Check post plumb first.
- Concrete poured dry, then watered on top. This is the most common shortcut we see in Richardson, and it produces a weak collar that cracks in the second summer. Concrete has to be mixed to ratio, not poured dry.
- Treating top rot with a sealer and calling it done. A sealer over active rot traps water in. Cut back to solid wood, dry it, then treat.
- Stacking fence boards tight against each other. No gap for expansion forces the boards to cup and warp. In Texas heat, a tight board is a warped board.
- Hiring on price alone. A fence installation quote significantly below the market range in Richardson usually means the post depth or concrete mix is cut. Both show up 18 months later.
- Doing nothing about drainage. Every Richardson fence failure we see has a water component. Fix the drainage at the same time as the post, or the failure returns.
See the difference
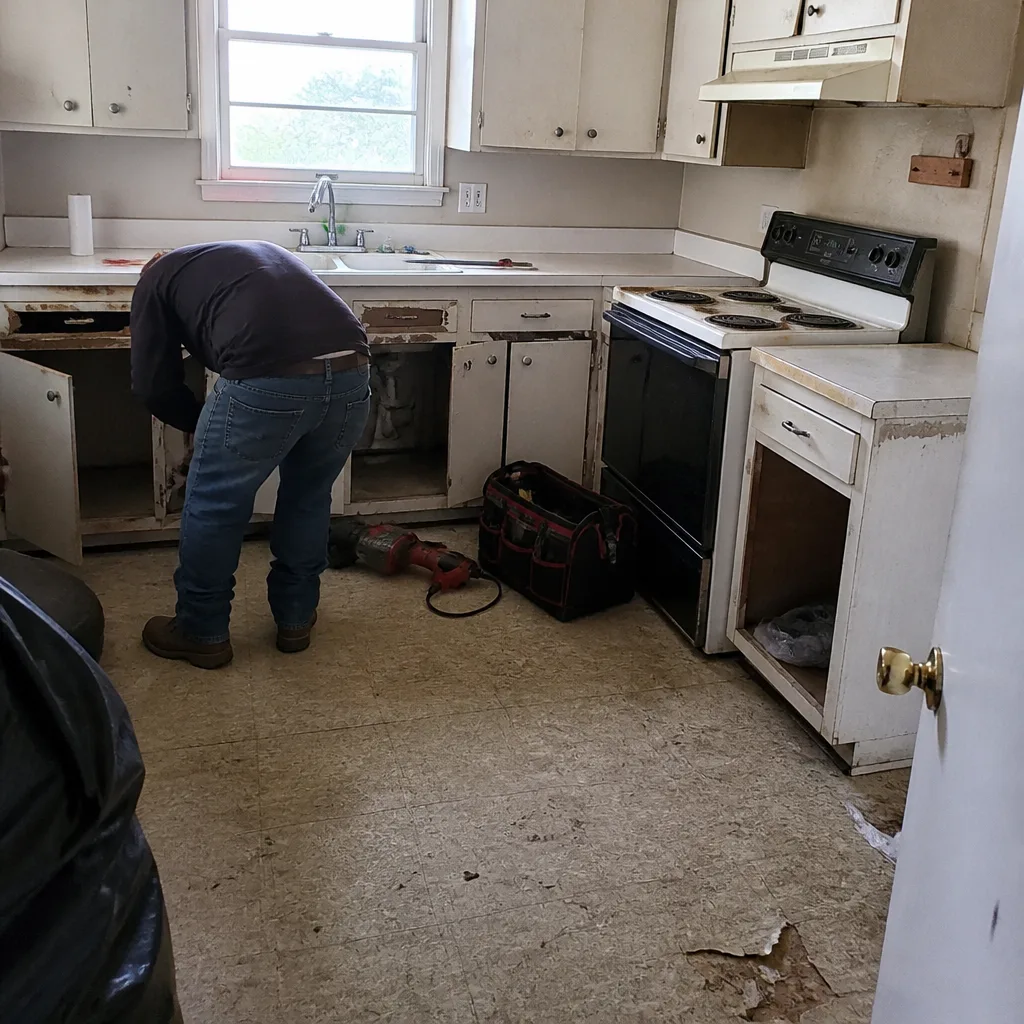 Before
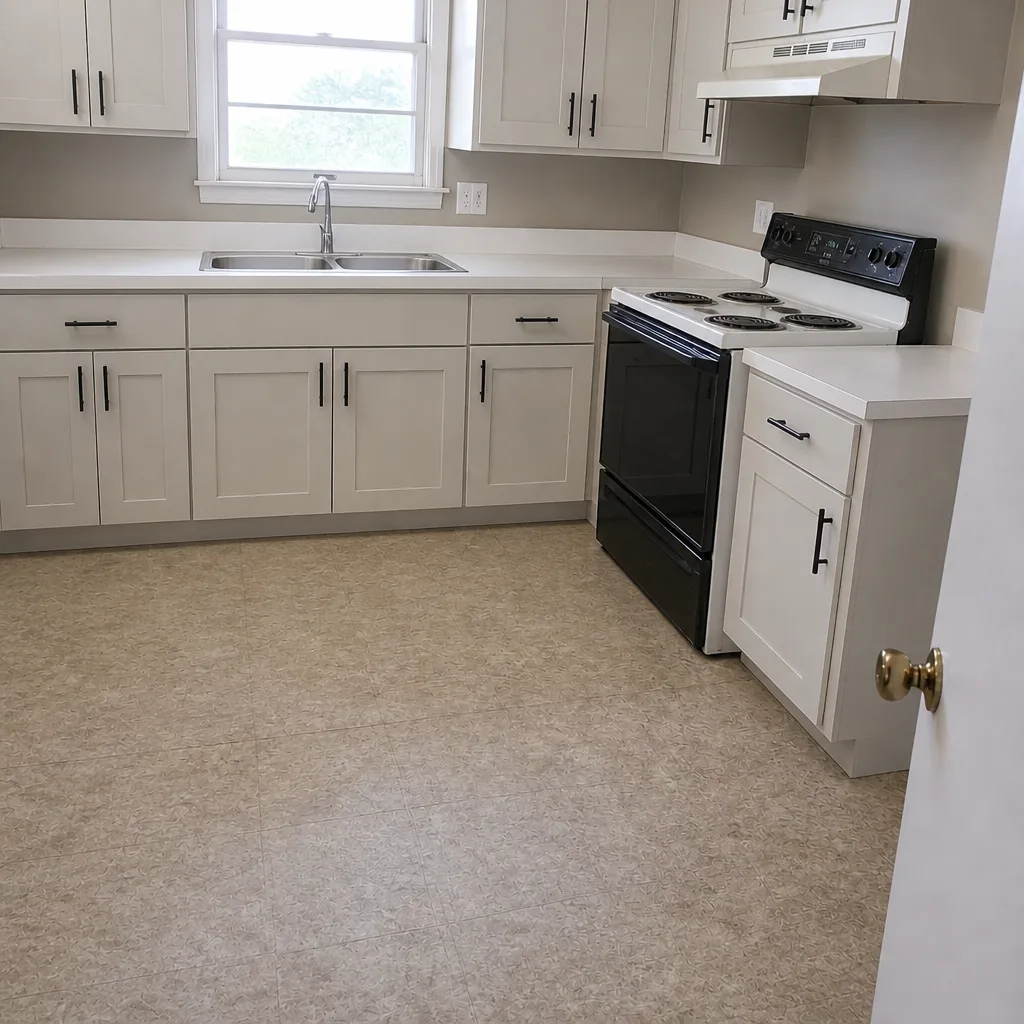 After
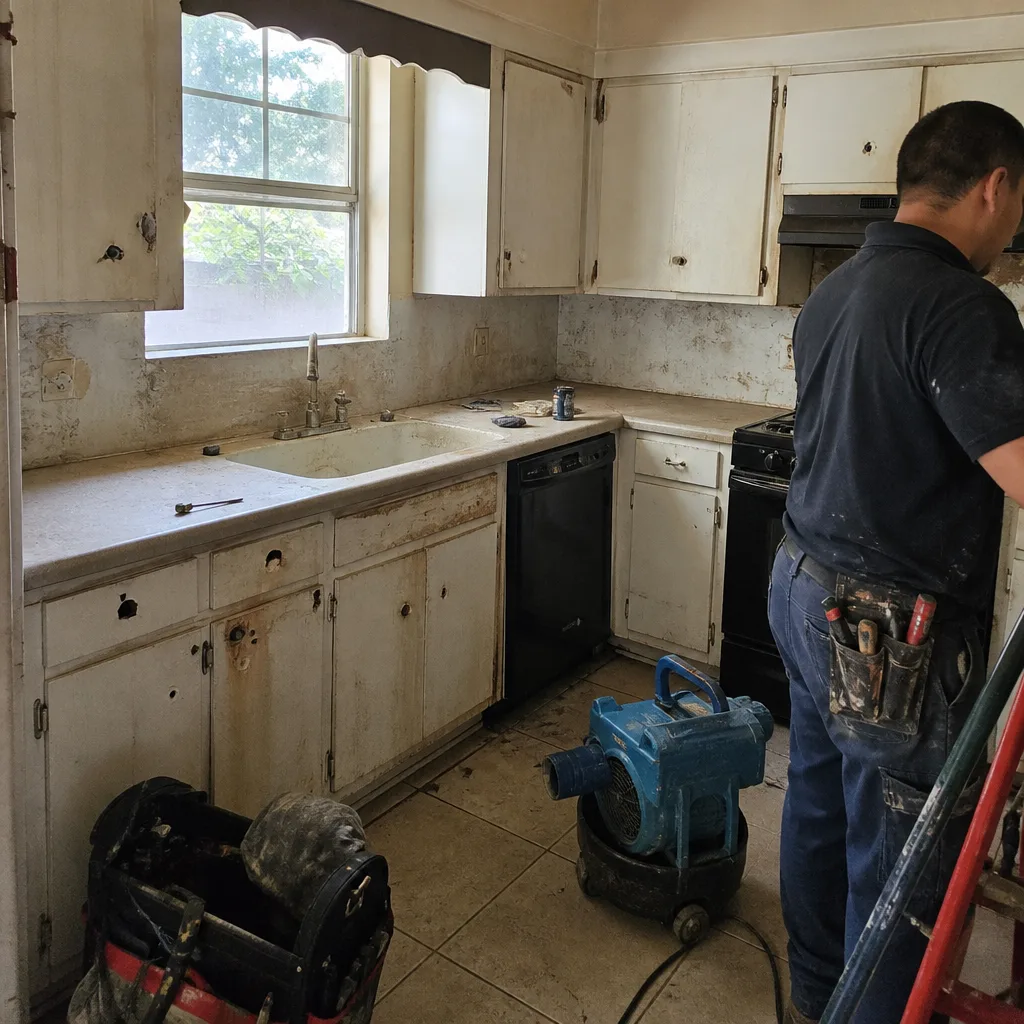 Before
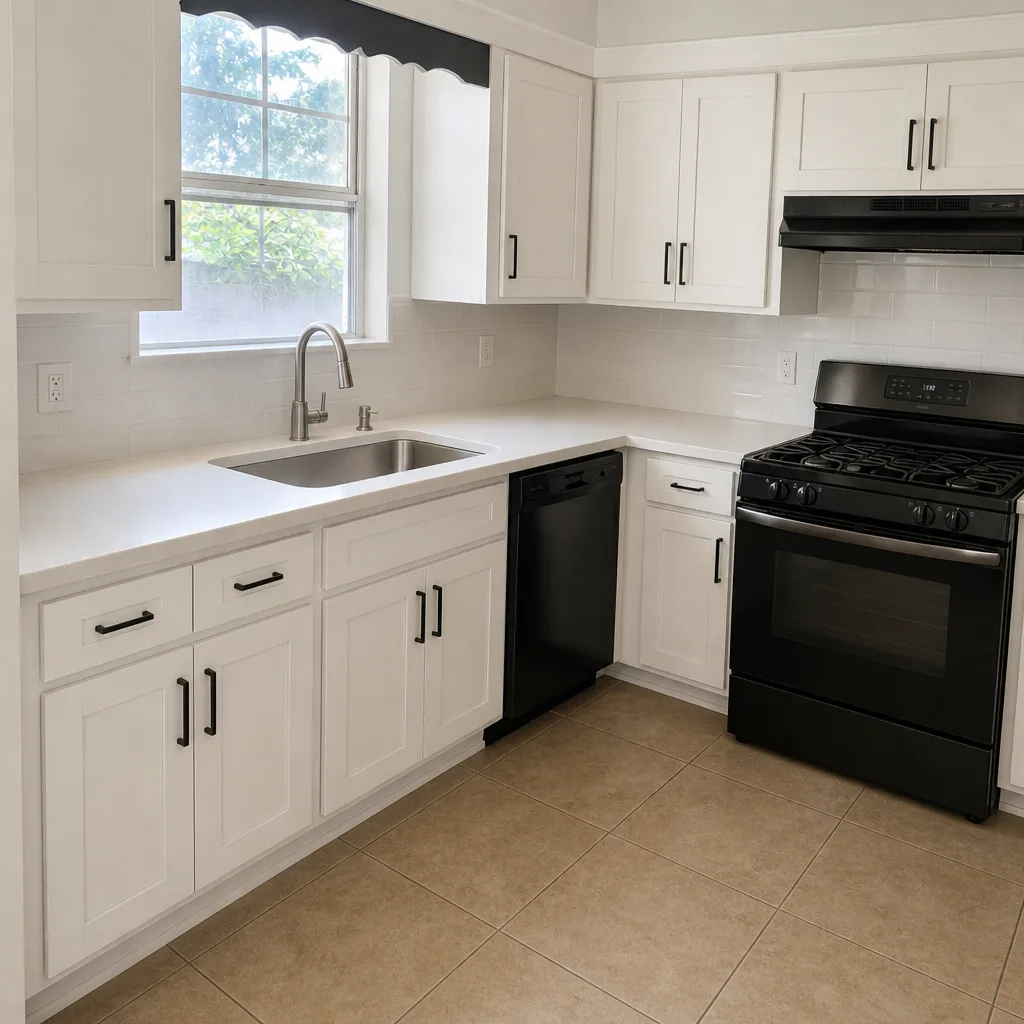 After
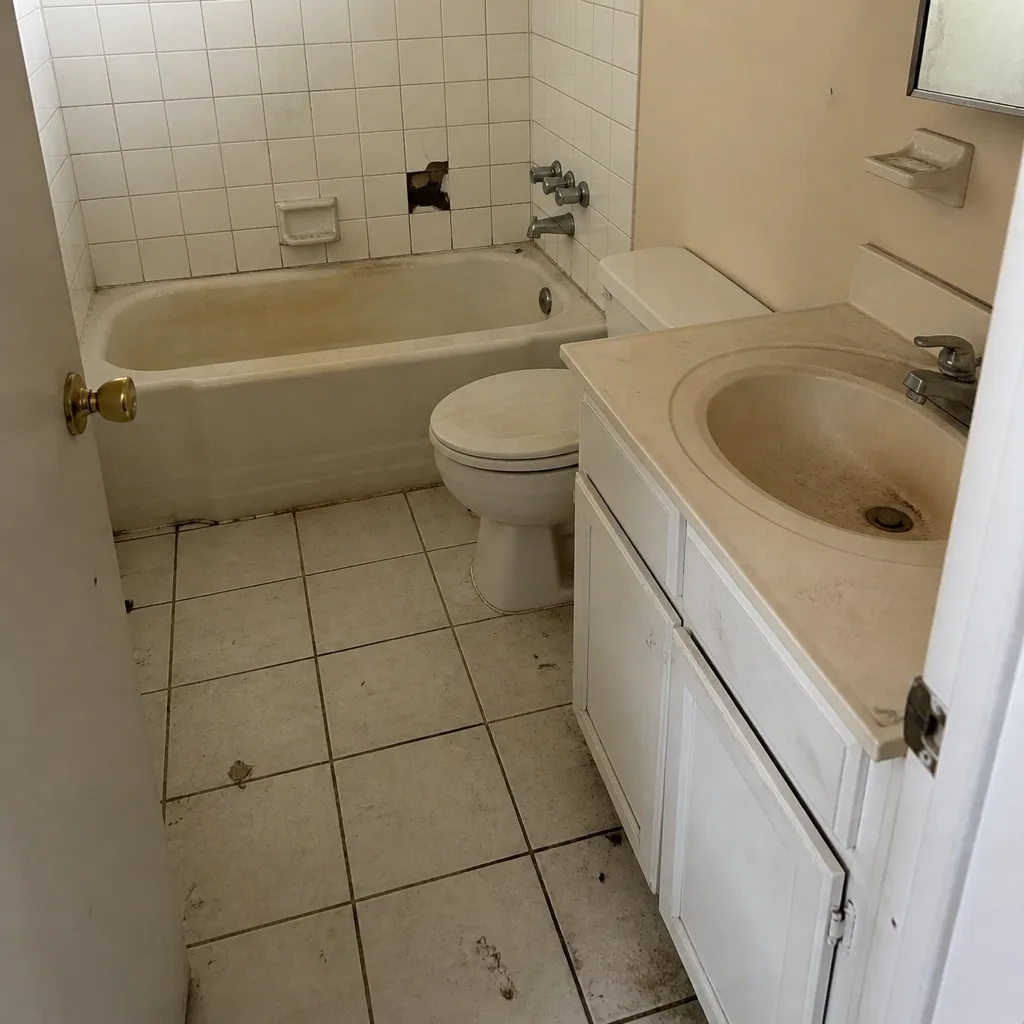 Before
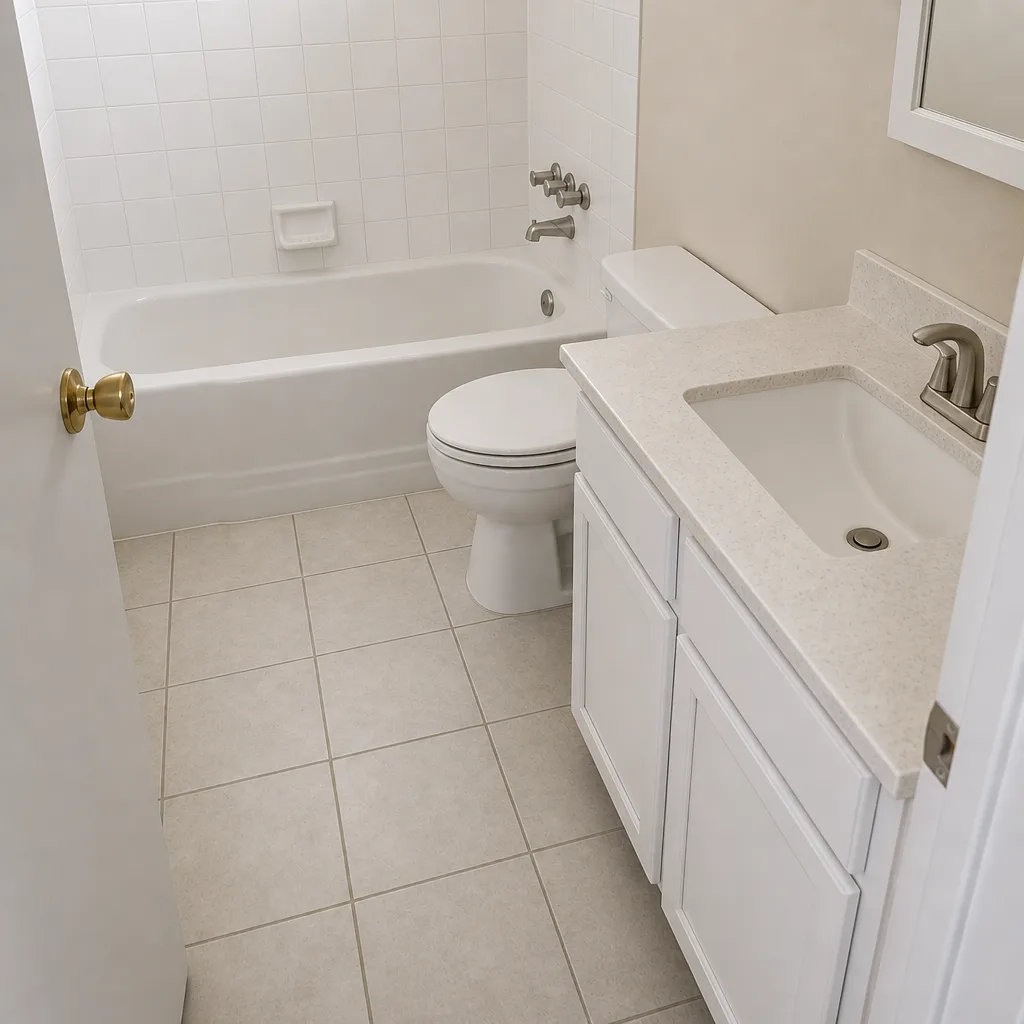 After
When to Call a Professional
Call a professional when the failure has reached the post. A single sagging board, a loose picket, or a gate hinge that needs tightening is a homeowner-level fix. But a leaning post, a gate that drags because the post has moved, or any rot below grade is a structural repair, and it has to be diagnosed correctly before it’s fixed. Ground contact rot and deep post movement are the two conditions where a patch fails and a proper repair is the only real answer. In Richardson, we also recommend a professional diagnosis any time three or more posts in the same run are failing, since that’s a sign the original install was cut short and the whole run may need resetting. Groundwork Construction Co. of Richardson offers free estimates in Richardson. Call (833) 954-4985 to schedule yours. Every repair quote we write includes the diagnosis in writing, the repair steps, and a fixed price with no change orders. The line you call is answered by a live person, 24 hours a day, 7 days a week.
Frequently Asked Questions
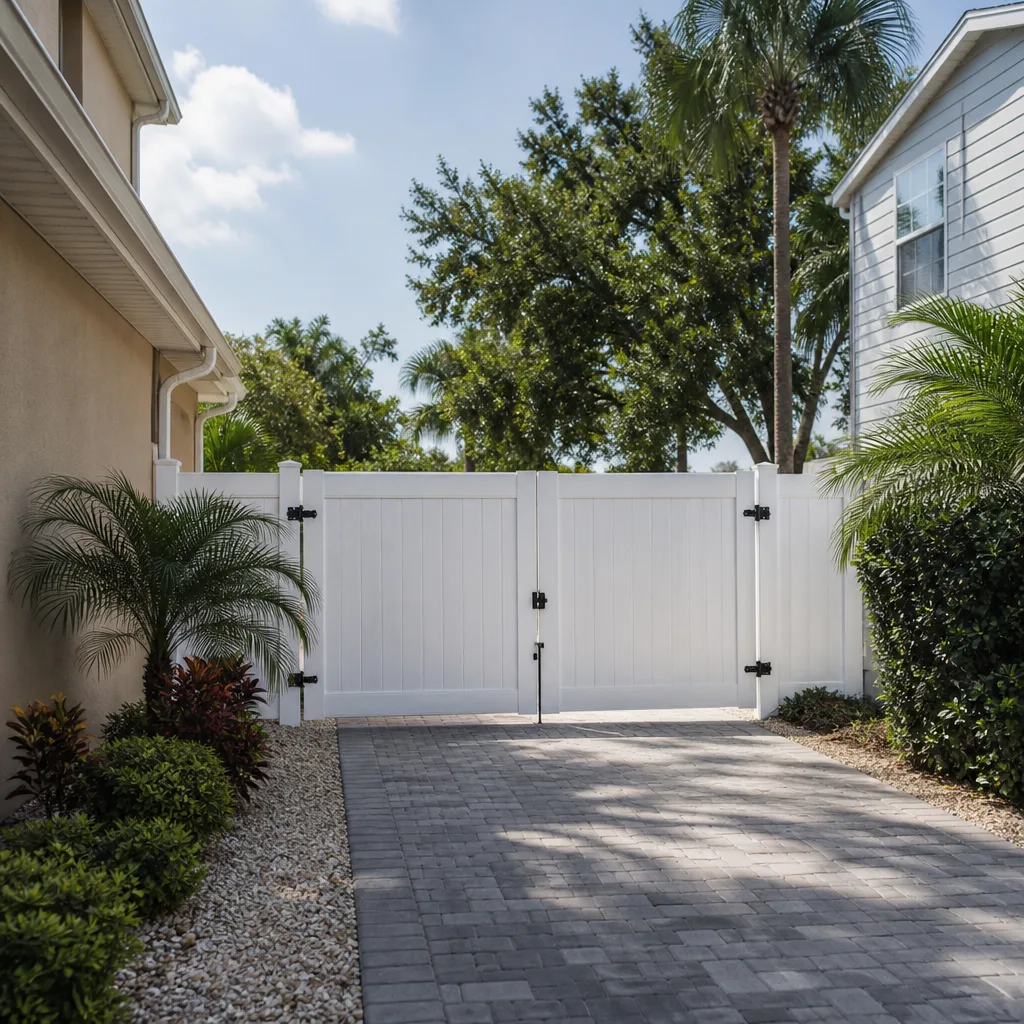
A leaning fence post repair in Richardson typically costs $200 to $600 per post for a proper reset, and a full replacement runs $350 to $750 per post including removal of the old concrete collar. The lower end is a single post in easy-to-access ground; the upper end is a post that has to be fully replaced with the old concrete dug out. Call (833) 954-4985 for an exact quote. Estimates are free and include the cause of the failure in writing.
A tight hinge and a sagging gate means the problem is the post, not the hinge. Measure the plumb of the hinge post with a 4-foot level. If it leans away from the gate, the post has moved, and the gate hangs lower because the top hinge has been pulled. Resetting or replacing the hinge post fixes the sag; new hinges just delay the next failure.
A problem is a warranty claim when the cause is installation, not aging. A post set too shallow, boards installed too tight to allow for expansion, or a gate installed without a diagonal brace are all install failures. A gray, weathered, or slightly checked board on a 6-year-old fence is normal. Document the cause with dated photos and a reference measurement (see our step-by-step above), and any reputable installer will honor it if the failure is theirs.
Sometimes. A post that’s leaning less than an inch with intact concrete and dry soil can be reset by digging out the collar, straightening the post, and re-pouring. A post that’s moved more than an inch, or that has broken at the soil line, or that was set too shallow to start with, needs to be replaced. A post that’s been reset without fixing the underlying depth or drainage issue will lean again within a season or two.
Yes. Richardson’s expansive clay soil swells when wet and shrinks hard in summer, and that cycle works on fence posts every season. A post set at 18 inches in Richardson clay moves a lot faster than the same post in sandier soil. That’s why we set fence posts at 24 to 30 inches in this soil, and why a fence installed at a lower standard fails by year two.
A single post reset or replacement is usually done in a single visit. A run of three or more post replacements takes a full day or two, since each concrete collar has to cure. A full section replacement is scheduled across a couple of days depending on run length. The exact timeline is in the written estimate before the work starts. Call (833) 954-4985 to schedule your free estimate.
The Bottom Line
Most fence problems in Richardson are post problems, and most post problems are installation problems that took 18 months to show. Diagnose before you patch: check the post depth, check the soil drainage, check the gate post plumb before adding a hinge, and check where the rot starts before treating the surface. Document the cause, not just the damage. A fence installed at 24 to 30 inches deep with properly mixed concrete and material that’s got room to move holds up through multiple Texas summers. A fence installed at 14 inches with dry-pour concrete doesn’t, and the repair cost for getting it right is real money. Our Home Additions & ADU in Richardson team regularly deals with the same clay-soil post problems on exterior work, and the fix is the same principle: deeper than looks necessary, dry material, proper drainage. Call Groundwork Construction Co. of Richardson at (833) 954-4985 to schedule your free estimate. Our technicians bring up to 12 years of experience, our calls are answered by a live person 24/7, and every repair on this list is covered by the 730-Day Done Right Promise.
Written by the team at Groundwork Construction Co. of Richardson.