Last updated November 18, 2026
Free written scope consultation - allowances, timeline, and change-order rules on paper before a single trade is scheduled
DIY vs Professional Driveway & Pavers: What’s Safe to Do Yourself
Here’s the math that makes paver work unforgiving: a job that runs roughly $800 in materials and a weekend of your own labor turns into a $6,000 redo when the base underneath it wasn’t compacted to spec. That redo usually happens a season later, after the first hard rain. The pavers themselves aren’t the problem. The eight inches of crushed stone nobody sees is. We’ve walked dozens of Richardson driveways where a homeowner did everything right except the part that mattered, and the fix cost more than a professional install would have from day one. This guide draws the line clearly: what you can safely handle yourself, what tests the limits of human hands and good intentions, and how to work alongside a crew rather than against one.
Quick Answer
Safe to do yourself: replacing a cracked paver, re-sanding joints, re-leveling a single sunken unit, and pulling weeds or cleaning between courses. Not safe to do yourself: base excavation, compaction, and grading, because those require a plate compactor, a laser level, and drainage math that a rented hand tamper won’t fix. Getting the base wrong risks your Richardson home’s foundation, and no installer will warranty work they didn’t set.
Styles & brands we work with
- Kitchen remodeling
- Bathroom remodeling
- Home additions & ADU
- Roofing
- Windows & doors
- Driveway & pavers
- Fence
Table of Contents
- Where the DIY Line Actually Falls
- The Paver Tasks That Are Genuinely DIY-Safe
- Why Base Prep and Grading Aren’t Do-It-Yourself Jobs
- Drainage Slope Math and Your Richardson Foundation
- The Tool Rental Reality Check Most DIY Articles Skip
- How to Work Alongside a Professional
- Common Mistakes to Avoid
- When to Call a Professional
Where the DIY Line Actually Falls
The confusion most homeowners bring to pavers is thinking of it as a surface job. It isn’t. The material on top is roughly the last 10% of the work; the other 90% is what sits below the surface, and that’s exactly where the difficulty lives. So the honest split isn’t “easy project vs. hard project.” It’s a small set of surface repairs you can absolutely handle, and a much larger set of structural tasks that will punish you for trying.
Draw the line at anything that touches the base. If the fix requires lifting more than a couple of adjacent units, if the surface is heaving, if water is pooling, or if the whole field has shifted, you’ve crossed it. Those are base-and-grading problems wearing a paver costume. When the issue is confined to one or two pavers on an otherwise stable, evenly sloped surface, it’s yours to fix Saturday.
- Yours, in most cases: swapping a single broken paver, re-sanding open joints, cleaning moss and weeds, and nudging one sunken unit back to level on a bed that’s still sound.
- Not yours: excavation, compaction, establishing slope, cutting a new edge course, and relaying a field that’s settled or heaved.
- The gray zone: re-leveling a small cluster of pavers. Fine if the base is intact; a warning sign if you’re re-doing the same spot every spring.
In our experience running work across Dallas County, the homeowners who save real money are the ones who know which side of that line they’re on before they rent a single tool. That’s the whole game.
The Paver Tasks That Are Genuinely DIY-Safe
These jobs need elbow grease and patience, not heavy equipment. None of them touch the structural base, which is why they’re safe to hand a capable homeowner.
- Replacing a single cracked or stained paver. Pry it up with a screwdriver or a pair of chisels (wrap the tips in cloth so you don’t chip the neighbors), clean the sand out of the cavity, and set the new unit on a thin fresh bed of bedding sand. Tap it level with the surrounding field using a rubber mallet and a straightedge. Keep a couple of spare matching pavers on hand from the original install.
- Re-sanding the joints. Over a season or two, the polymeric sand in the joints washes out and you get weeds, ants, and loose units. Sweep fresh polymeric sand into the joints, mist it so it settles, and let it cure. This one task prevents more premature paver failures than any other single thing a homeowner can do.
- Re-leveling a single sunken unit. If one paver has settled but its neighbors are solid, lift it, top off the bedding sand, and reset it flush. Set a straightedge across the joint to confirm you’re level with the field, not just eyeballing it.
- Cleaning and weed control. A stiff broom, a little vinegar or a paver-safe cleaner, and a pass with a string trimmer along the edge keeps the surface looking sharp. This is maintenance, not repair, and it never hurts anything.
The common thread: every one of these tasks is reversible and confined to the surface. None of them remove support from under the driveway, and none of them change how the whole surface drains. That’s what keeps them in your column.
Why Base Prep and Grading Aren’t Do-It-Yourself Jobs
Here’s where the YouTube version breaks down. The base under a paver driveway isn’t a bag of sand smoothed with a rake. It’s a layered system: 4 to 6 inches of compacted crushed stone (usually a graded aggregate), built up in lifts of 2 to 3 inches, each one compacted before the next goes down. That compaction has to reach a specific density. It’s measured with real equipment and a specific test, not with a good eye and a rented tamper.
A plate compactor delivers thousands of pounds of directed force per pass. A hand tamper, by contrast, is basically a heavy hammer you drop with your arms. It settles the top inch or two and leaves the rest loose. On a Richardson driveway that sees a car every day, loose base means the pavers flex under load, sand migrates, joints open, and the field starts to rut. This is the exact mechanism behind that $6,000 redo we opened with.
Setting grade is the same story. A laser level or a transit establishes the slope across the whole surface, because pavers can’t just sit flat. Every point on the driveway has to slope away from the house by a controlled amount. You can’t hold that plane across a thousand square feet with a string and a level, and the moment the plane drifts, water has a place to go. That place is almost always a foundation or a garage slab.
- Base depth: typically 4-6 inches of compacted aggregate under a residential driveway, built up in layers, not dumped in one pour.
- Compaction: each lift needs a mechanical plate compactor to reach density.
- Grade: established with a laser level across the full footprint, not paced off by eye.
- Drainage: planned before the first paver goes down, not corrected afterward.
Drainage Slope Math and Your Richardson Foundation
This is the part that connects pavers to the biggest asset in the house. Standard practice for a hardscape surface is a slope of roughly 1% to 2%, meaning the surface should drop about 1 to 2 inches per 8-foot run as it moves away from the structure. Get that wrong in the wrong direction – even slightly – and every rainstorm directs water toward the house instead of away from it.
North Texas makes that failure expensive. Richardson sits on expansive clay soils that swell when wet and shrink when dry, and the region’s storms arrive hard and fast. Water that ponds against a foundation here isn’t just a nuisance; it feeds the soil under the slab, drives moisture against the stem wall, and over a few seasons you’re looking at foundation movement, doors that stick, and cracks in drywall that nobody wants to see. We’ve seen pavers that were laid dead level instead of sloped, and the first big storm sent water sheeting toward the garage. That’s not a paver problem. That’s a drainage problem the paver work created.
Getting the slope right on a full driveway requires reading the whole site: where the house sits, where the yard drains, where the low spot already is. That’s a drainage engineer’s job done in miniature, and it can’t be fixed once the field is set without pulling the pavers back up. If you’re laying pavers anywhere near a Richardson slab, treat the drainage plan as the first decision you make, not the last.
The Tool Rental Reality Check Most DIY Articles Skip
Most DIY paver guides stop at material cost and skip the rental line entirely, which is where the math actually turns. Here’s a realistic accounting of the equipment a proper install needs beyond the pavers themselves.
- Plate compactor: roughly $65-$110 per day to rent, and you’ll want it for multiple days if the base is built in lifts.
- Laser level or transit: around $40-$80 per day, or a few hundred to buy.
- Wet saw with a diamond blade: $60-$100 per day to cut edge and course pavers cleanly.
- Spade, plate, and hand tools: the cheap part, but still real money for good versions.
- Truck and disposal fees: hauling spoils and getting the base material delivered to the right spot.
Tally a few weekends of rental for a mid-size driveway and you’ve spent several hundred dollars on equipment before you’ve done the first meaningful thing. Then add your own labor at whatever your weekend is worth, and the cost gap between DIY and a professional install narrows to a lot less than most people expect. In our experience, by the time a homeowner has rented a compactor and a wet saw across a couple of weekends, the savings on a full driveway build have largely evaporated – and they’ve spent the labor on the one part of the job that’s most likely to fail.
Where DIY actually wins is on the small surface repairs. A few cracked pavers and a re-sanding job might be $50 in materials. Replacing a whole driveway’s base? The rental math alone argues for hiring out. That’s the honest split, and it’s why we always run the numbers with homeowners before they commit to a plan.
How to Work Alongside a Professional
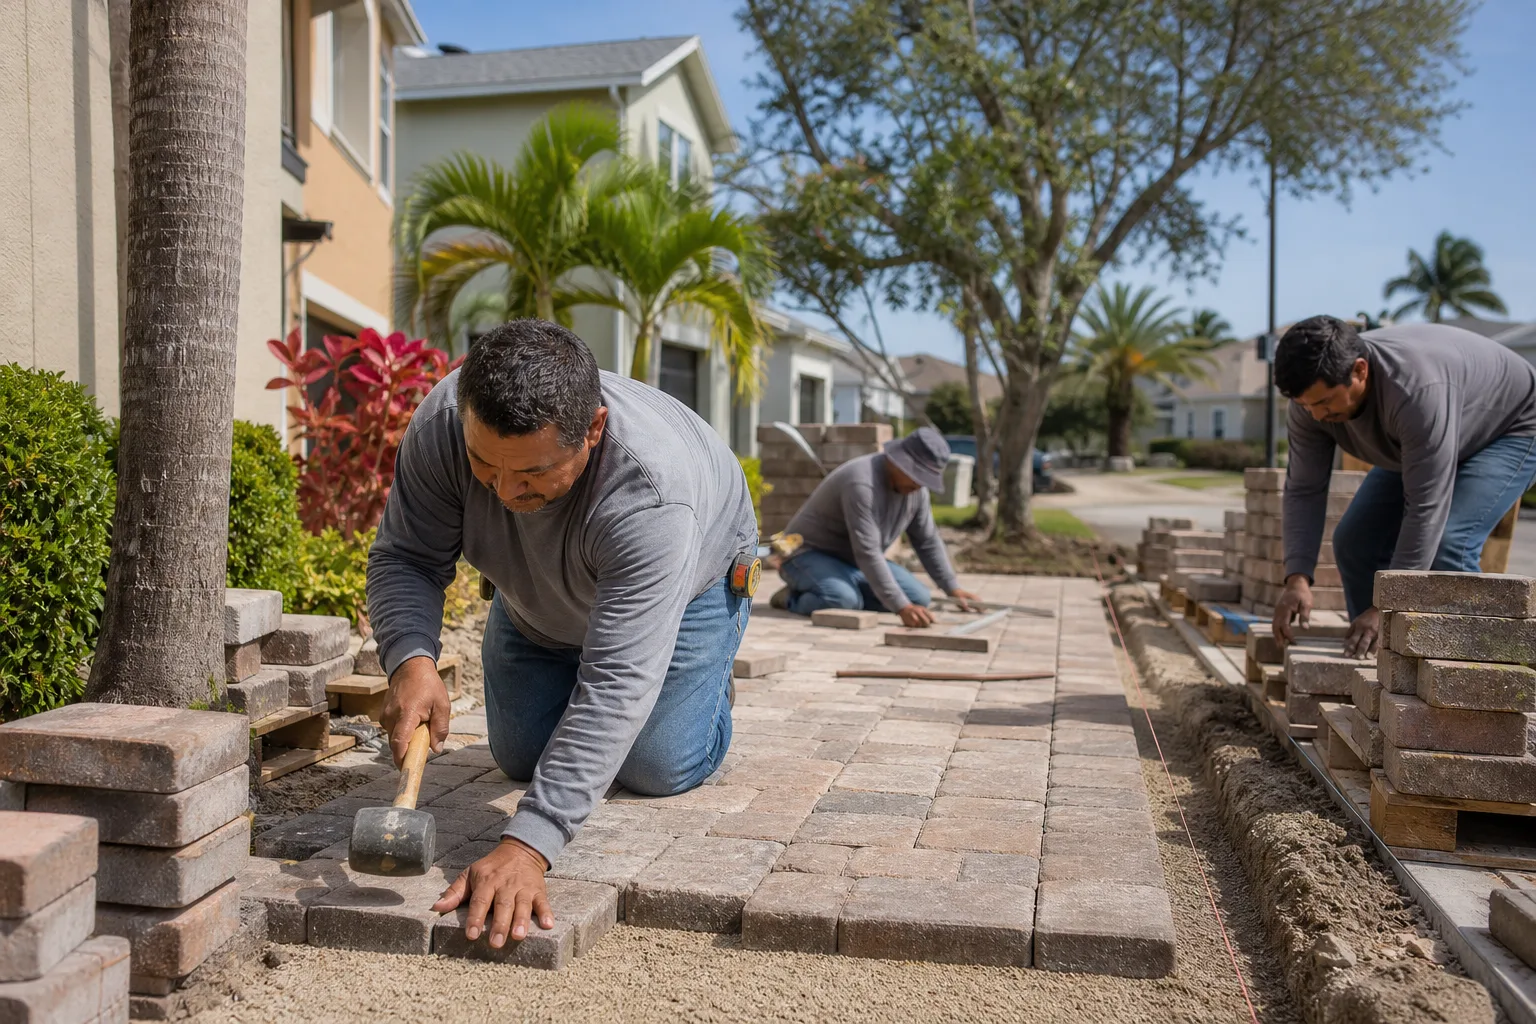
You don’t have to choose between doing nothing and writing a check for everything. There’s a legitimate middle path where a homeowner handles the low-risk, time-consuming prep work and a crew handles the structural work, and it can genuinely reduce labor cost without putting the install at risk. It’s also how we frequently structure driveway and paver projects, where the client wants to stay hands-on.
The rule is simple: the homeowner takes tasks that don’t touch the base, the grade, or the compaction, and the crew takes everything that does. Here’s what that looks like in practice.
- Demo you can own: pulling up a surface-level patio or low paver area, hauling off old materials, and clearing the site so the crew walks into a clean footprint.
- Site access you can own: moving parked cars, clearing landscaping, and ensuring the crew can actually get a truck and equipment to the work area on day one.
- Finishing touches you can own: the post-install re-sanding, edge cleanup, and the first pass of sweeping once the crew has set the field, compacted it, and locked everything in place.
- What the crew keeps: excavation, sub-base delivery and grading, every compaction pass, all slope calculation, and any cutting that establishes the edge and the drainage plane.
That division of labor isn’t a discount hack; it’s honest alignment. The homeowner gets the tasks that suit a capable person’s hands. The crew keeps the work that requires a plate compactor, a laser, and a warranty, which means the install is still covered from foundation to finish line. If you want a crew that will actually build the job that way around your schedule, our Driveway & Pavers in Richardson team quotes that kind of split all the time.
Common Mistakes to Avoid
- Skipping the base compaction. A tampered top inch isn’t compaction. The pavers will feel solid on day one and start flexing and rutting by the first wet season, which triggers the expensive redo.
- Laying dead level instead of sloped. Level looks flat and professional. Sloped drains. On a Richardson lot with expansive clay, level pavers can push storm water straight toward the foundation.
- Using bagged sand as the whole base. Sand is for bedding. The structural base is compacted crushed stone, and substituting sand is how fields settle and heave within a year.
- Cutting pavers with a masonry blade on a circular saw instead of a wet saw. The cut edges chip and spall, and the joint won’t lock properly along your perimeter.
- Re-sanding with play sand instead of polymeric sand. Play sand washes out after one or two good storms. Polymeric sand resists water and keeps the joints stable.
- Re-doing the same sunken paver every spring. If one spot keeps settling, the base under it is wrong, and patching the surface each year is spending money on a symptom.
- Ignoring drainage away from the garage slab. A driveway that drains toward the garage door in Richardson’s heavy storms risks water reaching the slab and the living space behind it.
When to Call a Professional
Call a professional when the problem lives below the surface. That means heaving, widespread settling, standing water after a storm, a whole field that’s shifted, edges that have blown out, or a driveway that water runs toward the house instead of away. It also means any full new install or replacement, where the base, grade, and drainage are the entire job. Those aren’t weekend repairs, and more importantly, they’re the parts that determine whether the driveway lasts eight years or thirty.
Groundwork Construction Co. of Richardson offers free estimates in Richardson, and we’ll tell you straight which of your issues are yours to handle and which need a crew. Call (833) 954-4985 to schedule yours. Our technicians have up to 12 years of experience, and every project we take on is backed by our 730-Day Done Right Promise – if it’s not done right, we make it right. We work with trusted brands like Belgard, and we price the job upfront so the number you see is the number you pay, with 0% financing for 18 months available to make a full repaving more manageable.
See the difference
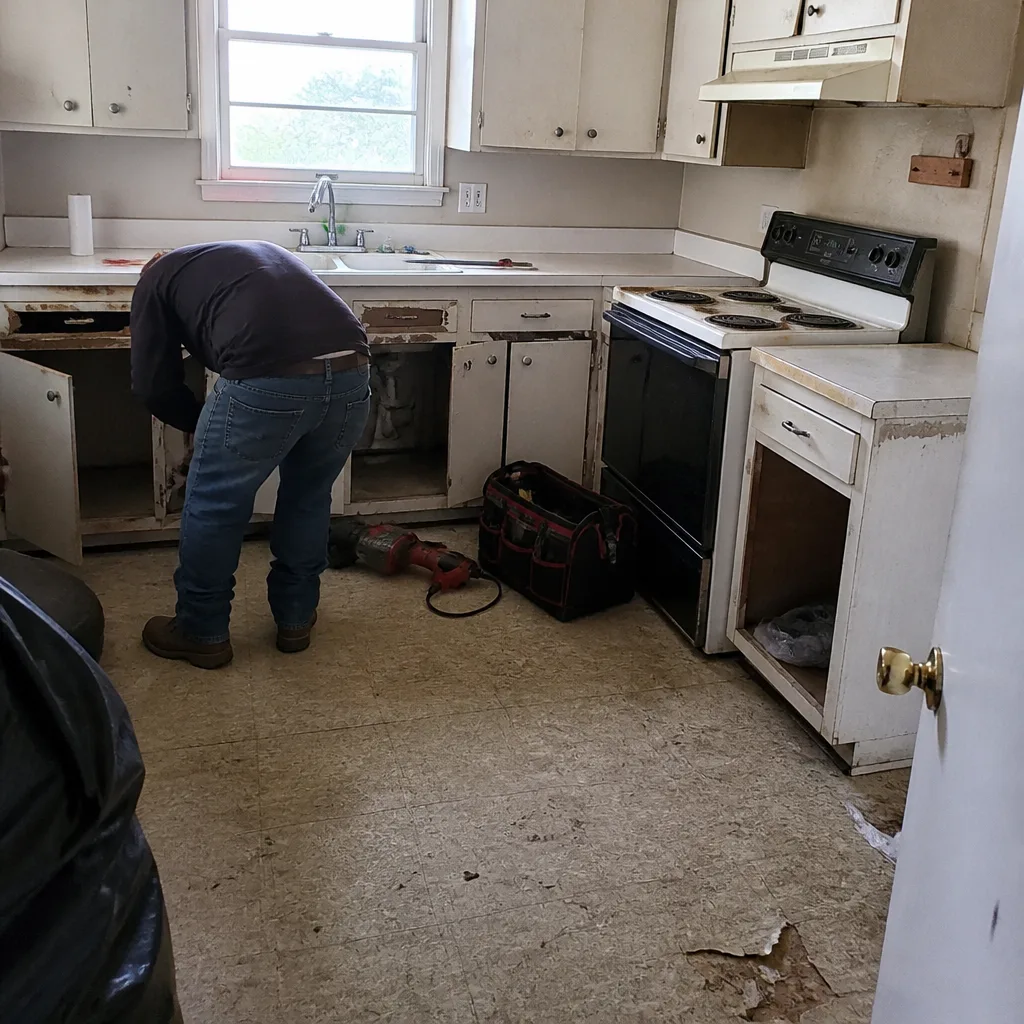 Before
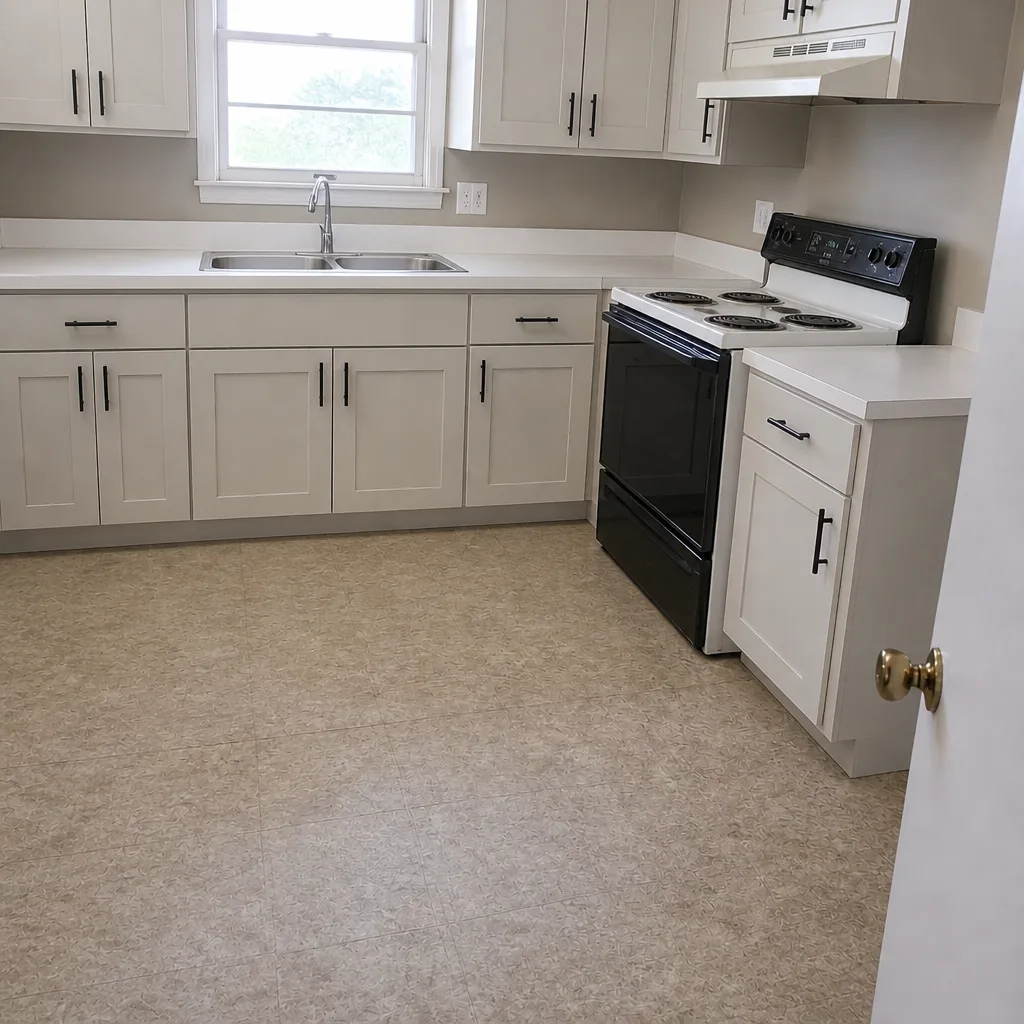 After
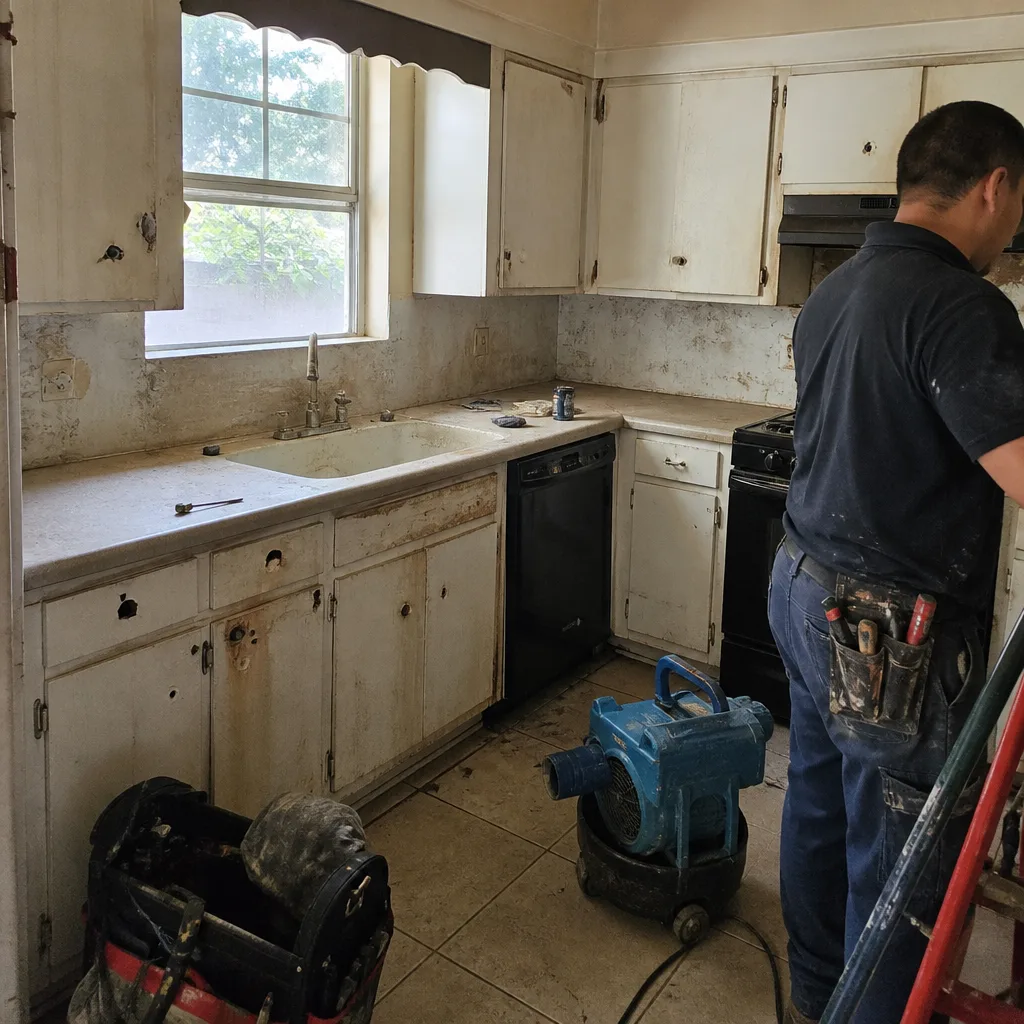 Before
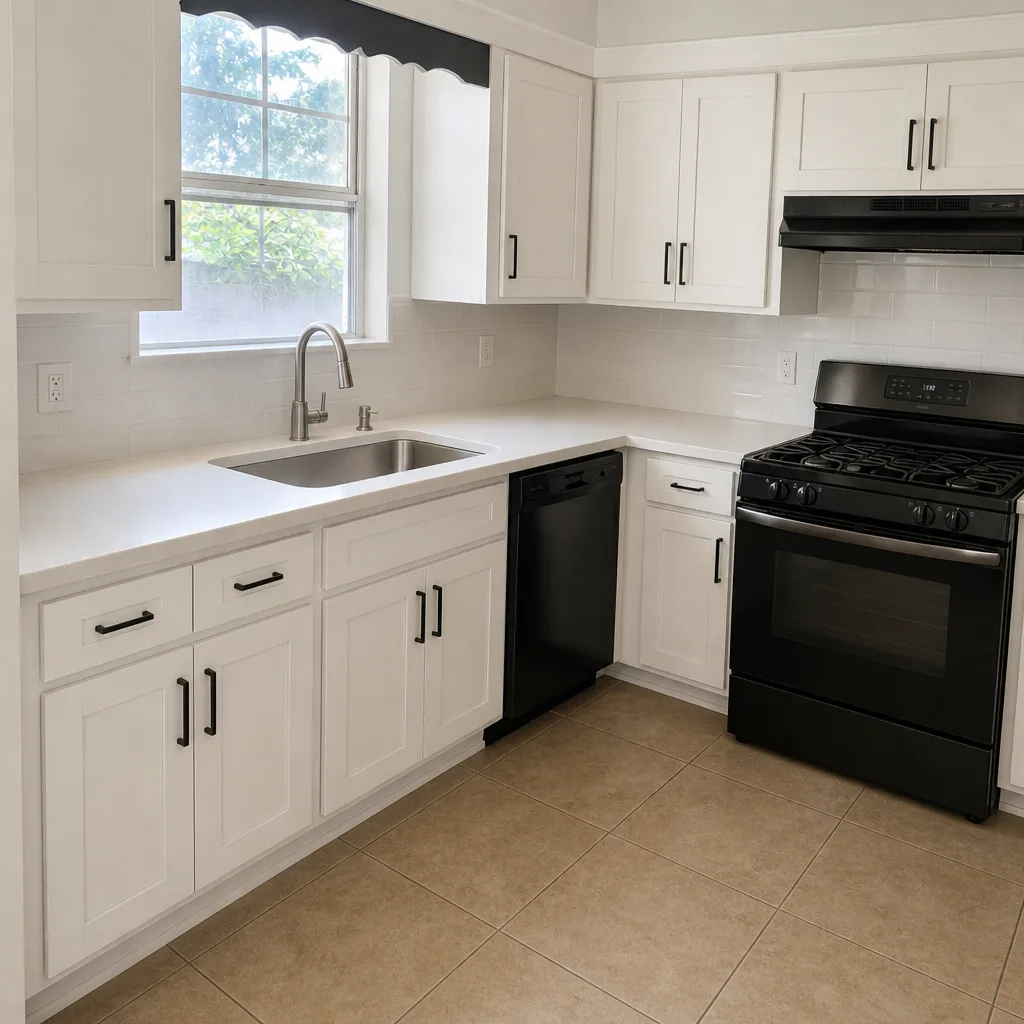 After
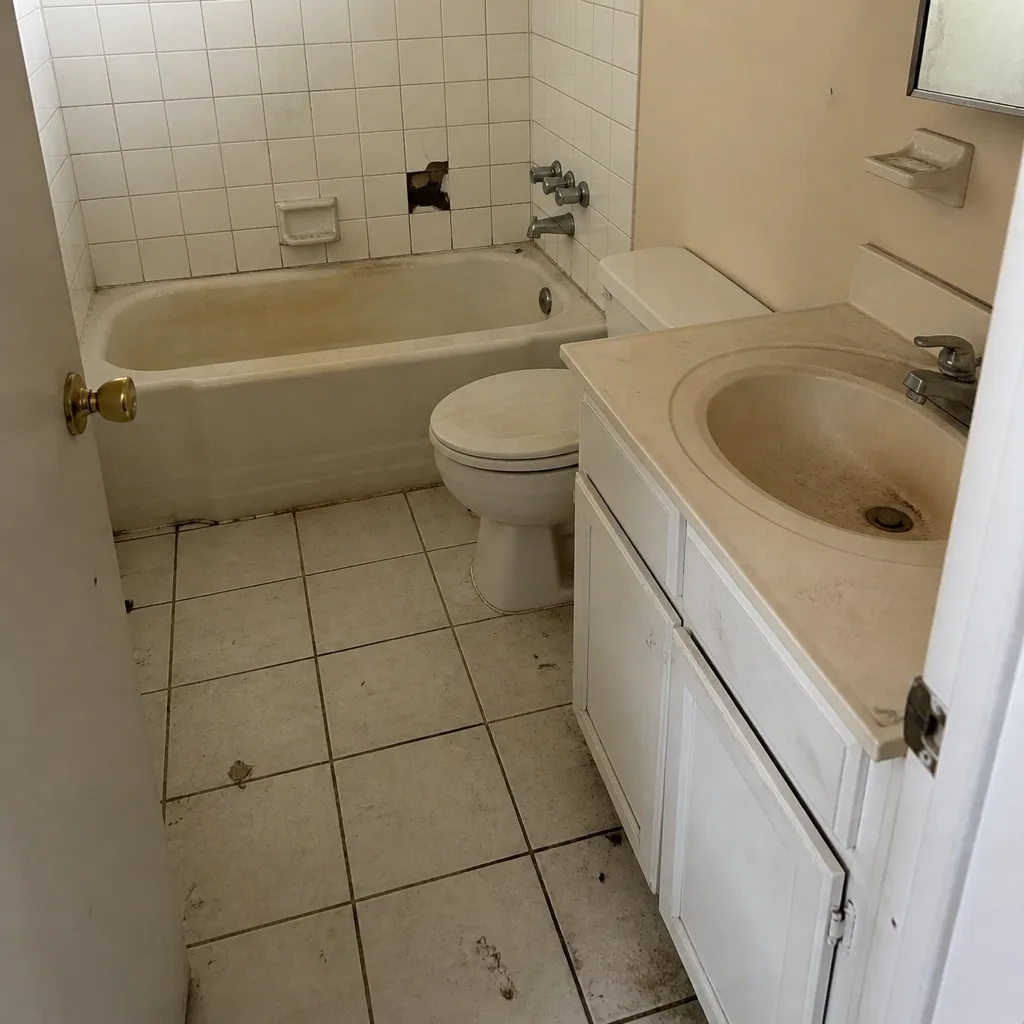 Before
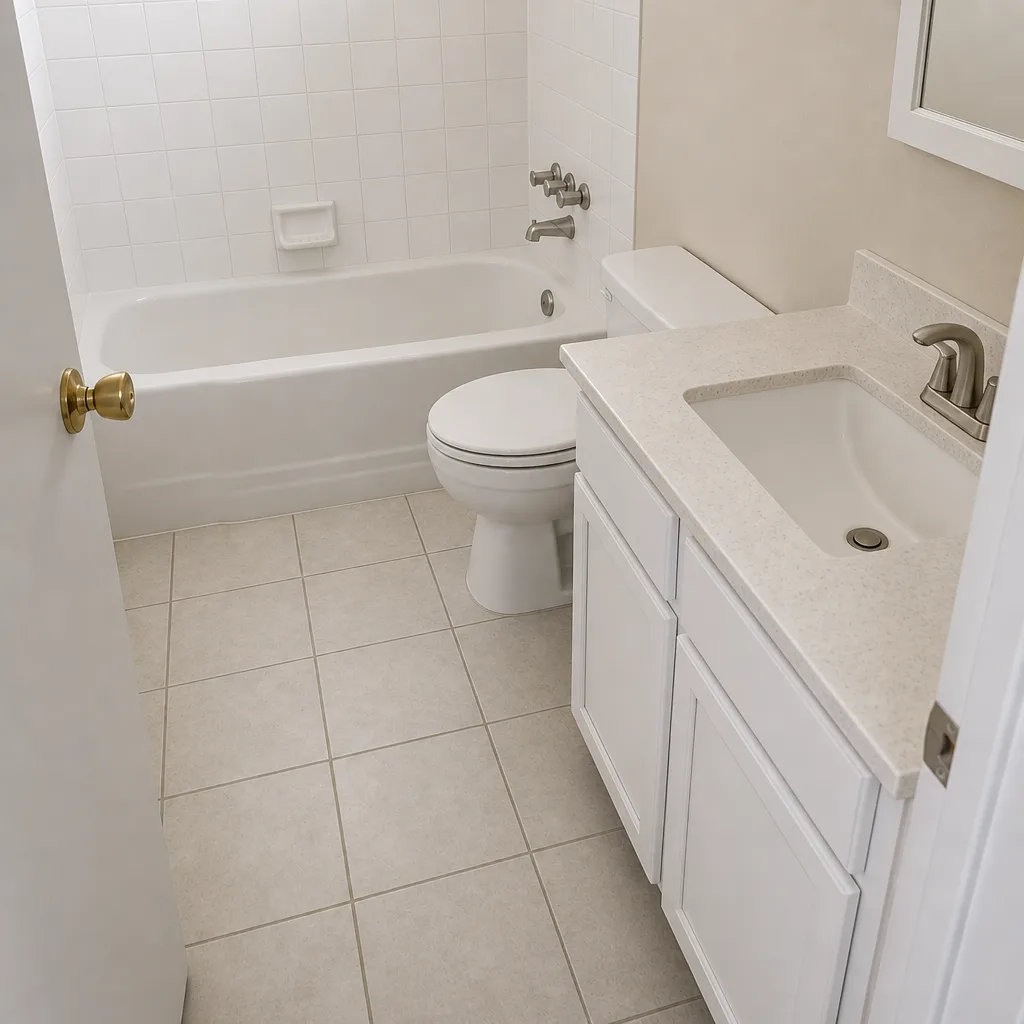 After
Frequently Asked Questions
You can safely replace a single cracked or stained paver and re-sand the joints, but you shouldn’t replace a full driveway yourself. A full replacement requires base excavation, mechanical compaction in lifts, and laser-set drainage slope, and those are what keep the pavers stable and the foundation dry. Call (833) 954-4985 for a free estimate on a full replacement.
Because the base is what carries the load, not the pavers. Pavers rest on compacted stone and bedding sand, and if that stone isn’t compacted in proper lifts, the surface flexes under every car and the joints open up. A properly built base is the difference between a driveway that lasts decades and one that needs a redo after a single wet winter.
Driveway pavers need roughly a 1% to 2% slope away from the house, about 1 to 2 inches of drop per 8 feet. In Richardson’s expansive clay soils, a surface that’s flat or tipped toward the structure pushes storm water against the foundation, and over time that movement causes real damage. Getting the slope right is a pre-install decision, not a fix you can make afterward. Call (833) 954-4985 if you’re seeing water run toward your house.
It depends entirely on the scope. For a small surface repair like replacing a few pavers or re-sanding joints, DIY is far cheaper – often $50 in materials. For a full driveway, the cost of renting a plate compactor, a laser level, and a wet saw across several weekends usually closes most of the gap, and a DIY base failure can cost far more than a professional install. Call (833) 954-4985 for an upfront number you can compare against.
You can handle surface demo, hauling off old materials, clearing site access, and post-install re-sanding and cleanup. What a crew must keep is excavation, base grading, compaction, and slope calculation, because those carry the structural load and the warranty. A professional will tell you exactly where to stop so your work doesn’t undermine the install.
Not with a proper upfront quote. Groundwork Construction Co. of Richardson prices the job with no-hassle upfront pricing – the number you see is the number you pay – and backs the work with a 730-Day Done Right Promise. Call (833) 954-4985 for a free estimate and a clear scope before you commit to anything.
The Bottom Line
The safe DIY work on pavers is the surface work: swapping a single cracked unit, re-sanding joints, re-leveling one sunken paver, and keeping the surface clean. Everything that touches the base, the grade, or the compaction belongs to a professional, because that’s where the structural failure happens and where the warranty lives. Run the rental math before you commit to a full build – the equipment costs close most of the gap. Then decide based on scope, not pride. If you want a free estimate on the parts that need a crew, and honest guidance on the parts that don’t, our Groundwork Construction Co. of Richardson home team handles driveway and paver work across the area, alongside Fence Installation in Richardson and Home Additions & ADU in Richardson for homeowners planning bigger projects.
Call (833) 954-4985 for a free estimate. We answer with a live person, 24/7, and we’ll walk your driveway and tell you the truth about which side of the line your project lands on. From foundation to finish line, we build it to last and back it in writing.
Written by the team at Groundwork Construction Co. of Richardson.