Last updated November 18, 2026


Free written scope consultation - allowances, timeline, and change-order rules on paper before a single trade is scheduled
Driveway & Pavers Warning Signs Every Homeowner Should Know
The thin crack running parallel to your garage slab isn’t aging. It’s your driveway telling you that water is undermining the base, and you have one Texas winter to fix it before it becomes a five-figure replacement. Paver driveways don’t fail overnight. They send warnings for six to eighteen months before a repair turns into a full replacement, and homeowners who know what to look for catch problems while the fix still costs hundreds instead of thousands. In our experience across Richardson, the driveways we replace almost always showed readable symptoms for at least a full season first. This guide decodes what your driveway is actually telling you.
Quick Answer
The five warning signs that matter most on a paver driveway are: cracks running parallel to a hard structure like your garage slab or curb, pavers that rock or sound hollow underfoot, borders spreading outward at the edges, standing water that hasn’t drained 24 hours after rain, and sand washing out of the joints faster than normal. Any single one of these is worth a professional look. Two or more together usually means base failure, not surface wear, and the repair gets more expensive the longer you wait.
Styles & brands we work with
- Kitchen remodeling
- Bathroom remodeling
- Home additions & ADU
- Roofing
- Windows & doors
- Driveway & pavers
- Fence
Table of Contents
- The Five Visual Patterns That Separate Base Failure From Surface Wear
- What Rocking or Hollow-Sounding Pavers Mean (And the 90-Day Window)
- Edge Restraint Failure: The Most Common Installation Shortcut
- Drainage Problems: The Pooling Patterns That Reach Your Foundation
- Why Richardson’s Clay Soil and Freeze-Thaw Winters Accelerate Failure
- How to Document Warning Signs for Warranty Claims and Contractor Conversations
- Repair or Replace? How to Read the Severity of What You’re Seeing
- Seasonal Maintenance That Stops Small Problems Cold
The Five Visual Patterns That Separate Base Failure From Surface Wear
Not every imperfection in a paver driveway is a crisis. Some marks are cosmetic. Others are structural. Homeowners who learn to tell the difference save themselves a lot of panic calls and a lot of money. Here are the five patterns we look for on every driveway we inspect in Richardson, and what each one tells us about what’s happening underneath.
- Cracks running parallel to a hard edge. A crack that tracks alongside your garage slab, a curb, or a retaining wall is a settlement signal. The paver layer is losing support next to a fixed object, which usually means the base aggregate has shifted or compacted unevenly. This is the warning most homeowners miss because it looks like normal weathering.
- Depressions or dips in the field of the driveway. A shallow bowl where water sits, even a small one, means the base is failing under that spot. Paver driveways should be smooth and gently sloped. A depression means the compacted layer under the sand has lost density.
- Spider-web cracking radiating from a single point. This pattern almost always points to a concentrated load problem – a heavy vehicle parked repeatedly in one spot, a utility box cover that’s shifted, or a soft spot in the subgrade that’s collapsing inward.
- Pavers that have shifted out of alignment. If your straight joint lines now wander, individual pavers have moved. Movement means either the sand layer has washed away or the base underneath has lost its shape. Both are base-level problems, not surface ones.
- Sand washing out of the joints rapidly. Some joint sand loss is normal, especially after heavy rain. But if you’re refilling joints every few months and the sand keeps disappearing, water is moving through the base faster than it should – a drainage or compaction problem underneath.
Surface wear looks different. Faded color, minor chipping at the edges of individual pavers, and efflorescence (that white hazy film) are cosmetic. Base failure shows up as patterns – movement, settlement, and water in the wrong places. When you’re deciding whether to call someone, pattern recognition is everything.
What Rocking or Hollow-Sounding Pavers Mean (And the 90-Day Window)
Walk across your driveway in soft-soled shoes or bare feet and pay attention. A paver that rocks slightly underfoot, or one that sounds hollow when you tap it with a screwdriver handle, is a paver that has lost its bedding sand or its base support. This is the most diagnostic field test a homeowner can do without touching a tool.
Here’s the part that matters: a single rocking paver is usually a small fix. But rocking is contagious. Every time a paver moves, it grinds against its neighbors, working sand out of the joints and transferring load to pavers that were previously stable. In our experience, the window between “one or two loose pavers” and “an entire section needs to come up” is roughly 90 days of active use – and less if a Richardson rainy season hits in the middle of it.
Why the 90-day window exists
The physics are simple. A paver that rocks has a void beneath it. That void fills with water during rain. The water washes away the fine bedding sand, which widens the void, which lets the paver rock more. Repeat this cycle a few dozen times and you’ve lost the base support across a wider area than the eye can see. What started as a $150 to $300 single-paver reset becomes a $600 to $1,400 section rebuild.
How to test a driveway safely in five minutes
- Walk the entire length in a straight line, heel to toe, pressing firmly on each paver.
- Note any spot that flexes or clicks under your weight.
- Tap suspicious pavers with the plastic handle of a screwdriver. A solid paver sounds dull; a hollow one rings slightly.
- Mark each spot with a piece of blue painter’s tape so you can watch whether it spreads over the next few weeks.
- Take a photo of the taped area and note the date. You’ll want this record later.
If you find more than three rocking or hollow pavers in the same area, that’s a section problem, not a paver problem. It’s time for a professional look. The Driveway & Pavers in Richardson page covers the repair and replacement options we offer in more detail.
Edge Restraint Failure: The Most Common Installation Shortcut
Look at the outermost row of pavers along your driveway edges. That row should be locked tight against a restraint – a concrete curb, a plastic edge restraint spiked into the base, or a soldier course set in concrete. If your outer pavers are spreading, tilting, or separating from the row next to them, the restraint has failed. In our experience, edge restraint failure is the single most common installation shortcut we find on driveways in Richardson, and it’s the one that opens the door to every other failure on this list.
What to look for at the borders
- Outer pavers tilted slightly outward, away from the driveway.
- A visible gap between the outer row and the adjacent soil or grass, wider than an inch.
- Paver edges spreading into a lawn or planting bed without a curb or restraint holding them.
- Sand piling up along the outer edge after rain, which means water is exiting the base at the wrong spot.
- The edge restraint itself visible, cracked, or missing entirely on a section of the driveway.
Why does this matter so much? Because a paver field is a structural system, not a decorative surface. Every paver holds its neighbor in place. The edge restraint is what holds the outermost pavers, and by extension the entire field, together. Without it, the whole outer row creeps outward a fraction of an inch at a time, and the base underneath that row opens up. Restraint failure is almost always fixable – but only if it’s caught before the outer pavers have completely separated.
If your driveway is spreading at the edges, it’s worth pulling the camera out and documenting the extent of the gap before you do anything else. More on that in the documentation section.
Drainage Problems: The Pooling Patterns That Reach Your Foundation
Water is the cause of nine out of ten driveway failures we diagnose. So the pooling patterns on your driveway are worth reading carefully. Not all standing water is a crisis – some pavers hold a thin film of water for an hour after a heavy rain, and that’s normal. But there are two specific patterns that should trigger an immediate call.
The two pool patterns that mean “call now”
- Water still standing 24 hours after rain. If a puddle is still there the next morning, the water has nowhere to go. That means your driveway’s slope has flattened, the base has settled, or a drainage path has been blocked. Standing water works its way into the joints and base, and from there into your foundation perimeter.
- Water pooling within three feet of the garage slab or house foundation. This is not a driveway problem anymore. It’s a foundation problem waiting to happen. Richardson’s clay soils expand and contract with moisture, and water pooled against the foundation puts constant pressure on one side of the slab. This is the pattern that gets expensive fast.
Two lesser patterns worth watching
- Water sheeting toward the yard instead of the street. If water runs off your driveway in the wrong direction, the slope is inverted. Slow, treatable – but it needs attention.
- Moss or algae growth in specific strips. Where moss grows, water sits. A patch of green in the middle of the driveway is telling you where the low spot is.
One thing to be aware of in Richardson: the clay soil here doesn’t absorb water quickly. A properly sloped paver driveway in our area does the work of moving water off the surface and away from the house, because the ground beneath it won’t help. If your driveway has stopped doing that, the fix is usually simpler than it looks – a reset of the affected section, a base correction, and a slope re-established – but it’s not a thing homeowners can reset themselves. The base work is heavy and requires compaction equipment that no one keeps in the garage. Call a professional.
Why Richardson’s Clay Soil and Freeze-Thaw Winters Accelerate Failure
Richardson homeowners face a driveway environment that’s harder on pavers than most of the country. The two forces at work: expansive clay soil and North Texas freeze-thaw cycles. Understanding both tells you why warning signs show up when they do, and why the pattern matters more here than it would in, say, Arizona or Florida.
The clay soil problem
Richardson sits on some of the most active clay in the region. When it rains, the clay swells. When it dries out through a Texas summer, it shrinks. That constant expansion and contraction moves the base under a paver driveway in tiny increments, and over years it changes the compaction and slope. The dry summer months are actually when the most damage happens, because the clay pulls away from the base and creates voids the pavers collapse into when you drive on them. If you’ve noticed your driveway problems getting worse in August and September, that’s why.
The freeze-thaw cycle
Richardson gets a handful of hard freezes every winter – usually two to four events that push temperatures well below freezing. Water sitting in paver joints will freeze, expand, and widen those joints. Then it thaws and fills with more water. Repeat that cycle through one winter and small joint problems become measurable cracks. By April, a homeowner who ignored a November pooling issue is looking at a section that’s shifted a full inch.
This is the reason the crack-parallel-to-garage-slab pattern we opened this guide with is such a specific Richardson symptom. The garage slab doesn’t move with the clay. The driveway does. Every winter, the soil around the garage pushes the driveway in one direction while the slab stays put, and the joint between them is where the failure shows up first. That crack isn’t cosmetic. It’s a measurement of how much movement is happening.
What this means for your timeline
In Richardson, the ideal window to catch a driveway problem is between October and March, before the freeze-thaw season does its worst work. If you’ve noticed a warning sign in the fall, dealing with it before the first freeze saves real money. If you’ve noticed it in spring, you’ve already paid some of the cost in winter damage – but a spring repair still beats waiting for the next winter. The Groundwork Construction Co. of Richardson home page has the full picture of how we handle site conditions like these.
How to Document Warning Signs for Warranty Claims and Contractor Conversations
The most valuable thing a homeowner can do when warning signs first appear is document them properly. Not just for warranty claims – though that’s a real benefit – but for the contractor conversation. A well-documented history of a crack or a puddle changes the entire conversation from “I think there’s a problem” to “here’s exactly what’s happening and when it started.” That changes the diagnosis, the estimate, and in some cases the warranty outcome.
What to photograph
- Overall shots of the entire driveway from a consistent angle. Take it from the same spot every time. This is how you prove spreading or movement over months.
- Close-up shots with a reference object. Put a coin, a ruler, or a tape measure next to a crack so its width is measurable in the photo.
- Time-stamped shots of pooling water. Photograph any puddle 24 hours after rain. If the puddle is still there, that’s the shot that matters.
- Edge restraint close-ups. Photograph the outer edges on all four sides of the driveway, especially any gap or tilt.
- Photographs of the same spot from the same angle over time. A monthly or quarterly series of a single crack or dip is more persuasive than a hundred random photos.
What to write down
- The date each sign first appeared.
- Whether it changed after specific weather events (heavy rain, freeze, heat wave).
- Any short sale disclosure, home inspection report, or warranty paperwork that mentions the driveway.
- The name of any contractor who installed or repaired the driveway, and the date.
- Any conversation with a contractor, including what was promised and when.
Keep all of this in one folder or cloud album. When a contractor comes out to look at your driveway, hand them the folder. That’s how a warranty claim or an accountability conversation starts on solid footing – with evidence, not assumptions. If a contractor won’t look at your photos or asks you not to keep records, that’s its own warning sign.
Repair or Replace? How to Read the Severity of What You’re Seeing
Once you’ve identified warning signs, the next question is always the same: can it be repaired, or does the whole driveway need replacing? The answer depends on how far the failure has spread and whether the base is still intact. Here’s how we read severity, from minor to terminal.
Level 1: Surface wear (repair is simple)
Faded color, minor chips, efflorescence, and normal sand loss. These are cosmetic. A joint-sand refill and a good cleaning solve them. No base work needed.
Level 2: Localized problems (repair is worth it)
One or two rocking pavers, a small area of pooling water, a short crack parallel to a hard edge. The base in the affected area has lost compaction, but the rest of the driveway is intact. The fix is a localized reset of the affected section, a base correction, and re-establishing the slope. This is where homeowners catch problems at a fraction of the cost – usually a few hundred to a couple thousand dollars instead of a full replacement.
Level 3: Sectional failure (repair still makes sense)
A larger area – perhaps a quarter of the driveway – has settled, shifted, or lost restraint. Multiple pavers are loose, or the edge is spreading across a whole side. The base in that section needs rebuilding, but the rest of the driveway is still structurally sound. A section rebuild is still a lot cheaper than a full replacement, and this is the level where the 90-day window from the rocking-paver section really matters – after this level, the section problem starts spreading.
Level 4: Terminal failure (replacement)
The driveway has widespread movement, multiple depressions, edge failure on two or more sides, water pooling against the foundation, and pavers that shift underfoot across large areas. The base has failed across the entire driveway. At this point a full replacement is the honest recommendation, because patching sections of a failed base just kicks the problem down the road. We’ve walked homeowners through both outcomes; the ones who called early usually didn’t reach Level 4.
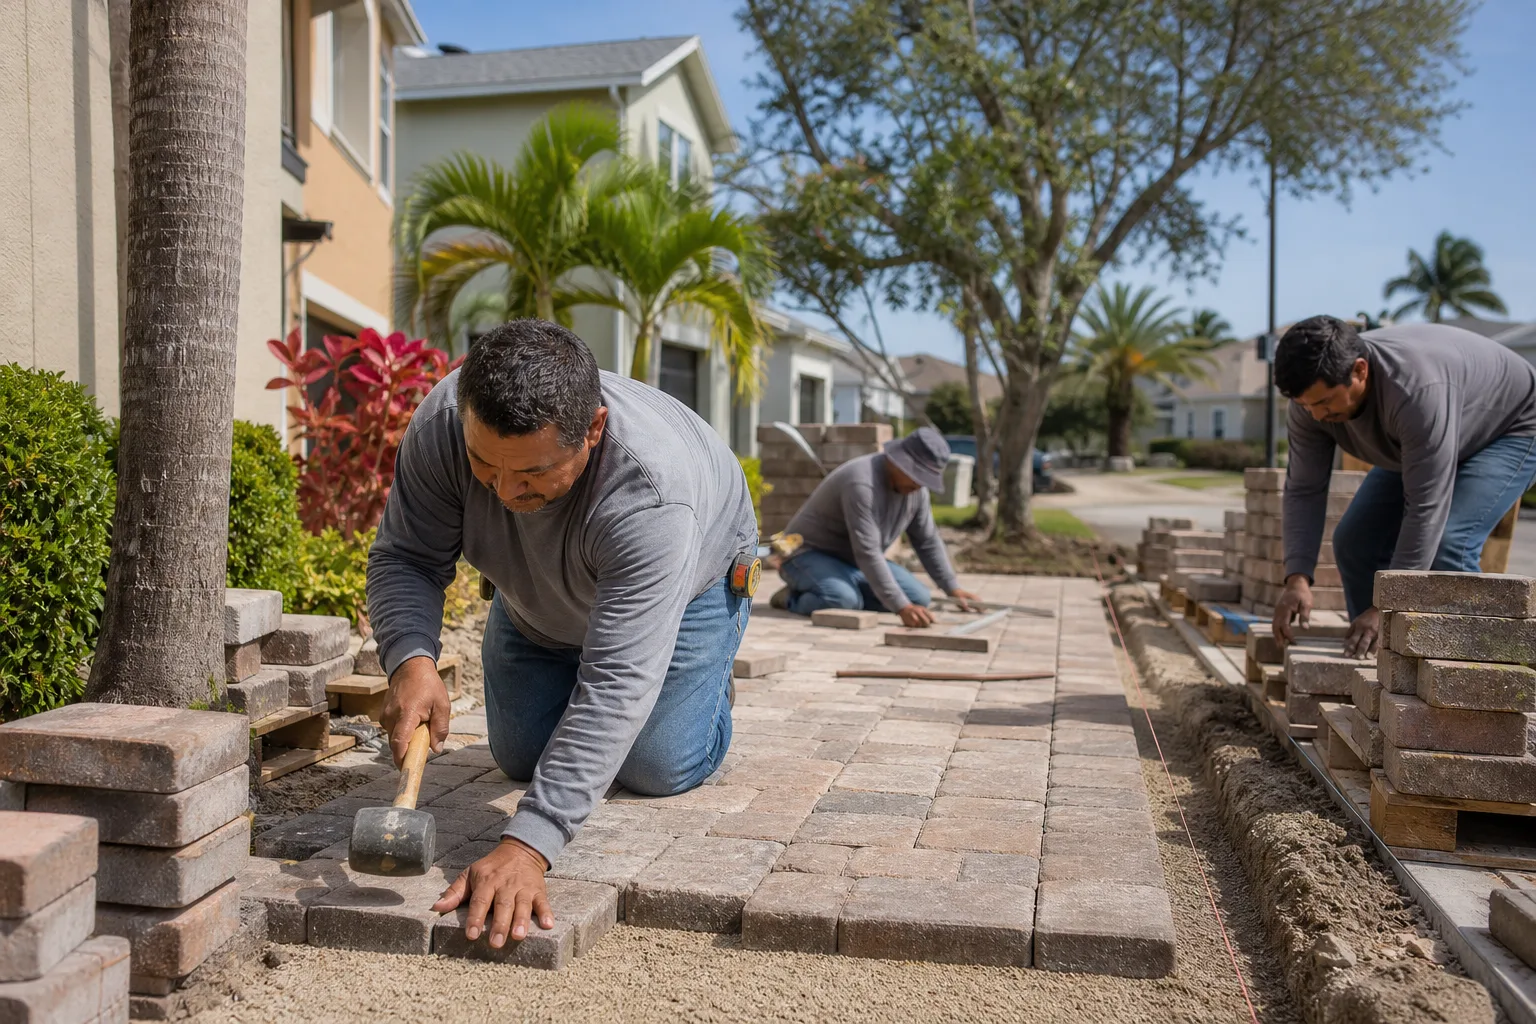
A full driveway replacement opens up a decision homeowners don’t always expect: material choice. When we replace a Richardson driveway we work with brands like Belgard pavers, and we coordinate the surrounding hardscape alongside it so the finished work reads as one clean project rather than a patched-together surface. If the driveway is being replaced, it’s also a reasonable time to talk about a matching walkway or patio so the paving material and pattern stay consistent across the property.
Seasonal Maintenance That Stops Small Problems Cold
Once your driveway is healthy, a short seasonal maintenance routine keeps it that way without much effort. These are the tasks that actually prevent failure, in the order that matters.
Spring (after the last freeze)
- Walk the full driveway and mark any new rocking pavers.
- Check all four edges for spreading, tilt, or missing restraint.
- Refill joint sand in any area where it’s dropped more than a quarter inch below the paver surface.
- Look for moss or algae that appeared over winter – that’s the low spot.
Summer
- Watch for new dips as the clay dries and shrinks. This is when small voids open under the pavers.
- Photograph any new cracks so you can compare to fall.
- Keep the driveway edges clear of soil or mulch that can trap water against the pavers.
Fall (the most important season in Richardson)
- Check the slope of the driveway by pouring a bucket of water at the highest point and watching where it runs.
- Clean out any drainage channels, gutters, or swales that empty onto or across the driveway.
- Confirm that all joint sand is topped off before the first freeze.
- Take the “before winter” photo series so you have a baseline for spring comparison.
Winter
- After any hard freeze, look for new cracks or widened joints.
- Never use rock salt on a paver driveway. Standard de-icing salt attacks the paver surface and grinds into the joints. Sand or a paver-safe de-icer is the right call.
- Clear snow gently with a plastic shovel, not a metal blade, to avoid chipping the paver edges.
Two things are worth setting up once and forgetting: a standing calendar reminder to do the walk test every season, and a fireproof way to store the documentation folder. The rest takes about twenty minutes per season. That’s the cheapest driveway insurance there is.
Common Mistakes to Avoid
- Ignoring a crack because it looks “normal.” The parallel-to-hard-edge crack we opened with is never normal. It’s a settlement signal, and in Richardson’s clay soil it will keep growing through the next winter.
- Treating a rocking paver like a cosmetic issue. A rocking paver is contagious. Every month you wait, the sand loss spreads and the repair area widens.
- Power-washing hard to “clean” a driveway. High-pressure washing blasts sand out of the joints and opens the base to water. If the driveway needs cleaning, use a gentle wash and refill the joints afterward.
- Adding decorative gravel or rock along the driveway edge. This traps water against the pavers and hides edge restraint failure. In Richardson, the trapped moisture also pulls the clay soil against the pavers, which accelerates movement.
- Patching the surface without checking the base. A paver laid over a failed base will fail again in weeks. The base is the actual structure; the pavers are just the visible part.
- Hiring the lowest bid without asking about the restraint system and base compaction. Edge restraint and base compaction are the two things an installer can skip without the finished driveway looking any different on day one. They’re also the two things that determine whether the driveway lasts ten years or thirty.
- Ignoring the documentation until you need it. Photos and notes taken when the first warning sign appeared are worth ten times more than the same photos taken after a failure. Start the record the day you notice something.
See the difference
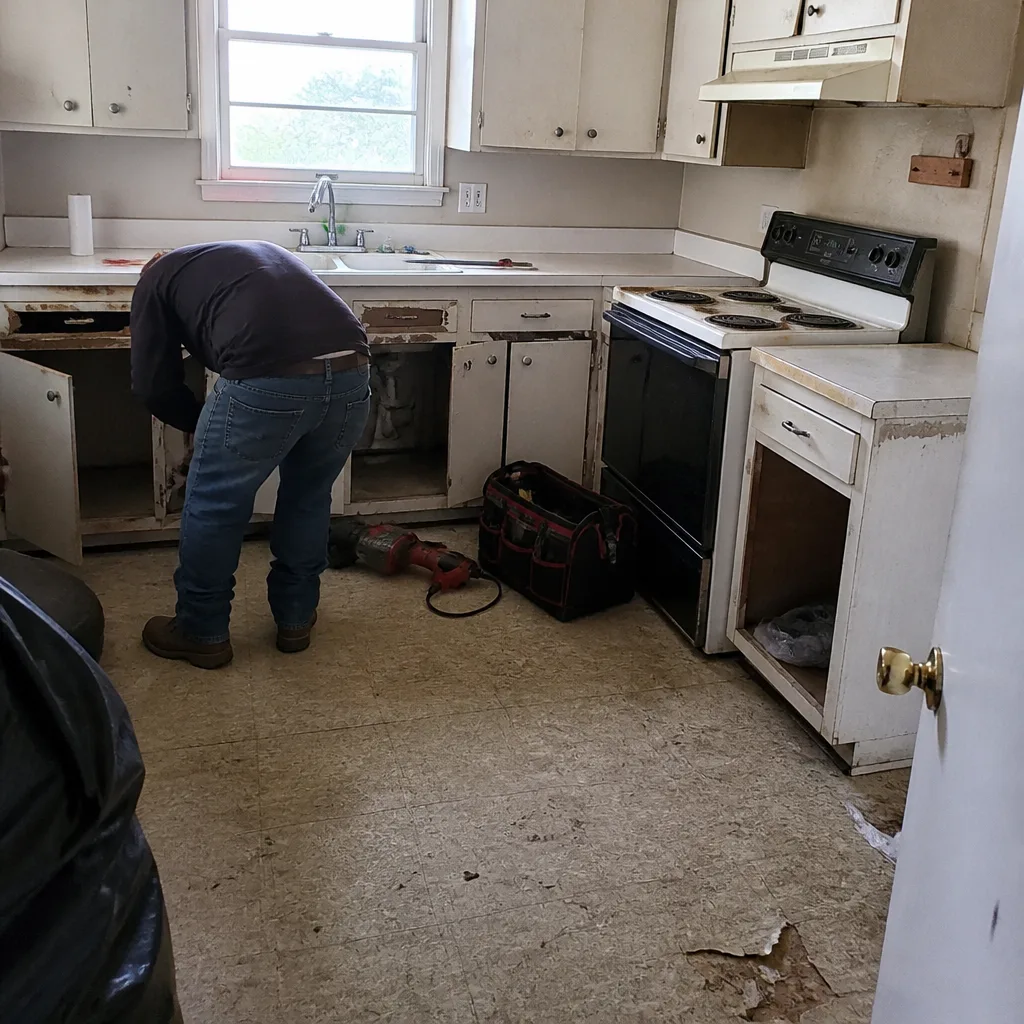 Before
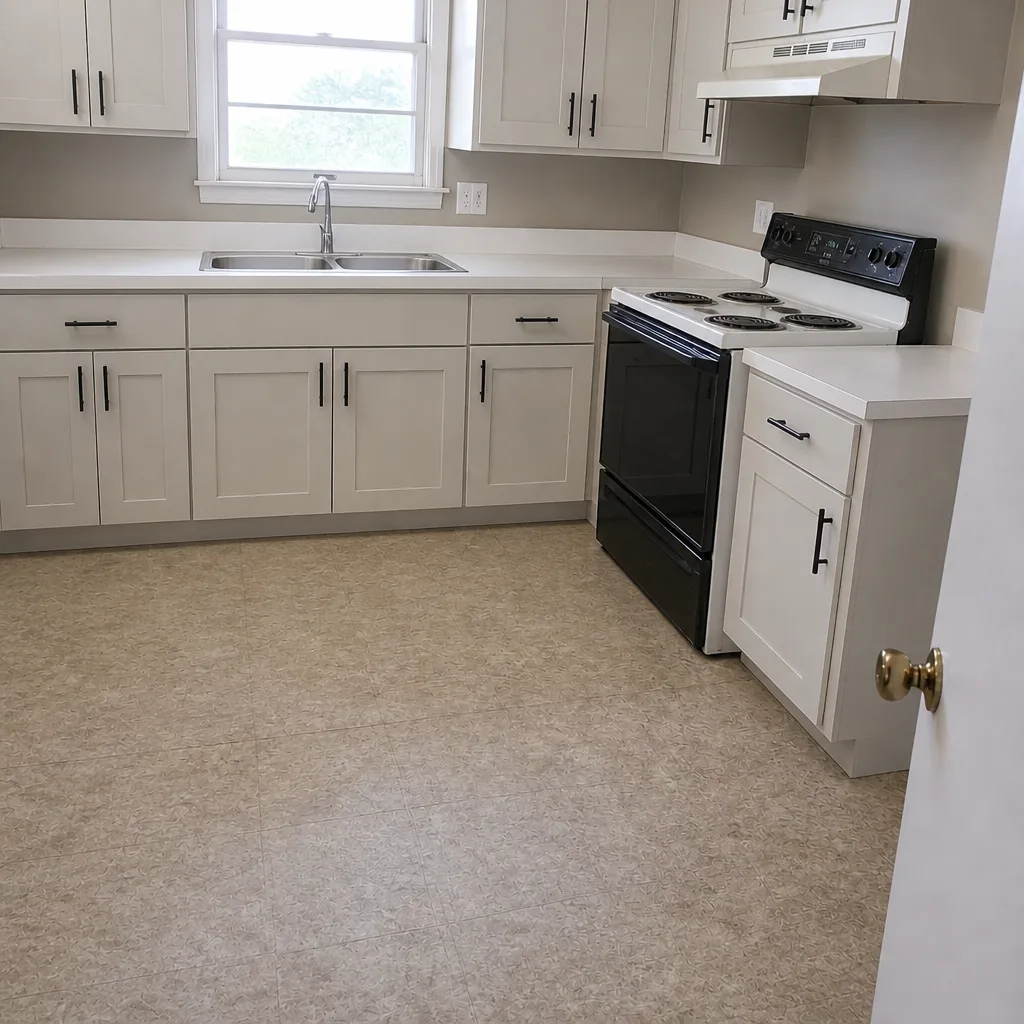 After
 Before
 After
 Before
 After
When to Call a Professional
Some driveway issues are worth watching. Others need a trained eye now. Call a professional if you find any of these: water pooling against the garage or house foundation, a crack running parallel to the garage slab that’s widened since last season, more than three rocking or hollow pavers in one area, edge restraint that’s visibly tilting or missing, or pavers that have shifted enough to make joint lines wander. Any one of those is a base-level problem, not a surface one, and the repair window closes fast in Richardson’s freeze-thaw climate.
Groundwork Construction Co. of Richardson offers free estimates in Richardson. Call (833) 954-4985 to schedule one. We’ll walk the driveway with you, show you what we see, and give you a written line-item breakdown before anyone picks up a tool. Our work is backed by the 730-Day Done Right Promise, and our technicians have up to 12 years of experience reading exactly these failure patterns in North Texas soil.
Frequently Asked Questions
Most localized paver repairs in Richardson run a few hundred dollars for a single-paver reset, and a section rebuild of a quarter to a third of the driveway typically lands in the low four figures. Surface-level fixes like joint-sand refills are the cheapest of all. Full replacement is a different conversation – the honest answer is that we need to see the driveway to quote it, because severity varies so much. Call (833) 954-4985 for a free estimate; the number we give you is the number you pay.
Surface wear is cosmetic – fading, minor chips, efflorescence, and slight sand loss. Base failure shows up as patterns: cracks running parallel to hard edges, depressions, rocking pavers, spreading edges, and standing water. A walk test and a look at the edges will tell you which one you’re looking at in about five minutes.
We don’t recommend it. The pavers themselves come up easily, but the actual fix requires resetting the bedding sand, correcting the base, re-compacting with equipment, and re-locking the paver into the restraint system. A homeowner reset without proper compaction will rock again within weeks, and the second failure usually costs more than the first repair would have. Call (833) 954-4985 for a free estimate.
Look for outer pavers tilting outward, gaps wider than an inch between the outer row and the adjacent soil, sand piling along the edge after rain, or a visible cracked or missing edge restraint. Edge restraint failure is the most common installation shortcut we find. Any of these signs means the whole paver field has lost its structural lock.
It does. Richardson gets a handful of hard freezes each winter, and any water in the paver joints freezes, expands, and widens the joint. Then it thaws and refills. Over one winter, small joint problems become measurable cracks. Combined with the region’s expansive clay soil, that makes Richardson a harder environment for paver driveways than most of the country.
Most small repairs and localized resets are completed in a single visit. Larger section rebuilds can run two to four days depending on the size of the affected area and the scope of base work. We’ll give you a specific timeline with the written estimate so you know what to plan for.
No. We work with upfront pricing, no surprises – the number on the written estimate is the number you pay. If we find additional damage the estimate didn’t cover, we stop and talk to you before doing any more work. You approve changes before we make them, every time.
Permit requirements depend on the scope and whether the work touches the right-of-way, the sewer line, or the home’s structure. We handle permit review and inspections as part of the project when they apply. We’ll tell you upfront what’s required for your specific driveway before the work starts, so there are no surprises on the paperwork side either. Call us for a free estimate: (833) 954-4985.
The Bottom Line
Your driveway is talking to you long before it fails. The five patterns to watch for are cracks running parallel to hard edges, depressions, spider-web cracking, shifted pavers, and rapid sand loss – plus the two that get called out for immediate action: rocking pavers and water pooling against your foundation. Richardson’s clay soil and freeze-thaw winters mean warning signs here escalate faster than they do in most of the country, and the 90-day window between “small fix” and “section rebuild” is real. Document what you see, act before the next freeze, and call for a professional look the moment the pattern is bigger than a single paver. A $250 repair caught early is a saved driveway. Call (833) 954-4985 to schedule your free estimate.
Looking after the rest of the property follows the same logic. If your driveway’s edge restraint is failing, the fencing along that same property line is worth a look too – our Fence Installation in Richardson team sees the same soil movement on posts that we see under driveways. If you’re planning a bigger project, our Home Additions & ADU in Richardson services include site work and hardscape planning, and we can coordinate the driveway alongside the build so nothing fails a season later. From foundation to finish line, we draw from a curated portfolio of trusted brand partners across every trade – including Kohler and Delta fixtures for the finished spaces – so every part of the project matches the same standard.
Written by the team at Groundwork Construction Co. of Richardson.