Last updated November 18, 2026






Free written scope consultation - allowances, timeline, and change-order rules on paper before a single trade is scheduled
Bathroom Remodeling Maintenance Schedule: What to Do and When
Most bathroom remodels start failing within 18 months. Not because of bad materials, and not because the install was wrong. They fail because nobody told the homeowner what to do after move-in day. The grout gets scrubbed with the wrong cleaner, the caulk gets painted over, the exhaust fan runs for two minutes after a shower, and by month twenty there’s soft drywall around the shower pan. In our experience across Richardson, the bathrooms that hold up are the ones where the homeowner got a simple schedule and stuck to it. This guide is that schedule: what to check at 30, 90, and 365 days, how the tasks change based on what you replaced, and how North Texas weather pushes on all of it.
Quick Answer
A bathroom remodel needs a 30-day inspection (grout, caulk, drains, ventilation), a 90-day deeper check (sealant condition, membrane edges, fixtures, fan performance), and an annual maintenance pass every 12 months after that. The specific tasks depend on what you installed: tile showers need grout and sealant upkeep, prefab units need drain and surround checks, and wet-room designs need the waterproofing and slope inspected yearly. In North Texas, humidity and temperature swings make ventilation and sealant inspection the two highest-priority items.
Styles & brands we work with
- Kitchen remodeling
- Bathroom remodeling
- Home additions & ADU
- Roofing
- Windows & doors
- Driveway & pavers
- Fence
Table of Contents
- The Handoff: Why the First 30 Days Matter Most
- The 30-Day Post-Remodel Inspection
- The 90-Day Check
- The 365-Day Annual Maintenance Pass
- How Maintenance Changes by What You Replaced
- North Texas Seasonal Maintenance: Humidity and Temperature Swings
- Tasks That Can Void Your Manufacturer Warranty
- Documenting Maintenance for Resale and Warranty Claims
The Handoff: Why the First 30 Days Matter Most
When a bathroom remodel wraps up in Richardson, the last crew picks up its drop cloths and drives away, and the homeowner is left with a beautiful room and zero instructions. That gap is where problems start. The first month is when the building settles into its new configuration: fresh caulk is still curing, grout is finishing its initial moisture cycle, and the room’s ventilation is being tested for the first time under real use. What you do in those 30 days sets the tone for the next decade.
We’ve seen this play out in neighborhoods like Canyon Creek and Heights Park, where older homes often got a remodel with modern tile and a new fan but original window and door seals. The homeowner turns the fan on for a minute, the room stays humid, and by the first summer the caulk at the shower base is already pulling. That’s not a material failure. It’s a maintenance handoff that never happened.
The point of a structured schedule isn’t to make you obsess over your bathroom. It’s to catch the small things while they’re still small. Caulk that’s starting to peel is a ten-minute fix. Caulk that’s been leaking behind the tile for six months is a rebuild.
The 30-Day Post-Remodel Inspection
Thirty days after the remodel is complete, walk the room with a flashlight and a notepad. The goal is to spot anything that’s shifted, cracked, or started to pull. Do this twice: once in daylight, once with the room as dark as you can make it and the flashlight raking across surfaces. Here’s what to look at.
- Grout lines. Run a fingernail or a wooden toothpick along the grout at the shower floor, corners, and any horizontal ledge. Any line where the grout has started to crack or separate at a change of plane needs attention.
- Caulk joints. Check where the shower wall meets the pan or tub, where the tile meets the painted wall, and around the toilet base. Fresh caulk should be smooth and adhered. If it’s peeling or has a gap behind it, that joint is no longer sealed.
- Drain and overflow. Fill the sink and tub, drain them, and watch for slow drainage or gurgling. Check the shower drain for any standing water after a full shower cycle.
- Exhaust fan. Hold a piece of toilet paper up to the grille while the fan runs. If it holds, the fan is pulling air. If it falls, the fan or ducting needs a look. Then time how long it takes to clear the mirror fog from a hot shower.
- Doors, drawers, and hardware. Open and close every drawer and cabinet. Look for rubbing, sagging, or screws that have loosened from the first month of humidity cycling.
- Water staining. Look at the ceiling below the bathroom (if there’s a story below) and around the base of the room for any sign of moisture. A faint water stain at 30 days is a call to your contractor, not a wait-and-see.
Write down what you find. If anything on this list looks wrong at the 30-day mark, call the contractor who did the work. This is exactly the window where a workmanship guarantee should still have your back, and it’s also the window where small issues are cheapest to fix. Groundwork Construction Co. of Richardson backs its work with the 730-Day Done Right Promise, which means the handoff doesn’t stop at the final walkthrough.
The 90-Day Check
By 90 days, the bathroom has been through a full season of use. Caulk has fully cured and had a chance to shrink. Grout has absorbed and released moisture a few dozen times. The fan has been used by everyone in the house, in every kind of hurry. This is the check where you catch things the first inspection couldn’t show.
- Re-check the caulk. Look specifically at the shower pan or tub base and the corners where two tiled walls meet. Any hairline crack between caulk and tile means it’s time to remove and reapply. Don’t caulk over caulk; it doesn’t bond.
- Inspect the waterproof membrane edges. If you have a tiled shower, look at the edges where the tile meets the pan, curb, or niche. Any soft spot or dark discoloration along the bottom edge of the tile is a sign that moisture is getting behind.
- Test the fan’s performance. Run the fan for 15 minutes after a hot shower and check that the mirror stays clear. If it fogs up again within a few minutes, the fan is undersized or the duct is blocked. Both are fixable and both matter in Richardson’s humidity.
- Look at the toilet seal and base. Rock the toilet gently. If it moves, the wax ring or the flange is suspect. Water staining at the base is never normal.
- Check grout in the floor tile. Walk the floor in socks. Any tile that feels loose or sounds hollow when tapped is worth flagging now.
If any of this raises a flag, don’t put it on next year’s list. Caught at 90 days, most of these are warranty or maintenance items. Caught at year three, they’re often structural repairs.
The 365-Day Annual Maintenance Pass
After the first year, you’ll repeat a maintenance pass every 12 months. The pattern stays the same; the specific items shift as the room ages. Put it on the calendar in the same month every year, ideally before the summer humidity arrives in Richardson.
- Strip and replace any failing caulk. Caulk is the cheapest insurance in the bathroom. Replace any joint that’s cracked, peeling, or moldy. Silicone in wet areas, paintable latex where the tile meets drywall.
- Seal the grout. If your tile was sealed at install, reapply every 12 – 18 months depending on use. A shower used daily needs re-sealing sooner than a guest bathroom used occasionally. Penetrating sealers last longer than topical ones.
- Clear the fan and duct. Pull the grille, vacuum the blades and housing, and confirm the exterior vent flap opens when the fan runs. A bird’s nest or lint clog in the duct is more common than homeowners realize.
- Check the shower valve and head. Look for mineral crust on the showerhead and around the valve trim. A slow drip from the head when the valve is off is a cartridge problem, not a cosmetic one.
- Inspect any niche, bench, or shelf. These are the spots where water pools in a tiled shower. Probe any soft grout with a wooden pick. If it crumbles, it’s time for a professional look.
- Check the ceiling and adjacent walls. Look for bubbling paint, soft drywall, or any discoloration. Wet-room designs are especially prone to show moisture on the wall outside the shower if the ventilation isn’t keeping up.
- Verify the exhaust fan timer or humidity sensor. If your bathroom uses a timer or humidistat, confirm it’s set to run long enough to clear the room. Ten to twenty minutes after a shower is standard.
A well-maintained bathroom in Richardson should reach 15 years or more before needing another remodel. The annual pass is what gets it there.
How Maintenance Changes by What You Replaced
The biggest mistake homeowners make is treating every bathroom the same. The maintenance requirements depend on what was actually installed. A tiled shower, a prefab acrylic unit, and a wet-room design are three different animals.
Tiled shower
A tiled shower is a system, not a surface. The tile is the visible layer over a waterproof membrane, and the membrane is what actually keeps water out of your walls. That means grout and caulk aren’t weatherproofing, they’re the first line of defense for the waterproofing behind them. Maintenance priorities: keep the grout sealed, replace failing caulk in the corners, and inspect the membrane at the threshold and bench yearly. Never use acid-based cleaners on cement grout; they eat the binder.
Prefab acrylic or fiberglass unit
Prefab units are easier to maintain than tile, but they have failure modes of their own. The seals at the wall panels, the drain, and the threshold are the weak points. A prefab unit doesn’t need grout sealer, but it does need annual inspection of the seams. If the caulk at the wall joint starts pulling, moisture gets behind the panel and into the stud cavity. Prefab units also scratch; use a non-abrasive cleaner and skip the scouring pads.
Wet-room design
A wet-room is a bathroom where the entire floor is waterproofed and draining, usually with the shower open to the rest of the room. It’s a beautiful layout and it’s unforgiving: any failure of the waterproofing or the floor slope shows up as water in the wrong place. Wet-rooms need a yearly inspection of the waterproofing, the drain slope, and the wall-to-floor transition. Keep the floor clear of rugs that trap moisture, and check the drain strainer every month for hair buildup.
Luxury finishes: stone, brass, and specialty fixtures
If the remodel used natural stone, unlacquered brass fixtures, or specialty tile, the maintenance list gets longer. Stone needs periodic sealing (every 6 – 12 months depending on the stone and use), and it’s sensitive to acidic cleaners. Unlacquered brass patinas over time and needs a soft cloth and mild soap, nothing abrasive. A brand partner like Kohler builds fixtures that last, but any fixture needs the cartridge inspected every few years and the aerator cleaned of mineral deposits.
North Texas Seasonal Maintenance: Humidity and Temperature Swings
Richardson sits in a climate that’s hard on bathrooms. Summers are humid and hot. Winters swing from mild days to hard freezes in a single week. The result is a bathroom that expands, contracts, and stays damp for stretches of time. That pattern accelerates wear on exactly the components that keep water out of your walls.
Spring and summer. This is the highest-risk season for mold and mildew in Richardson, and the fan is your primary defense. Run the exhaust fan every time someone showers, not just when the mirror fogs up. Keep the bathroom door open after showers when possible to let air circulate. Check caulk joints every few weeks; humidity makes the seal work harder. If any part of the bathroom tends to stay damp, a small dehumidifier is cheaper than a mold remediation.
Fall and winter. The freeze cycles matter more than the cold itself. A pipe in an exterior bathroom wall can crack during a hard freeze and not show a leak until the thaw. On the nights when a freeze is forecast, open cabinet doors under the sinks and let a pencil-thin stream run from the faucet overnight. The frost heave in the soil outside can shift a foundation just enough to move a shower drain; check for new cracks in the wall tile after a hard freeze.
Year-round. The temperature swings that shift a North Texas foundation also shift the framing around your bathroom. That’s why caulk joints fail in a Richardson bathroom faster than they do in, say, the Pacific Northwest. Inspect caulk at every seasonal change, and don’t wait for a visible gap to reapply.
Tasks That Can Void Your Manufacturer Warranty
Every product in a remodeled bathroom comes with a warranty, and most of them come with maintenance requirements the homeowner never reads. If you skip the maintenance, you can void the warranty without knowing it. These are the ones we see most often.
- Acid-based cleaners on cement grout. Most cement grout warranties are voided by cleaners containing phosphoric or hydrochloric acid. Use pH-neutral cleaners.
- Abrasive scrubbers on acrylic or fiberglass. Scouring pads and powdered cleansers scratch the surface, and manufacturers treat scratches as misuse, not defect.
- Skipping the fan run-time. Many exhaust fan warranties assume the fan is used per the spec sheet, typically ten to twenty minutes after each shower. Chronic underuse isn’t covered.
- Caulking over existing caulk. Most sealant warranties require proper surface prep before application. Layered caulk fails, and the failure isn’t a warranty event.
- Doing your own re-sealing on natural stone with the wrong sealer. A sealer that isn’t compatible with the stone can discolor it and void the finish warranty.
- Not documenting maintenance. This is the big one. A warranty claim without maintenance records often gets denied, even when the failure was a defect.
When in doubt, read the product warranty card that came with your fixtures and finishes. It’s usually in the drawer or the folder the contractor left. If it’s gone, a phone call to the manufacturer (or to us) gets the same information.
Documenting Maintenance for Resale and Warranty Claims
Two things happen when you sell a house in Richardson: a buyer’s inspector looks for signs of deferred maintenance, and a buyer’s agent asks whether the work was done to standard. A simple maintenance log answers both questions and protects your warranty at the same time.
Keep a single folder (physical or digital) with the following:
- The original contract, material list, and any manufacturer warranty cards
- Permit paperwork and the final inspection sign-off
- A dated log of every maintenance task, with a photo of the area before and after
- Any contractor service calls, repair records, or warranty claims
The log doesn’t need to be formal. A notebook with dates, a short description, and a phone photo for each task is enough. When a warranty claim comes up, that notebook is your evidence that the failure wasn’t neglect. When the house goes on the market, that notebook shows the buyer the bathroom has been cared for, which is worth real money in a negotiation.
We’ve seen the other side of this, too. A homeowner with no records, a caulk failure that turned into a tile rebuild, and a manufacturer who denied the claim because there was no proof the sealant had ever been maintained. Documentation isn’t paperwork for its own sake. It’s the difference between a claim that gets paid and one that doesn’t.
Common Mistakes to Avoid
- Assuming the contractor will come back for maintenance. The warranty covers workmanship defects, not annual maintenance. You’re the maintenance department once the crew leaves.
- Using the wrong cleaner on the wrong surface. A cleaner that’s fine on tile can dull stone, etch glass, or stain a resin-based shower pan. Match the product to the material.
- Skipping the exhaust fan. In Richardson’s humidity, a fan run for two minutes isn’t doing the job. Run it for the full ten-to-twenty-minute window after every shower.
- Caulking over old caulk. It’s the most common maintenance mistake we see, and it’s the cause of most of the caulk failures that turn into water damage.
- Ignoring a slow drain. A drain that’s slowing down usually has hair or soap buildup in the trap. Left alone, it can back up under the shower pan, which is a much bigger job.
- Not accounting for seasonal shifts. In North Texas, the biggest crack in your caulk will show up after a hard freeze. Inspect in the spring, not in the summer when everything has settled.
- Losing the warranty paperwork. If you can’t produce the product warranty card or a maintenance log, a legit claim can get denied. Keep it all in one folder.
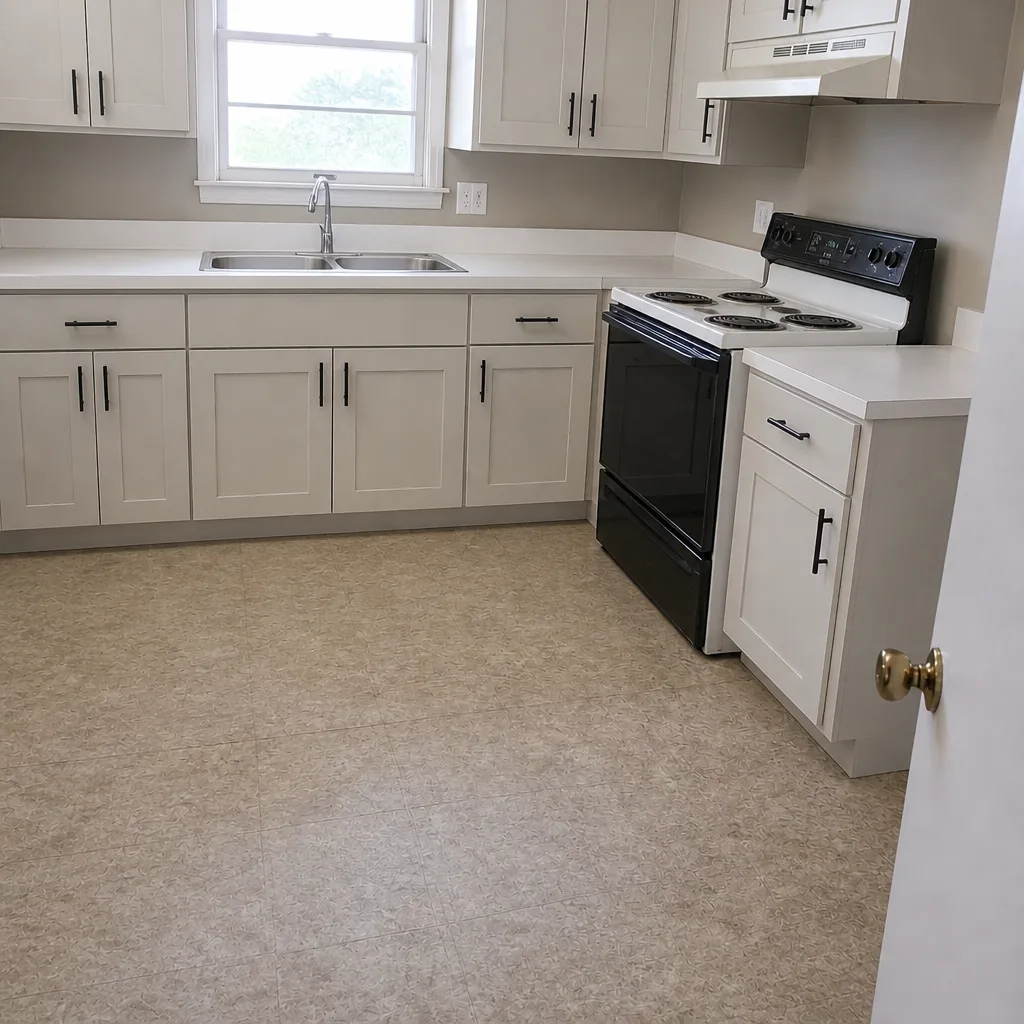
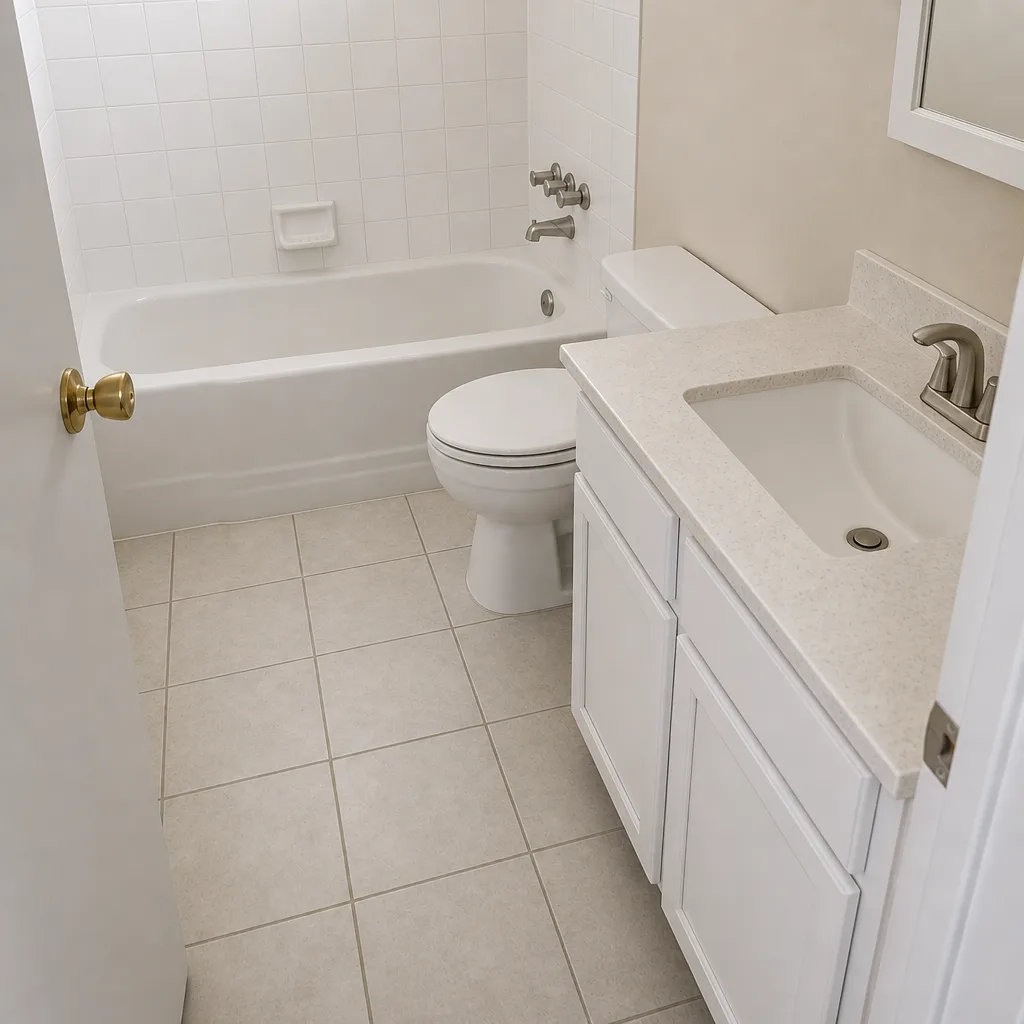
See the difference
 Before
 After
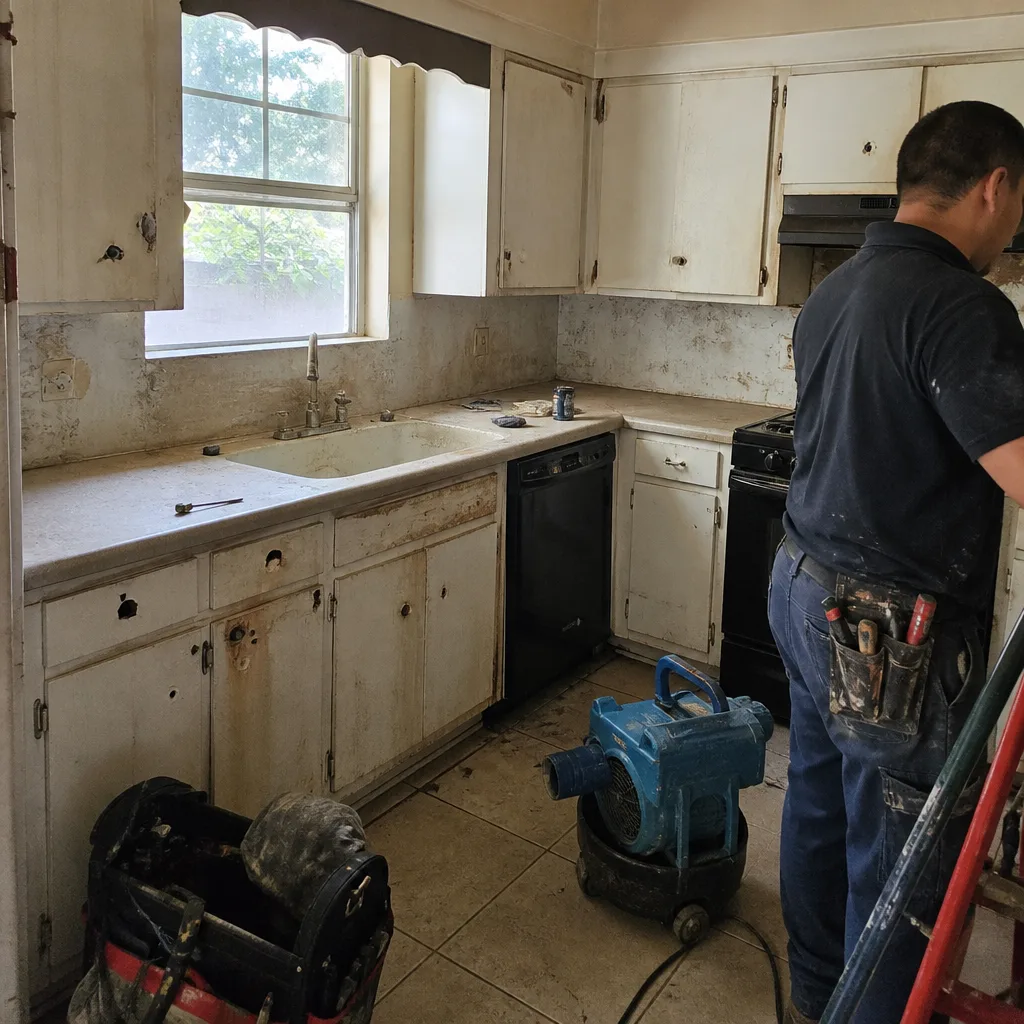 Before
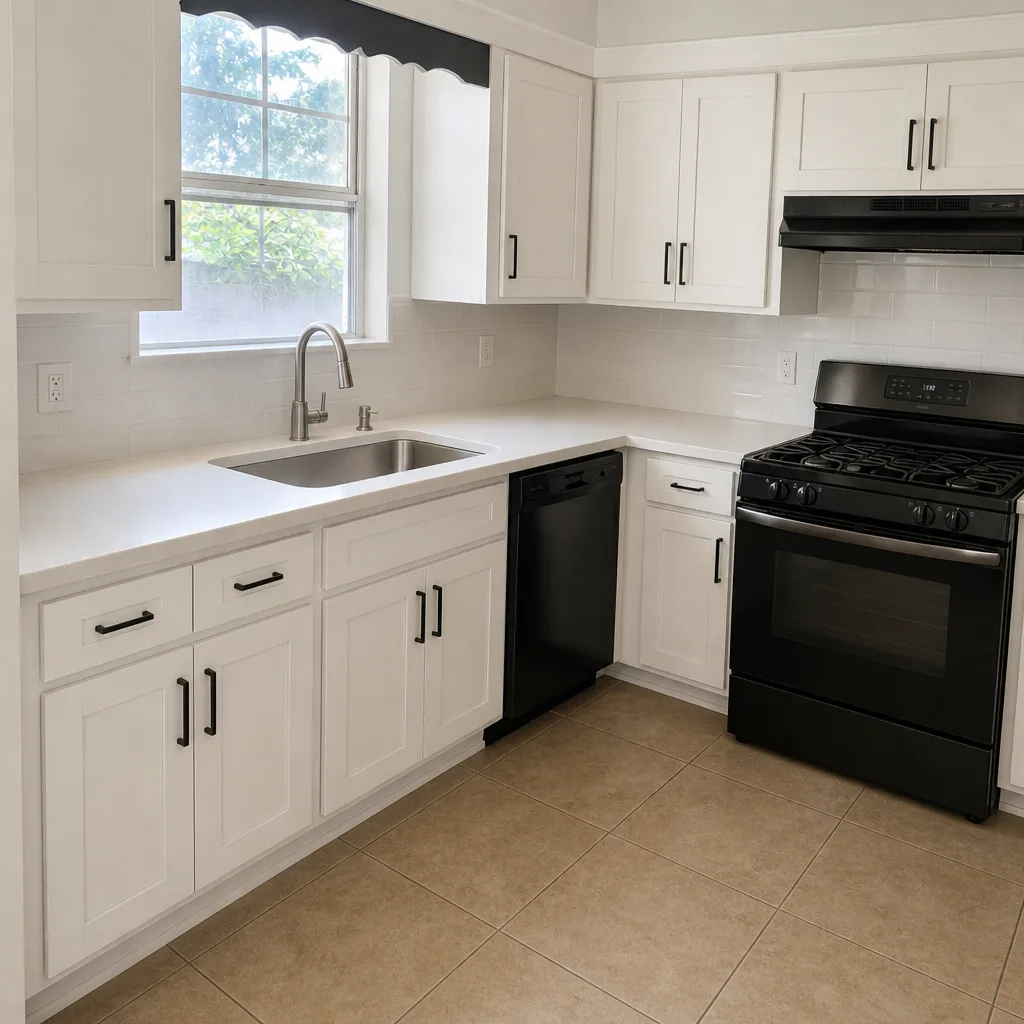 After
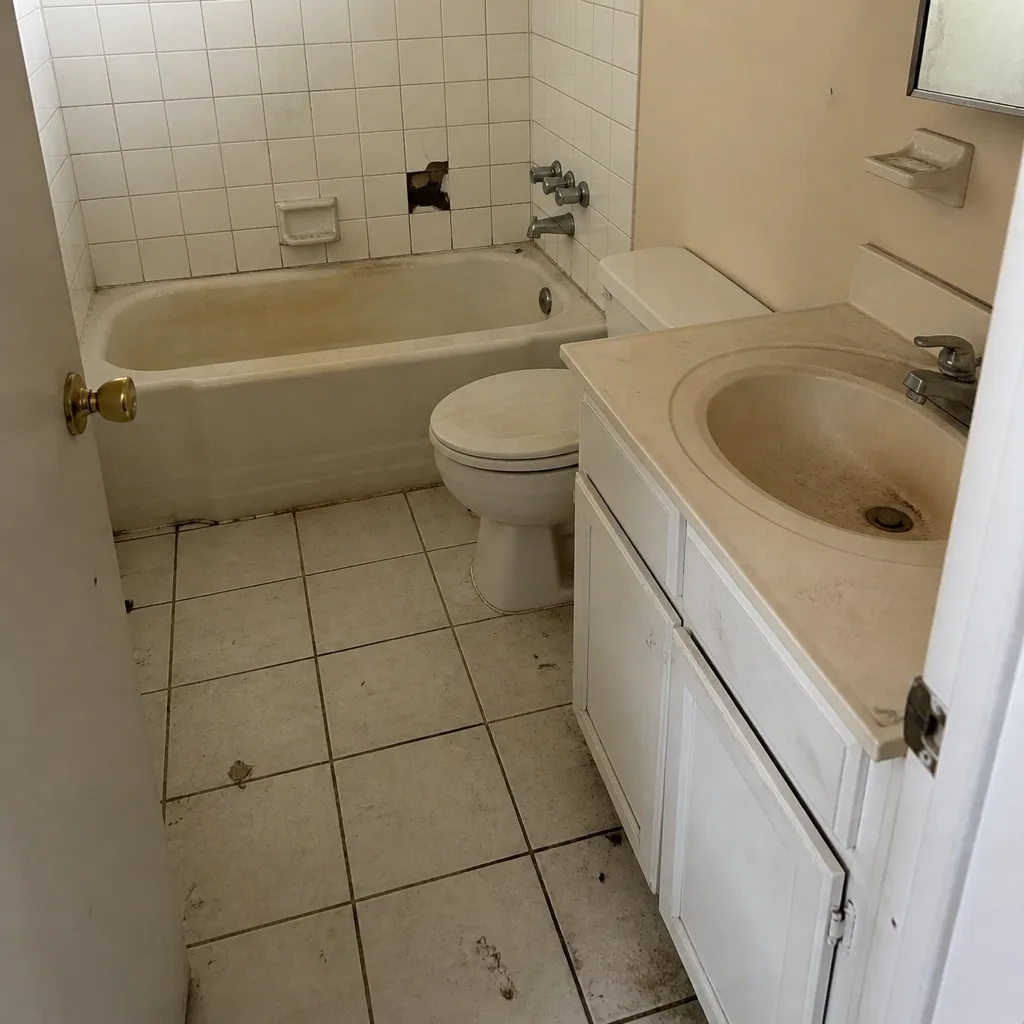 Before
 After
When to Call a Professional
Call a professional before you touch anything that involves the waterproofing system, the shower valve, or the wall cavity behind the tile. A cracked caulk joint is a homeowner job. A soft spot in the shower curb, water staining on the wall below, a fan that won’t pull air after a duct cleaning, or a shower pan that flexes underfoot are all professional calls. The same goes for anything you find at the 30-day inspection that wasn’t there at the final walkthrough; that’s a workmanship conversation, and it should happen while the guarantee is fresh. Groundwork Construction Co. of Richardson offers free estimates in Richardson. Call (833) 954-4985 and a live person will pick up, any hour.
Frequently Asked Questions
Reseal bathroom grout every 12 to 18 months, with showers used daily on the shorter end and guest bathrooms on the longer end. In Richardson’s humidity, the 12-month mark is the safer default. A penetrating sealer applied to clean, dry grout is the right product; topical sealers wear off faster.
No. A prefab acrylic or fiberglass unit doesn’t need grout sealer, but it does need annual inspection of the seams at the walls and threshold, plus a non-abrasive cleaner to avoid scratching. Tiled showers need grout and caulk upkeep; prefab units need seal and drain upkeep. The schedule is the same, the tasks aren’t.
Run the exhaust fan for at least 10 to 20 minutes after every shower, and leave the bathroom door open when possible. Richardson’s summer humidity makes a shorter run-time ineffective. If the mirror fogs up again after the fan has run that long, the fan or the duct needs a professional look.
Yes. A hard freeze can crack a supply line in an exterior wall or shift the foundation just enough to open a joint in a shower drain. On freeze nights, open the cabinet doors under the sinks and let a thin stream of water run. After a freeze, check the wall tile and caulk for new cracks. In our experience, a Richardson bathroom shows freeze damage in the caulk lines before it shows a leak.
Acid-based cleaners on cement grout, abrasive scrubbers on acrylic or fiberglass, skipping the fan run-time, layering new caulk over old, and re-sealing stone with the wrong product can all void a warranty. So can a warranty claim with no maintenance documentation. Read the product cards and keep a log.
Keep a dated log of every task with a photo and a short description, along with the original contract, material list, warranty cards, and permit paperwork. That folder is the difference between a warranty claim that gets paid and one that gets denied. It’s also the first thing a buyer’s inspector wants to see when the house goes on the market.
The Bottom Line
A bathroom remodel is a long-term investment in a room that gets used every day, and the maintenance schedule is what protects that investment. Inspect at 30 days, check again at 90, and settle into an annual pass after that. Match the tasks to what you replaced: tiled showers need grout and caulk, prefab units need seal and drain checks, wet-rooms need waterproofing and slope inspections. Account for North Texas humidity and freeze cycles. Skip the mistake list above. Keep the paperwork. When something is beyond a homeowner fix, call a professional before it becomes a rebuild.
Contact

If you’re planning a bathroom remodel in Richardson or you’re in the first year after one and want a second set of eyes on the maintenance, we’re here for it. Groundwork Construction Co. of Richardson walks every customer through the post-remodel handoff, and every job is covered by the 730-Day Done Right Promise. Call (833) 954-4985 for a free estimate, or reach out with questions about an existing bathroom. A live person answers any hour. To see the full scope of what we build, start at the Groundwork Construction Co. of Richardson home, or explore our work on Driveway & Pavers in Richardson and Fence Installation in Richardson. If your next project is more than a bathroom, our Home Additions & ADU in Richardson page covers the bigger builds.
Written by the team at Groundwork Construction Co. of Richardson.